Business Branding Session - BalancedJo www.balancedjo.com
BRAND Balanced Jo
WEBSITE www.balancedjo.com
CLIENT Gorgeous Jodie, a PCOS specialist
INSTA: Jodie_Relf
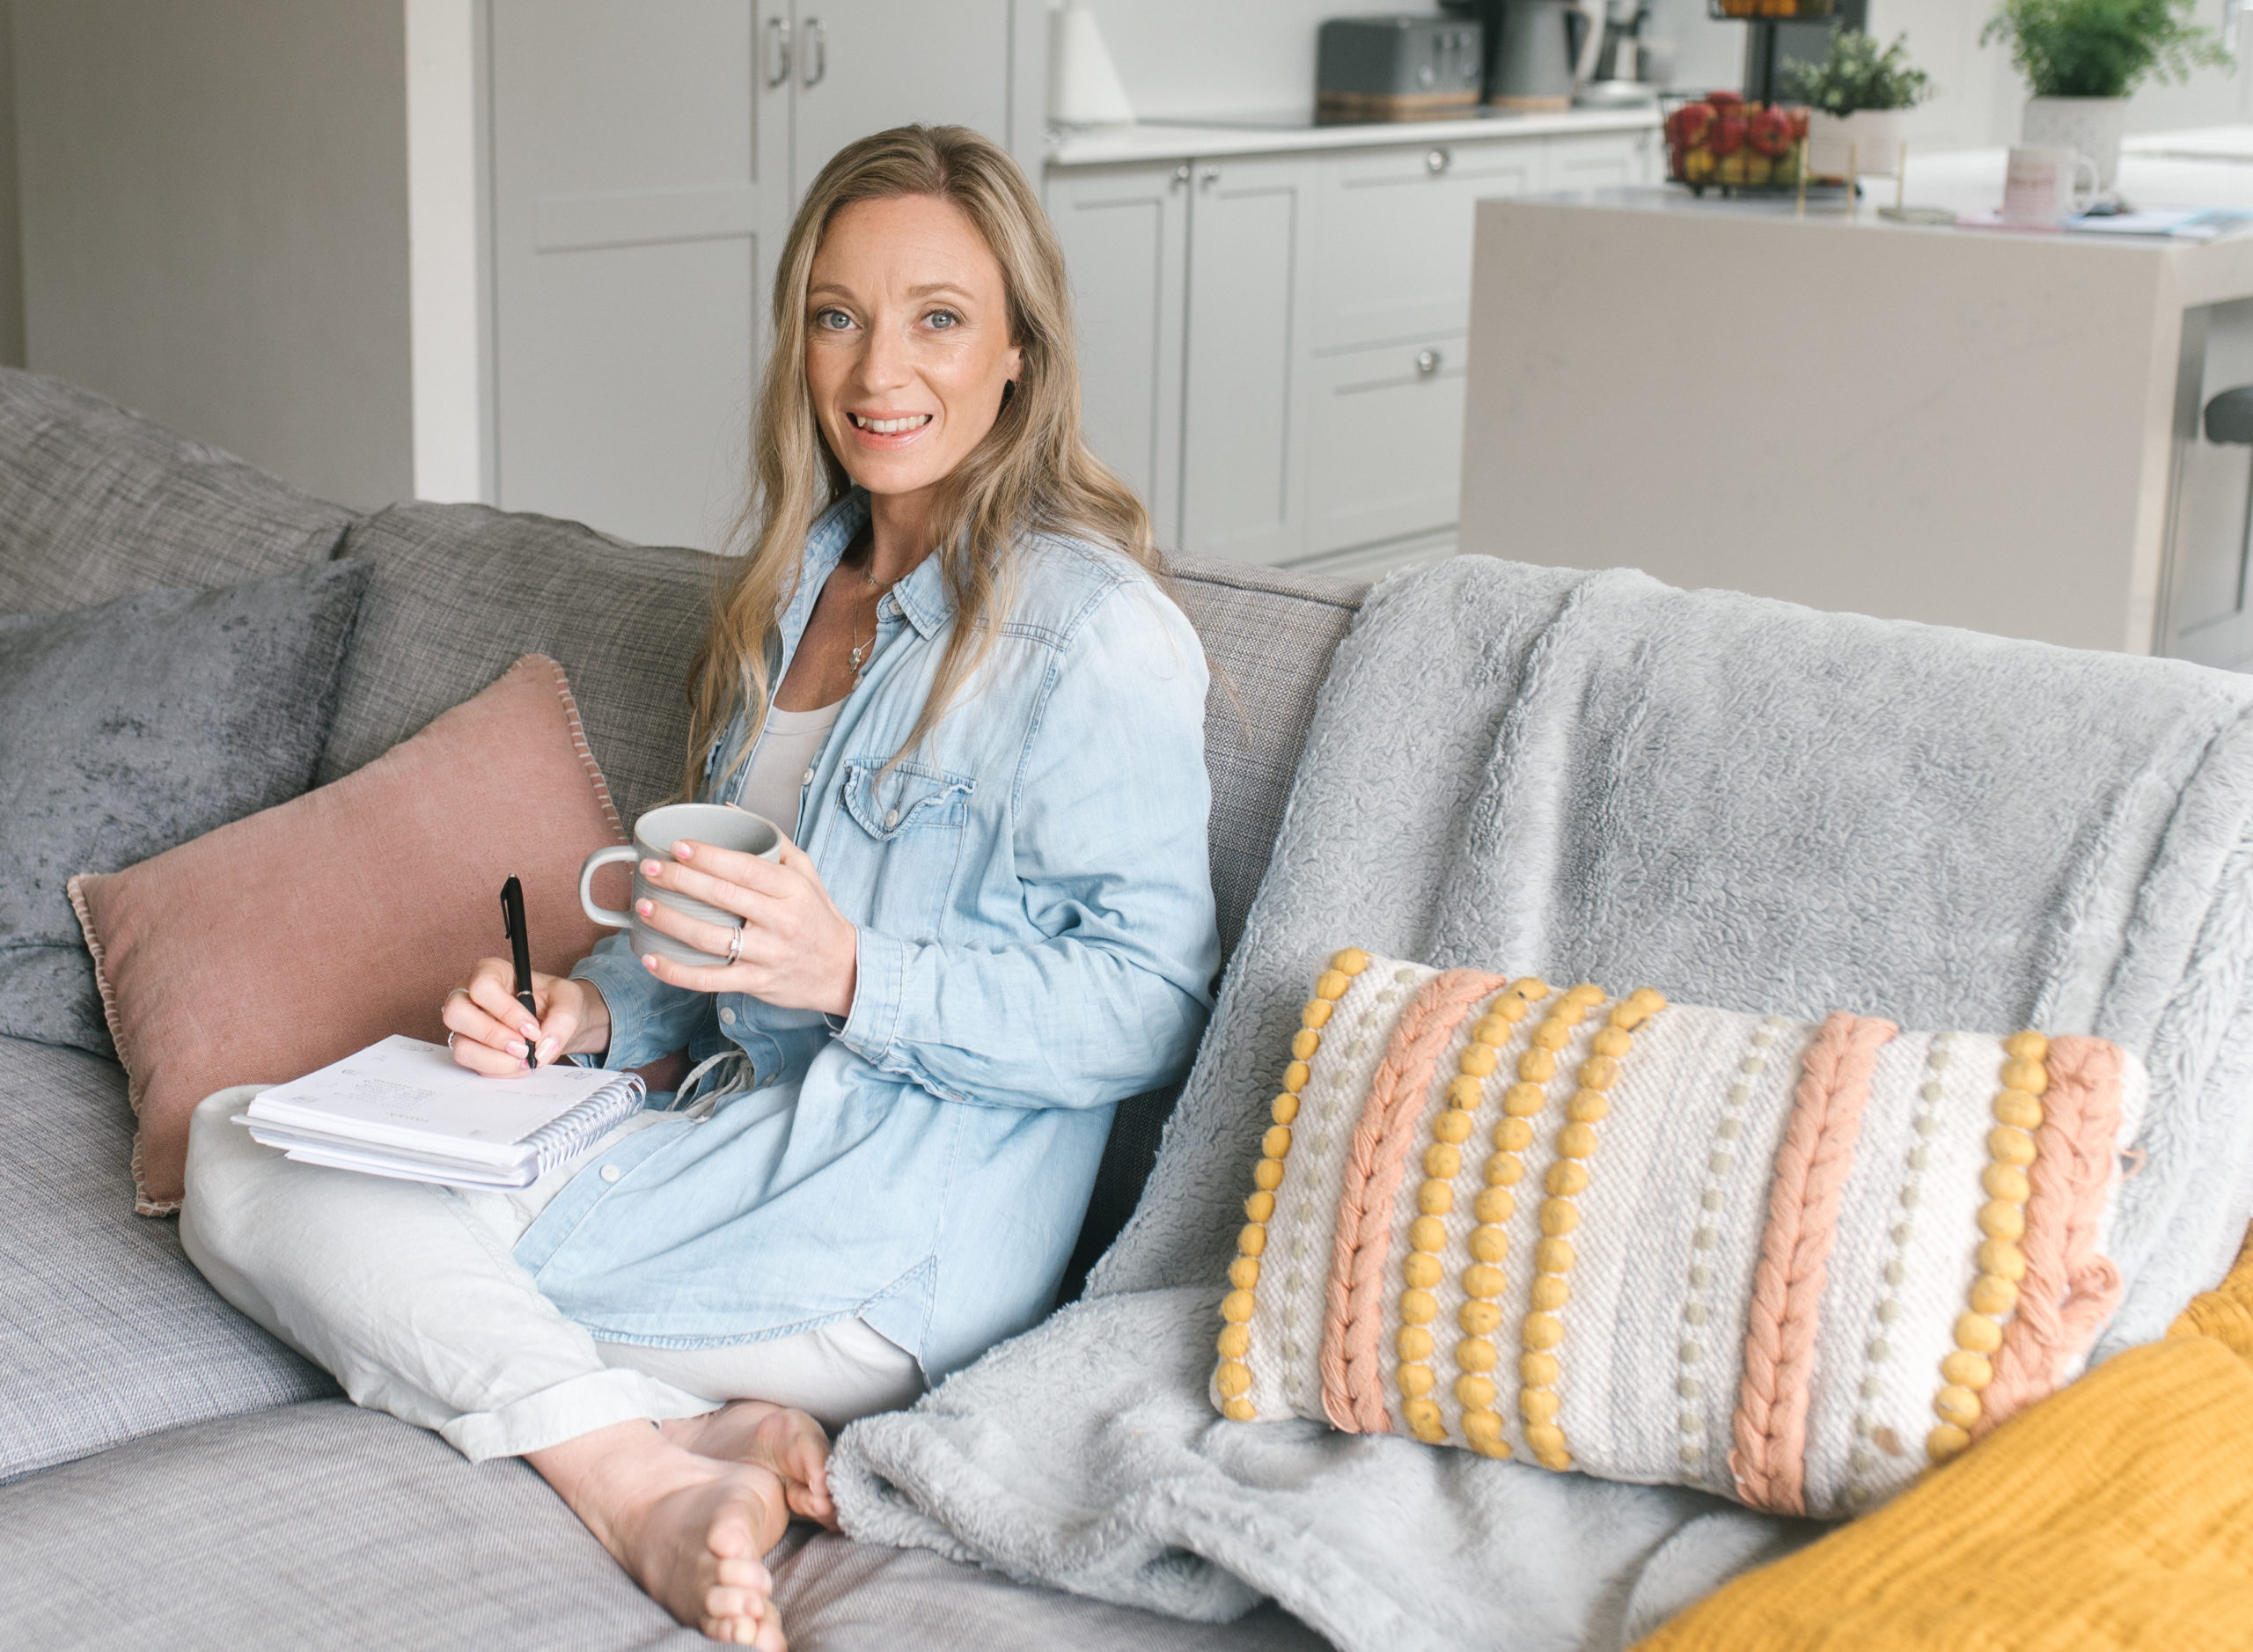
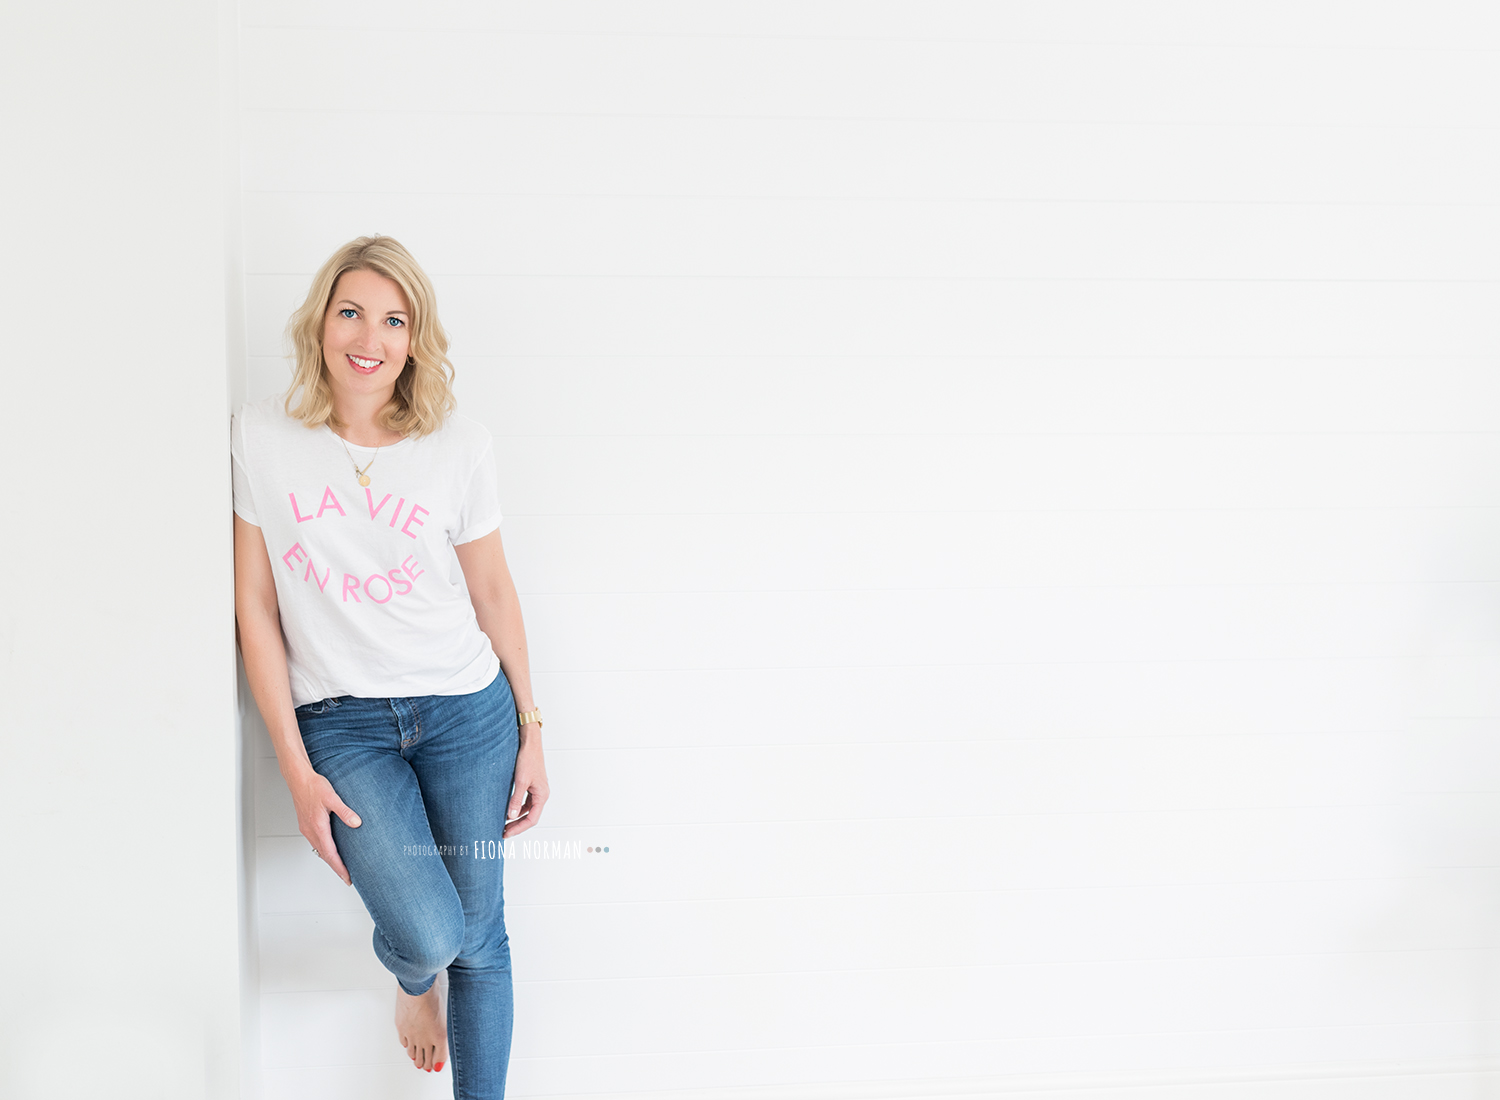
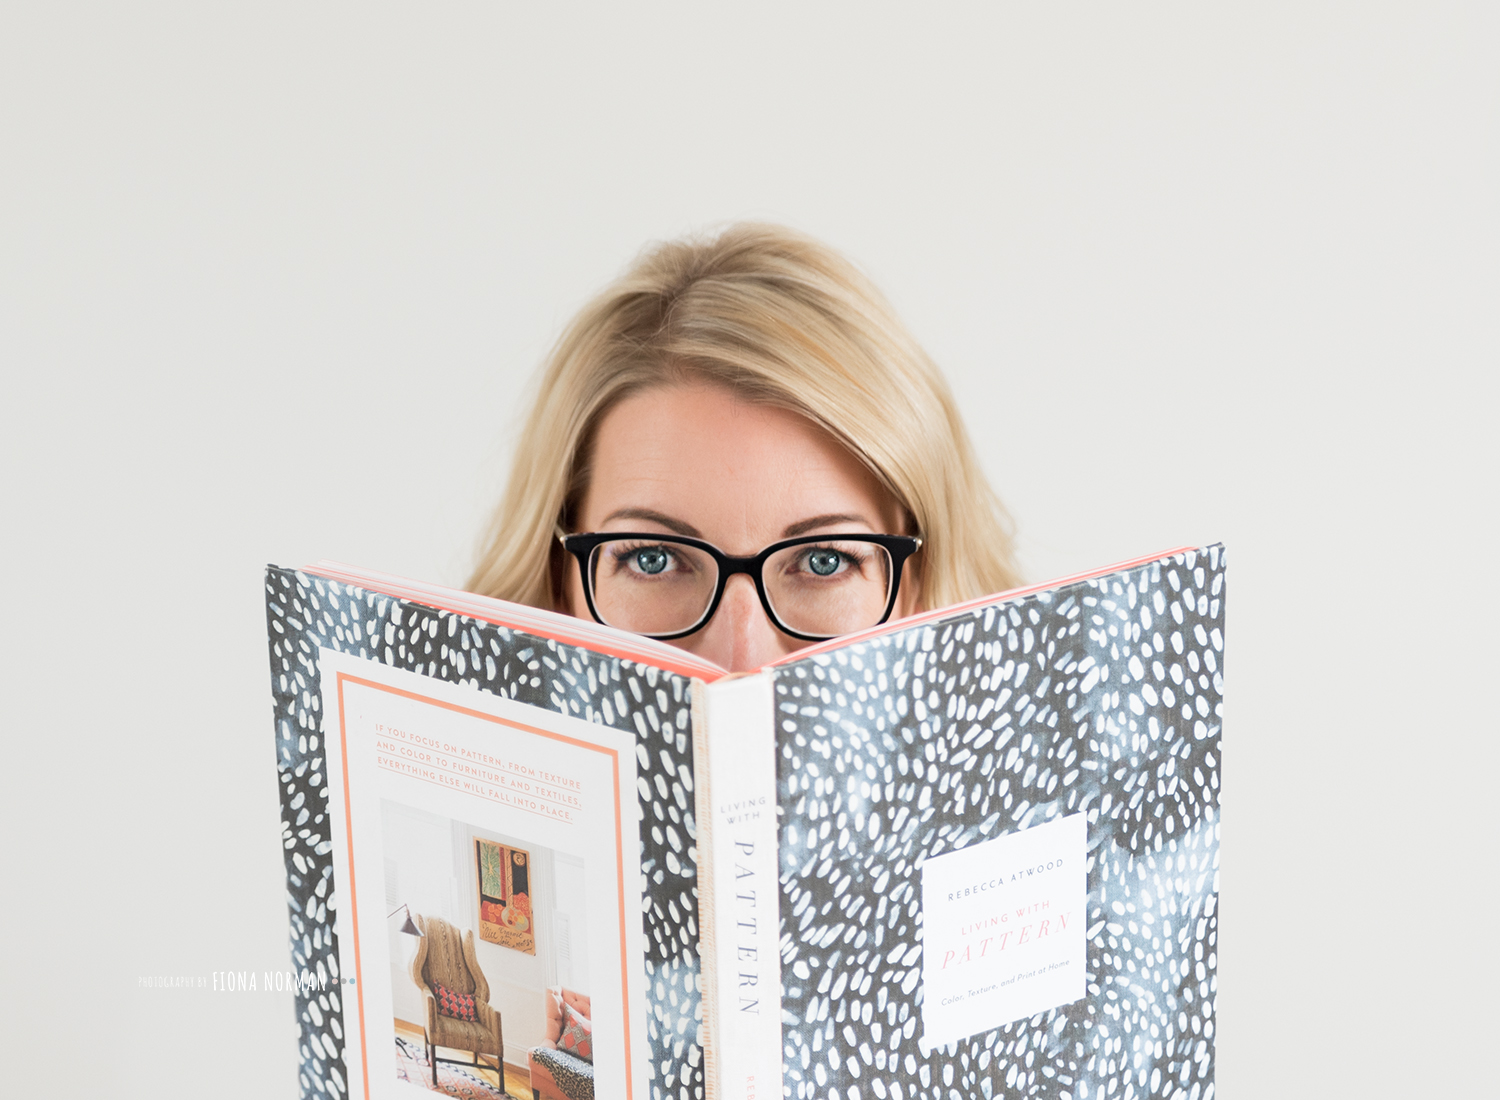
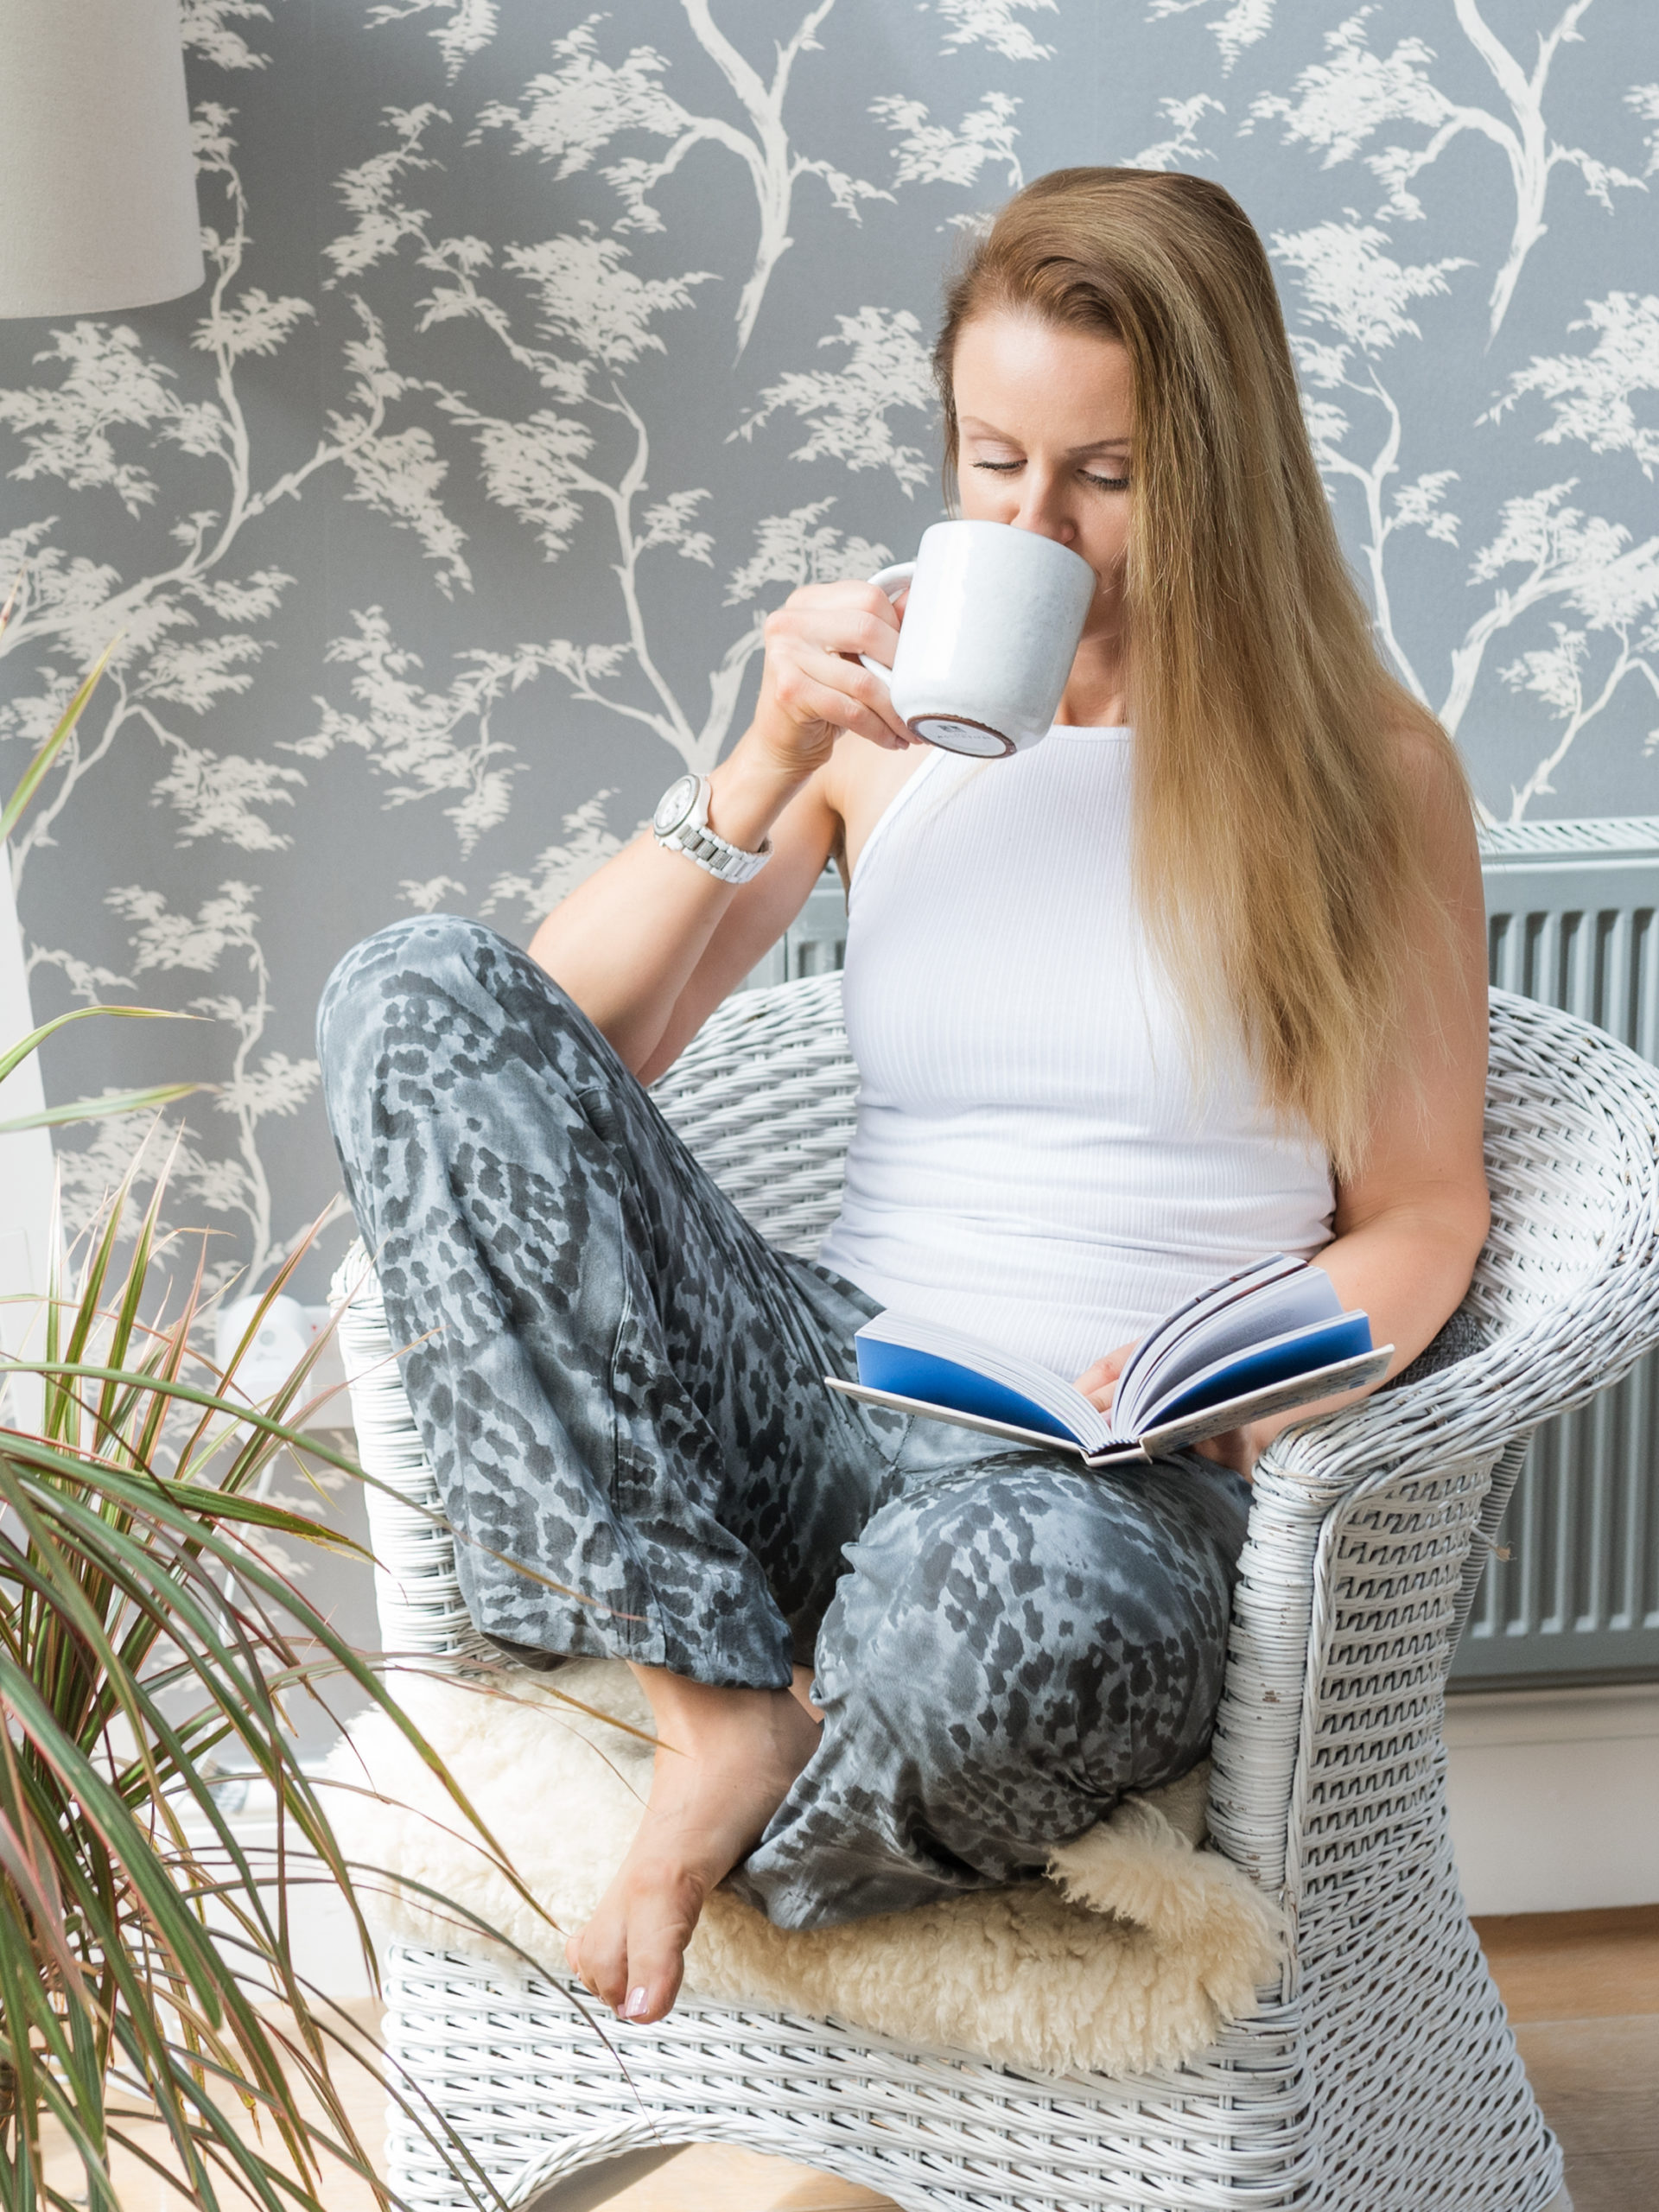
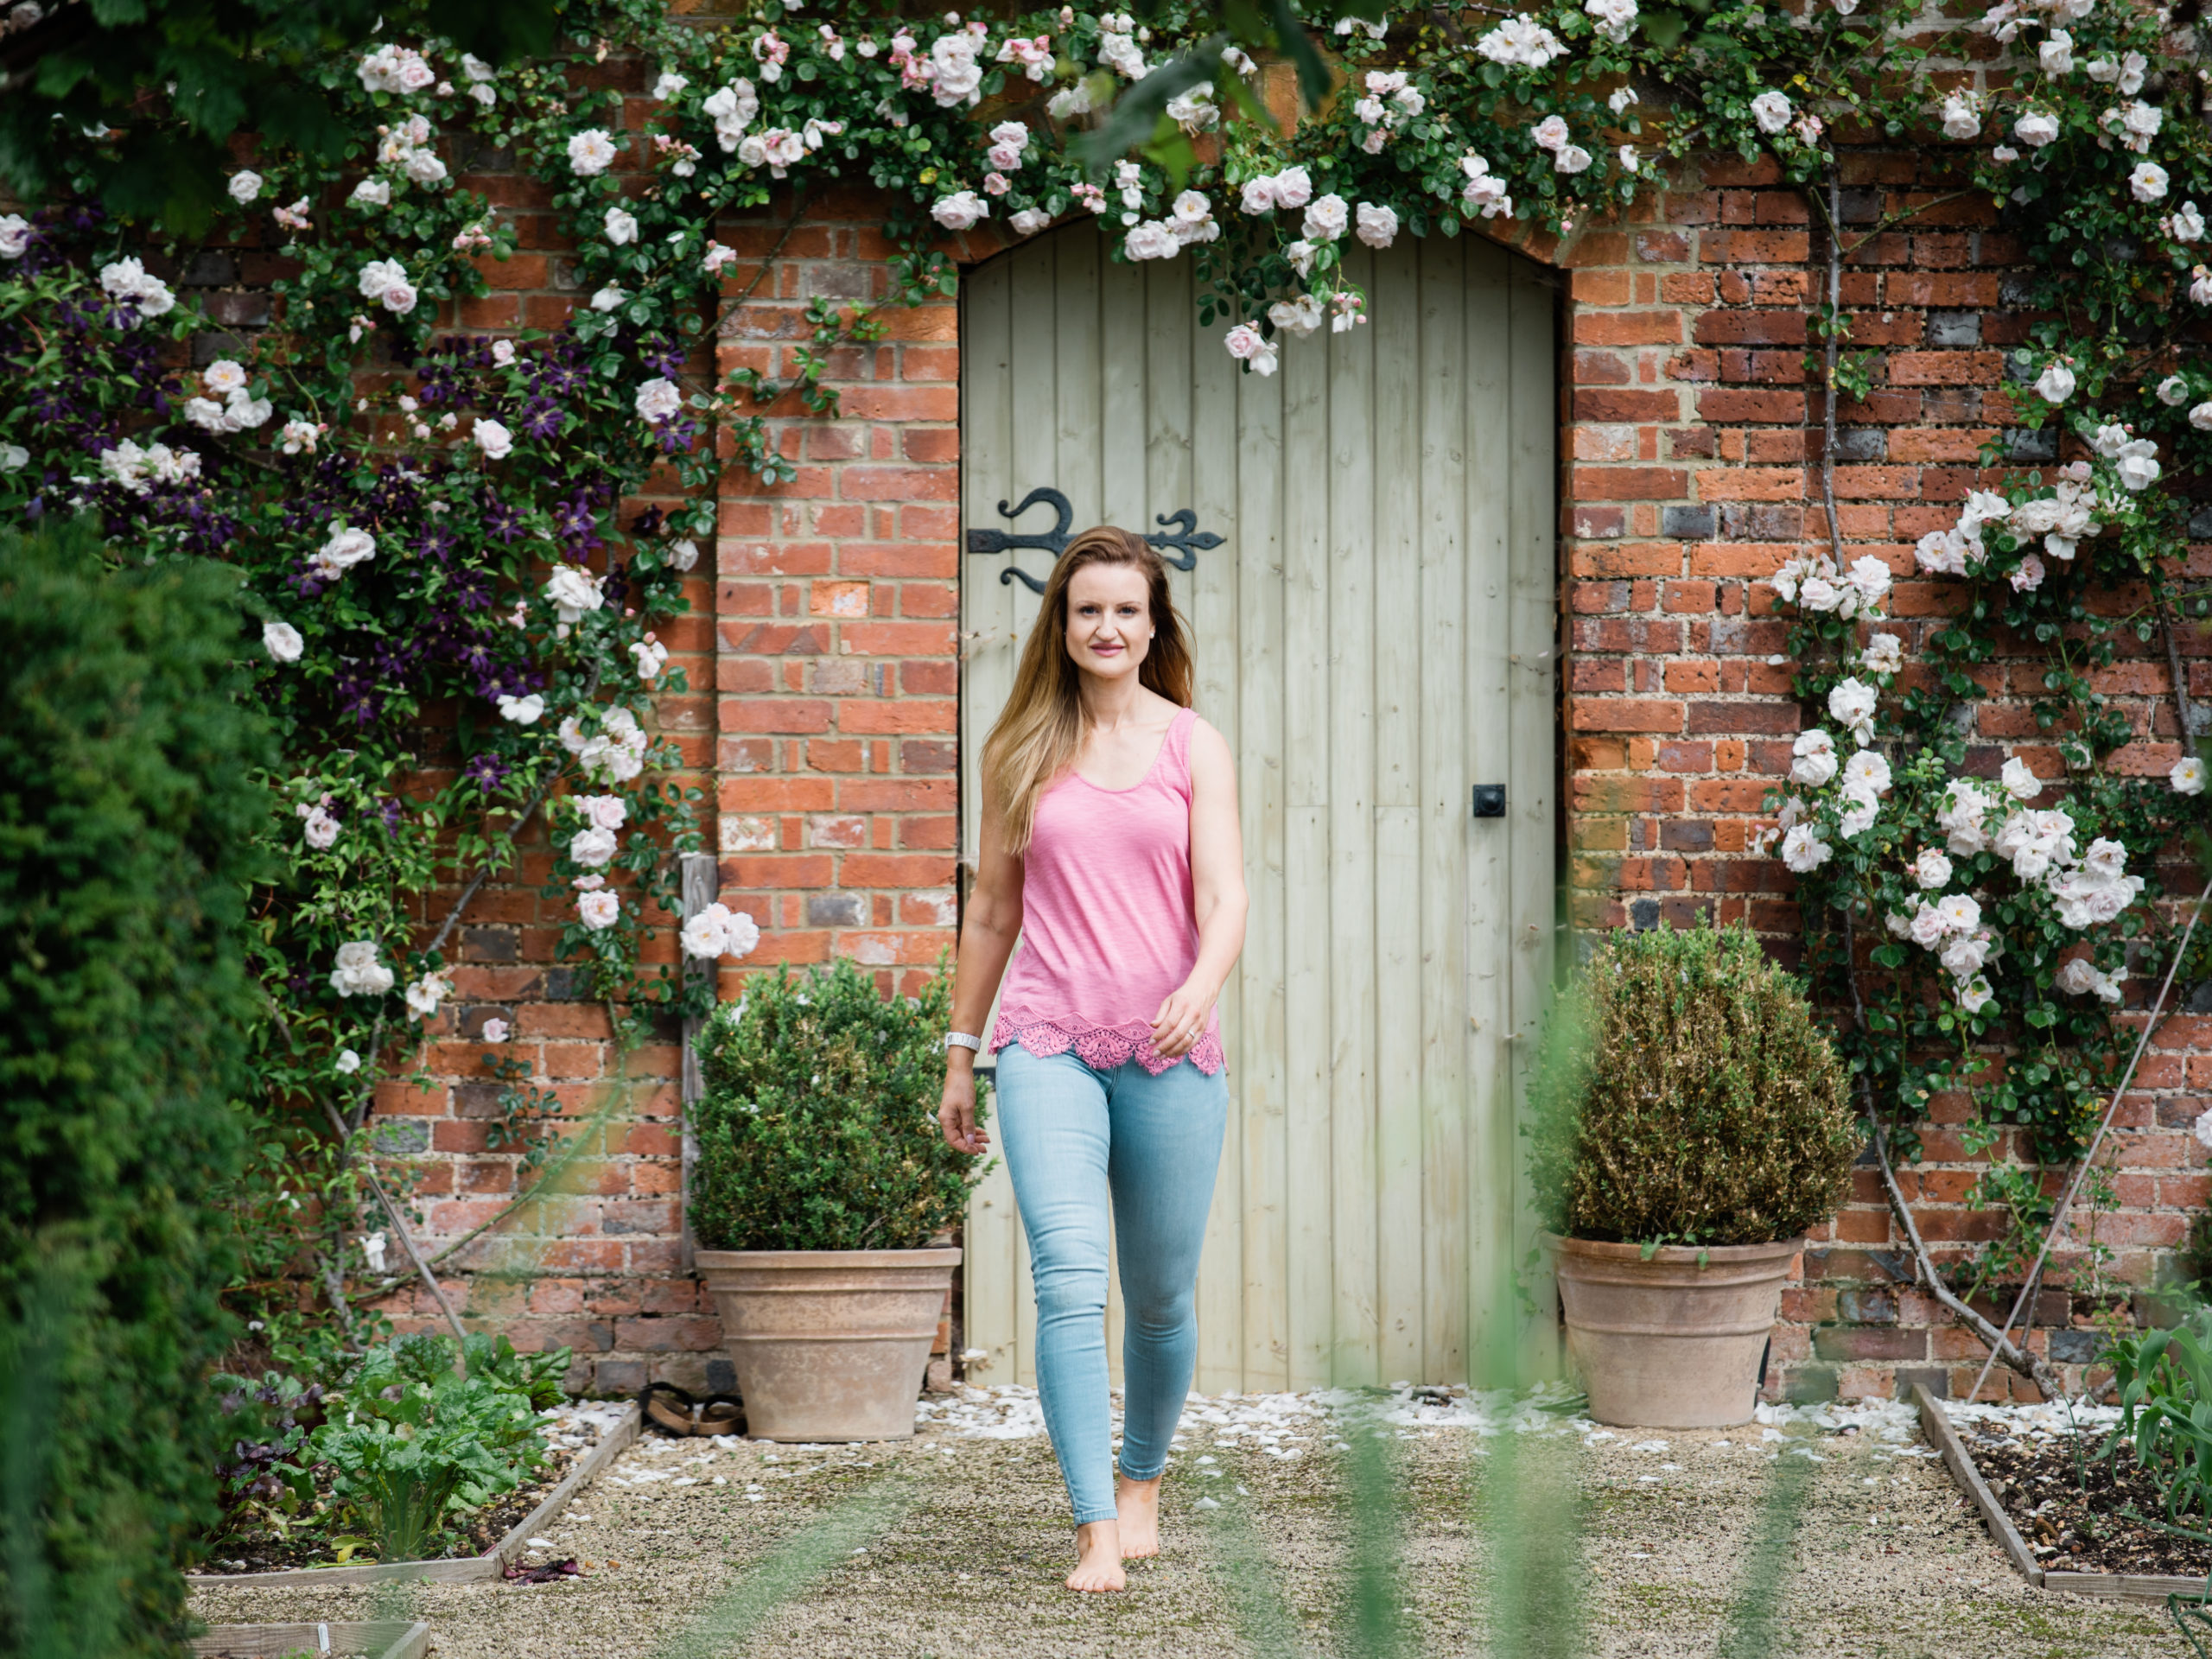
As the kids went back to school in September, my house got cleaned and tidied for a photo shoot as we used it as our key location for www.balancedjo.com
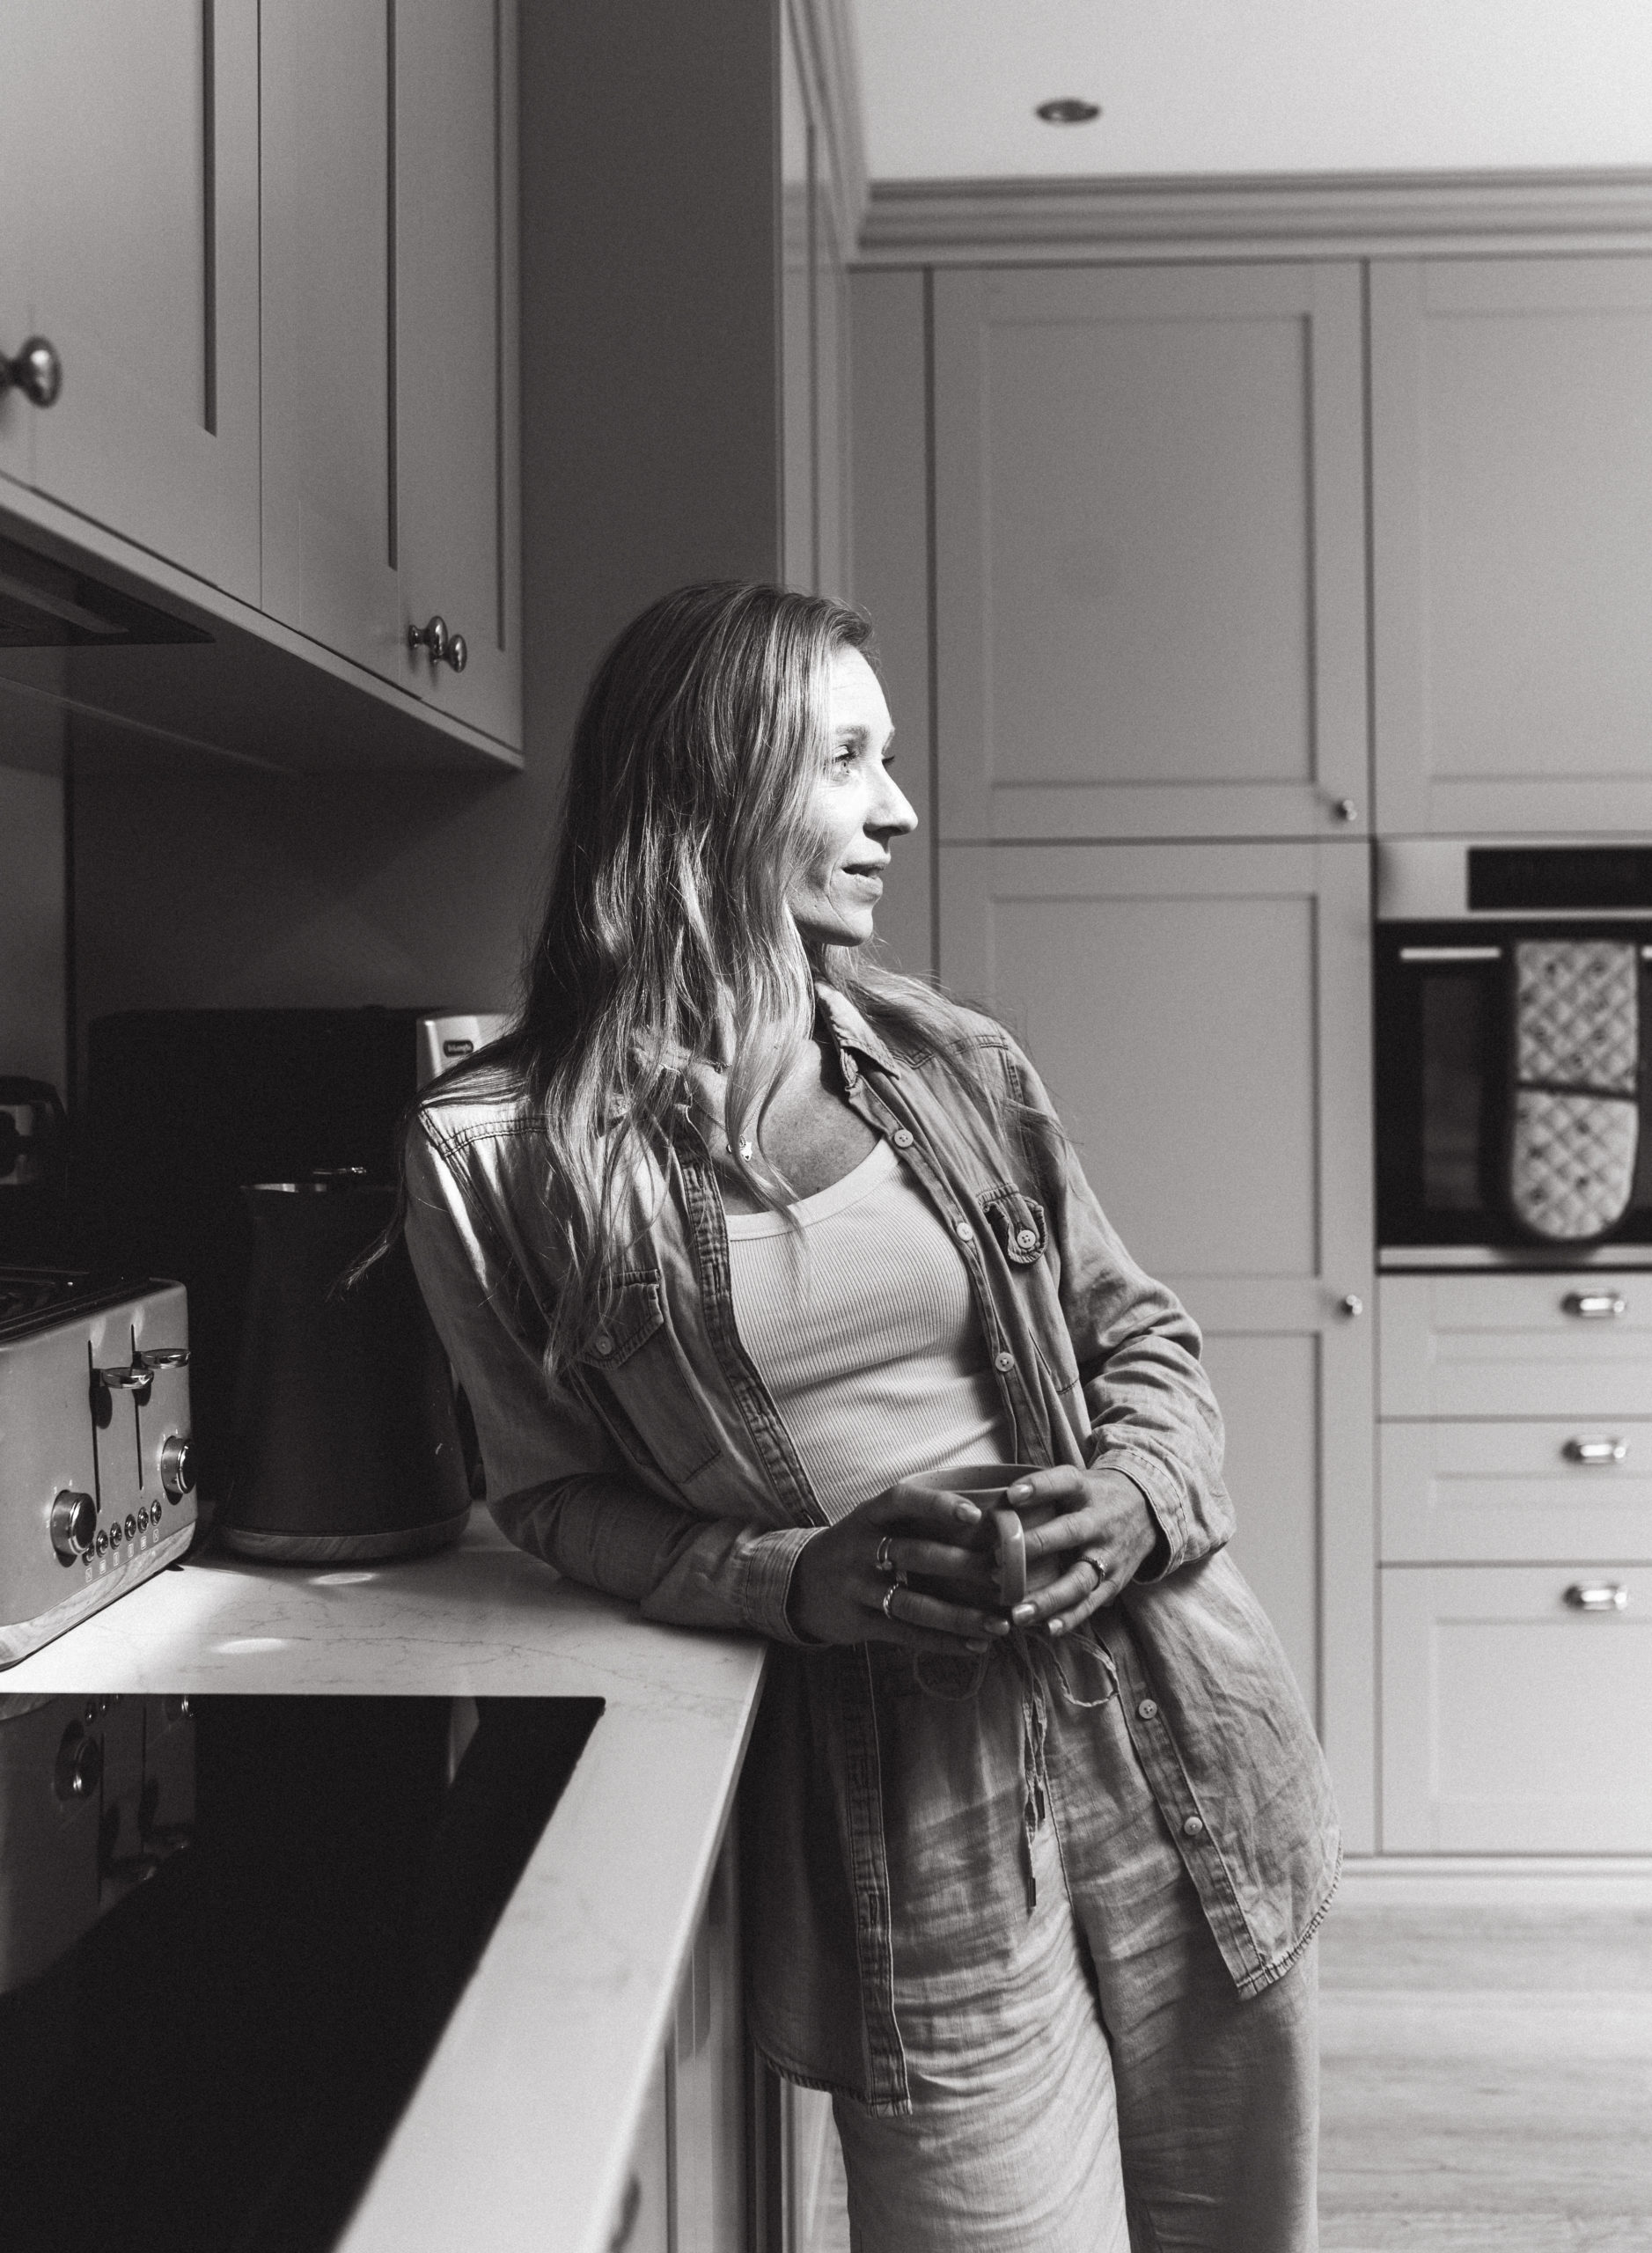
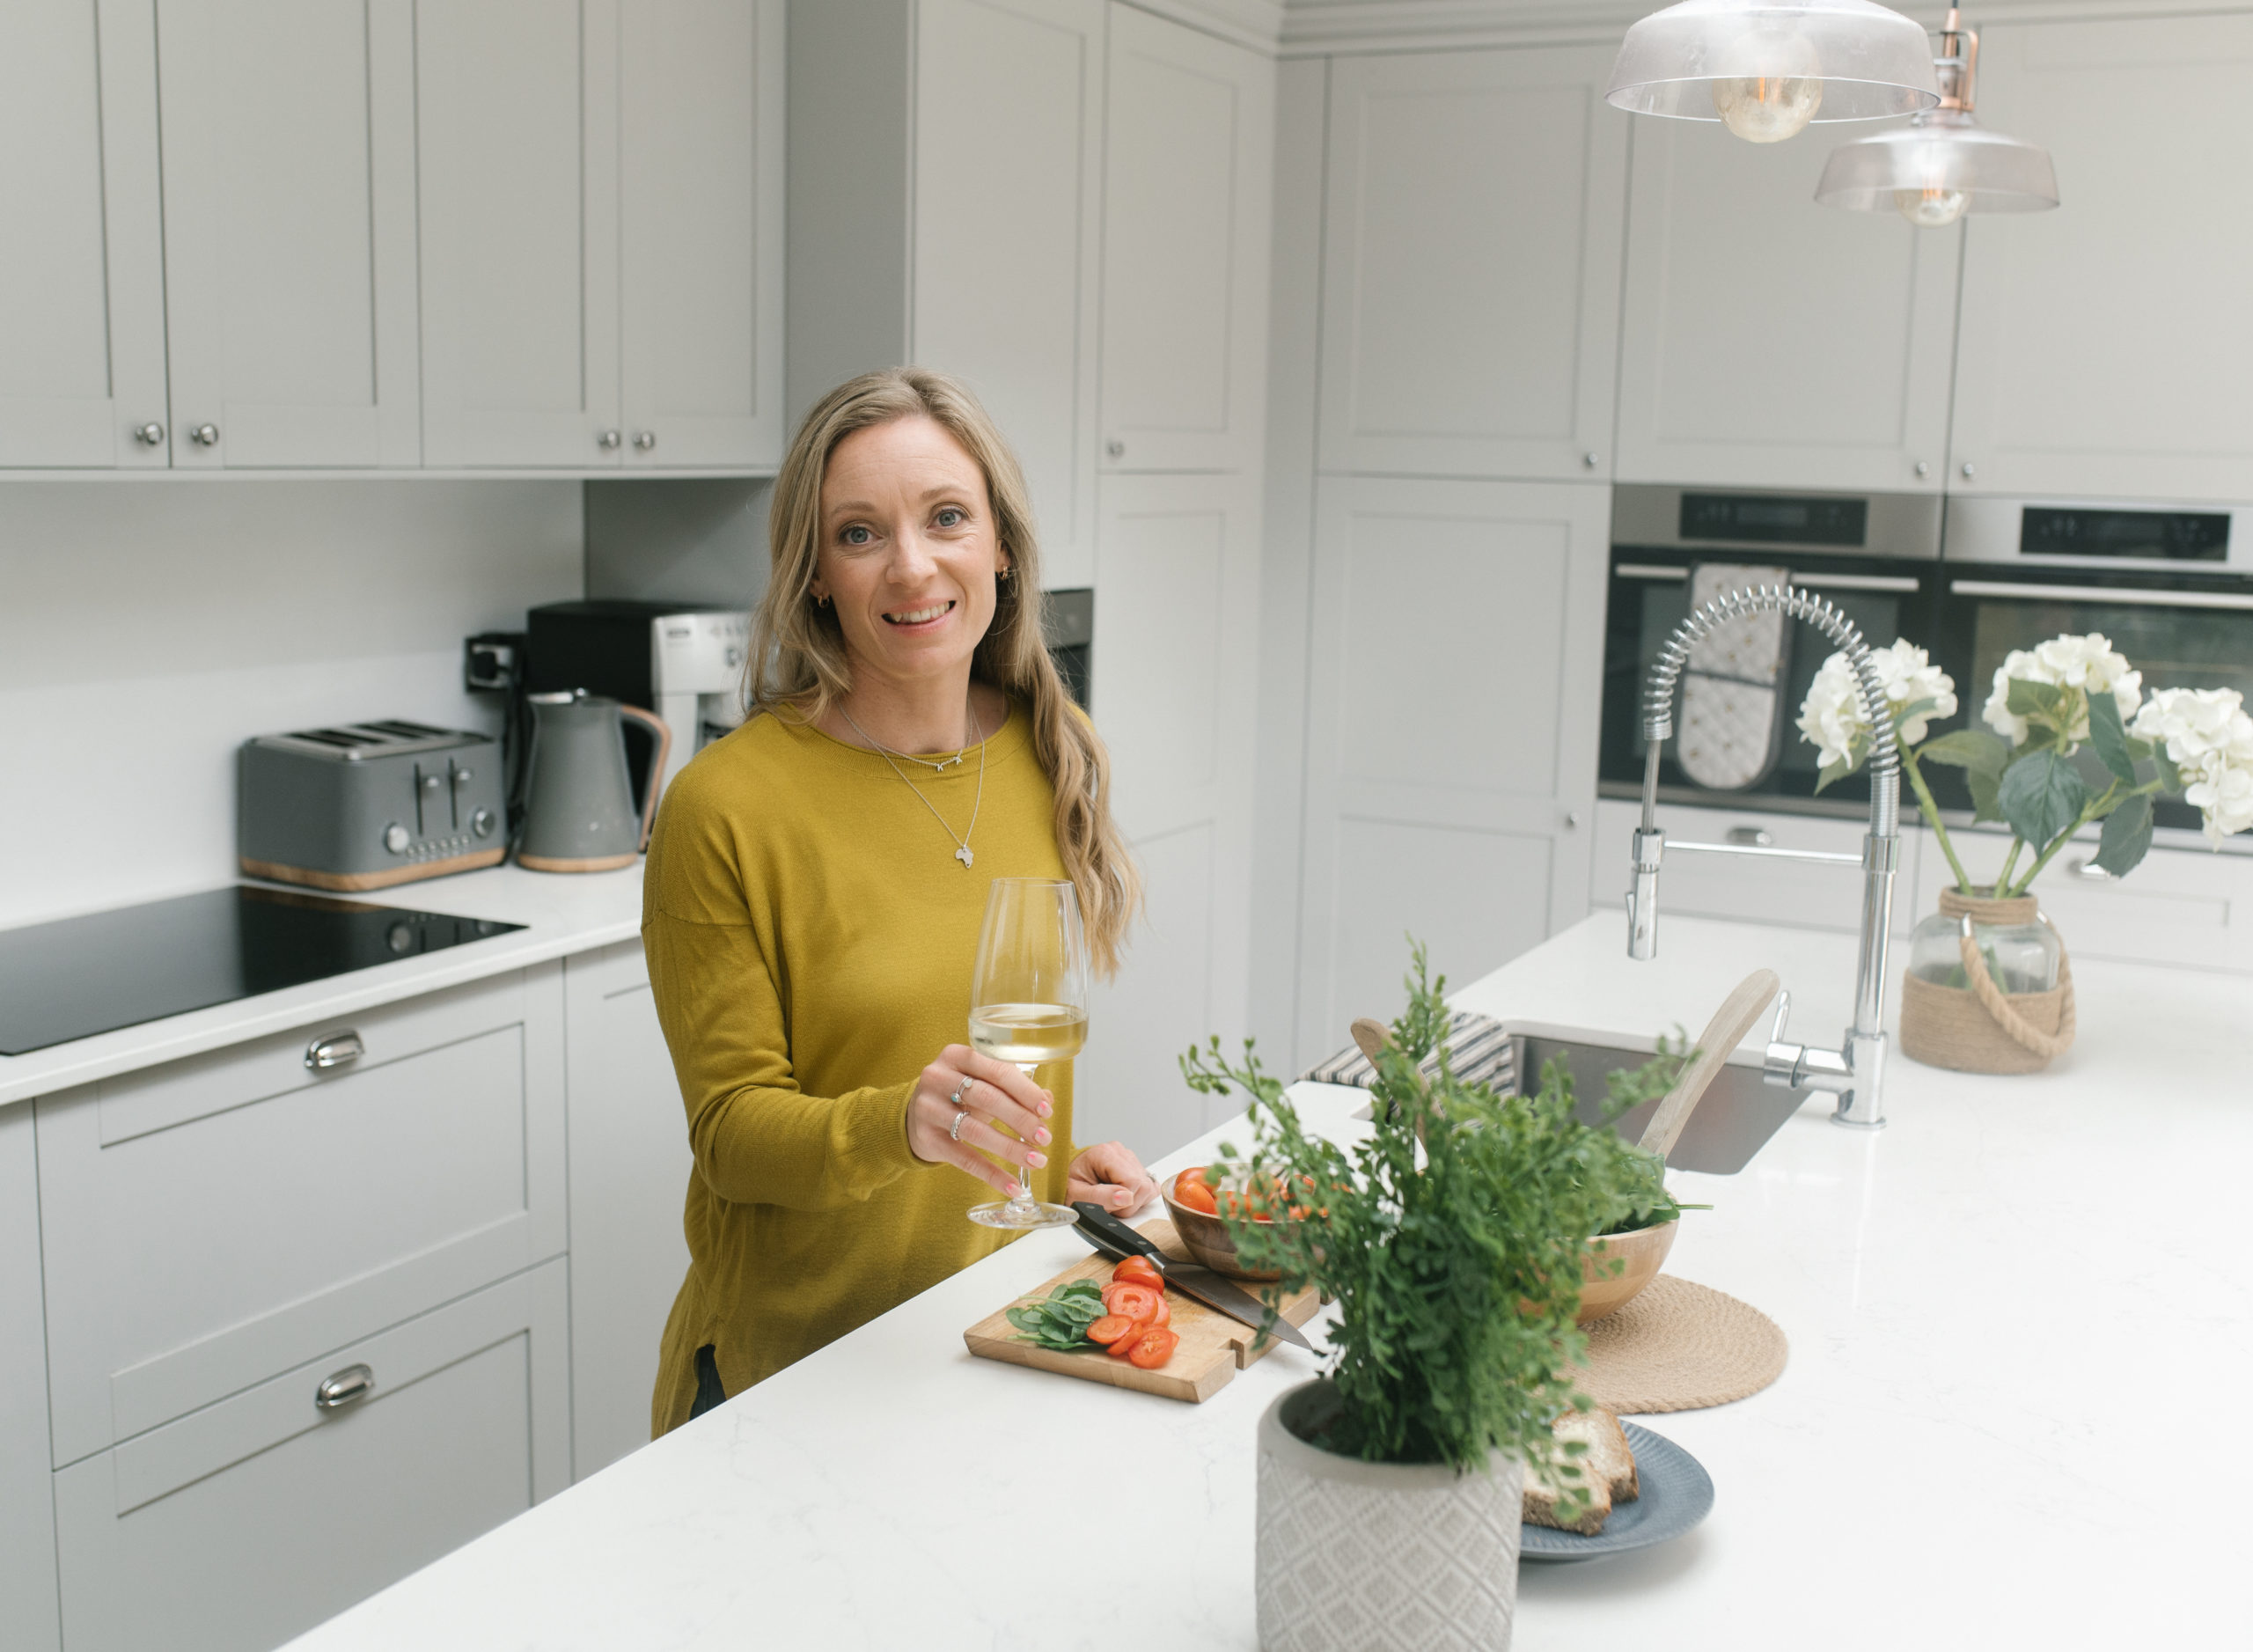
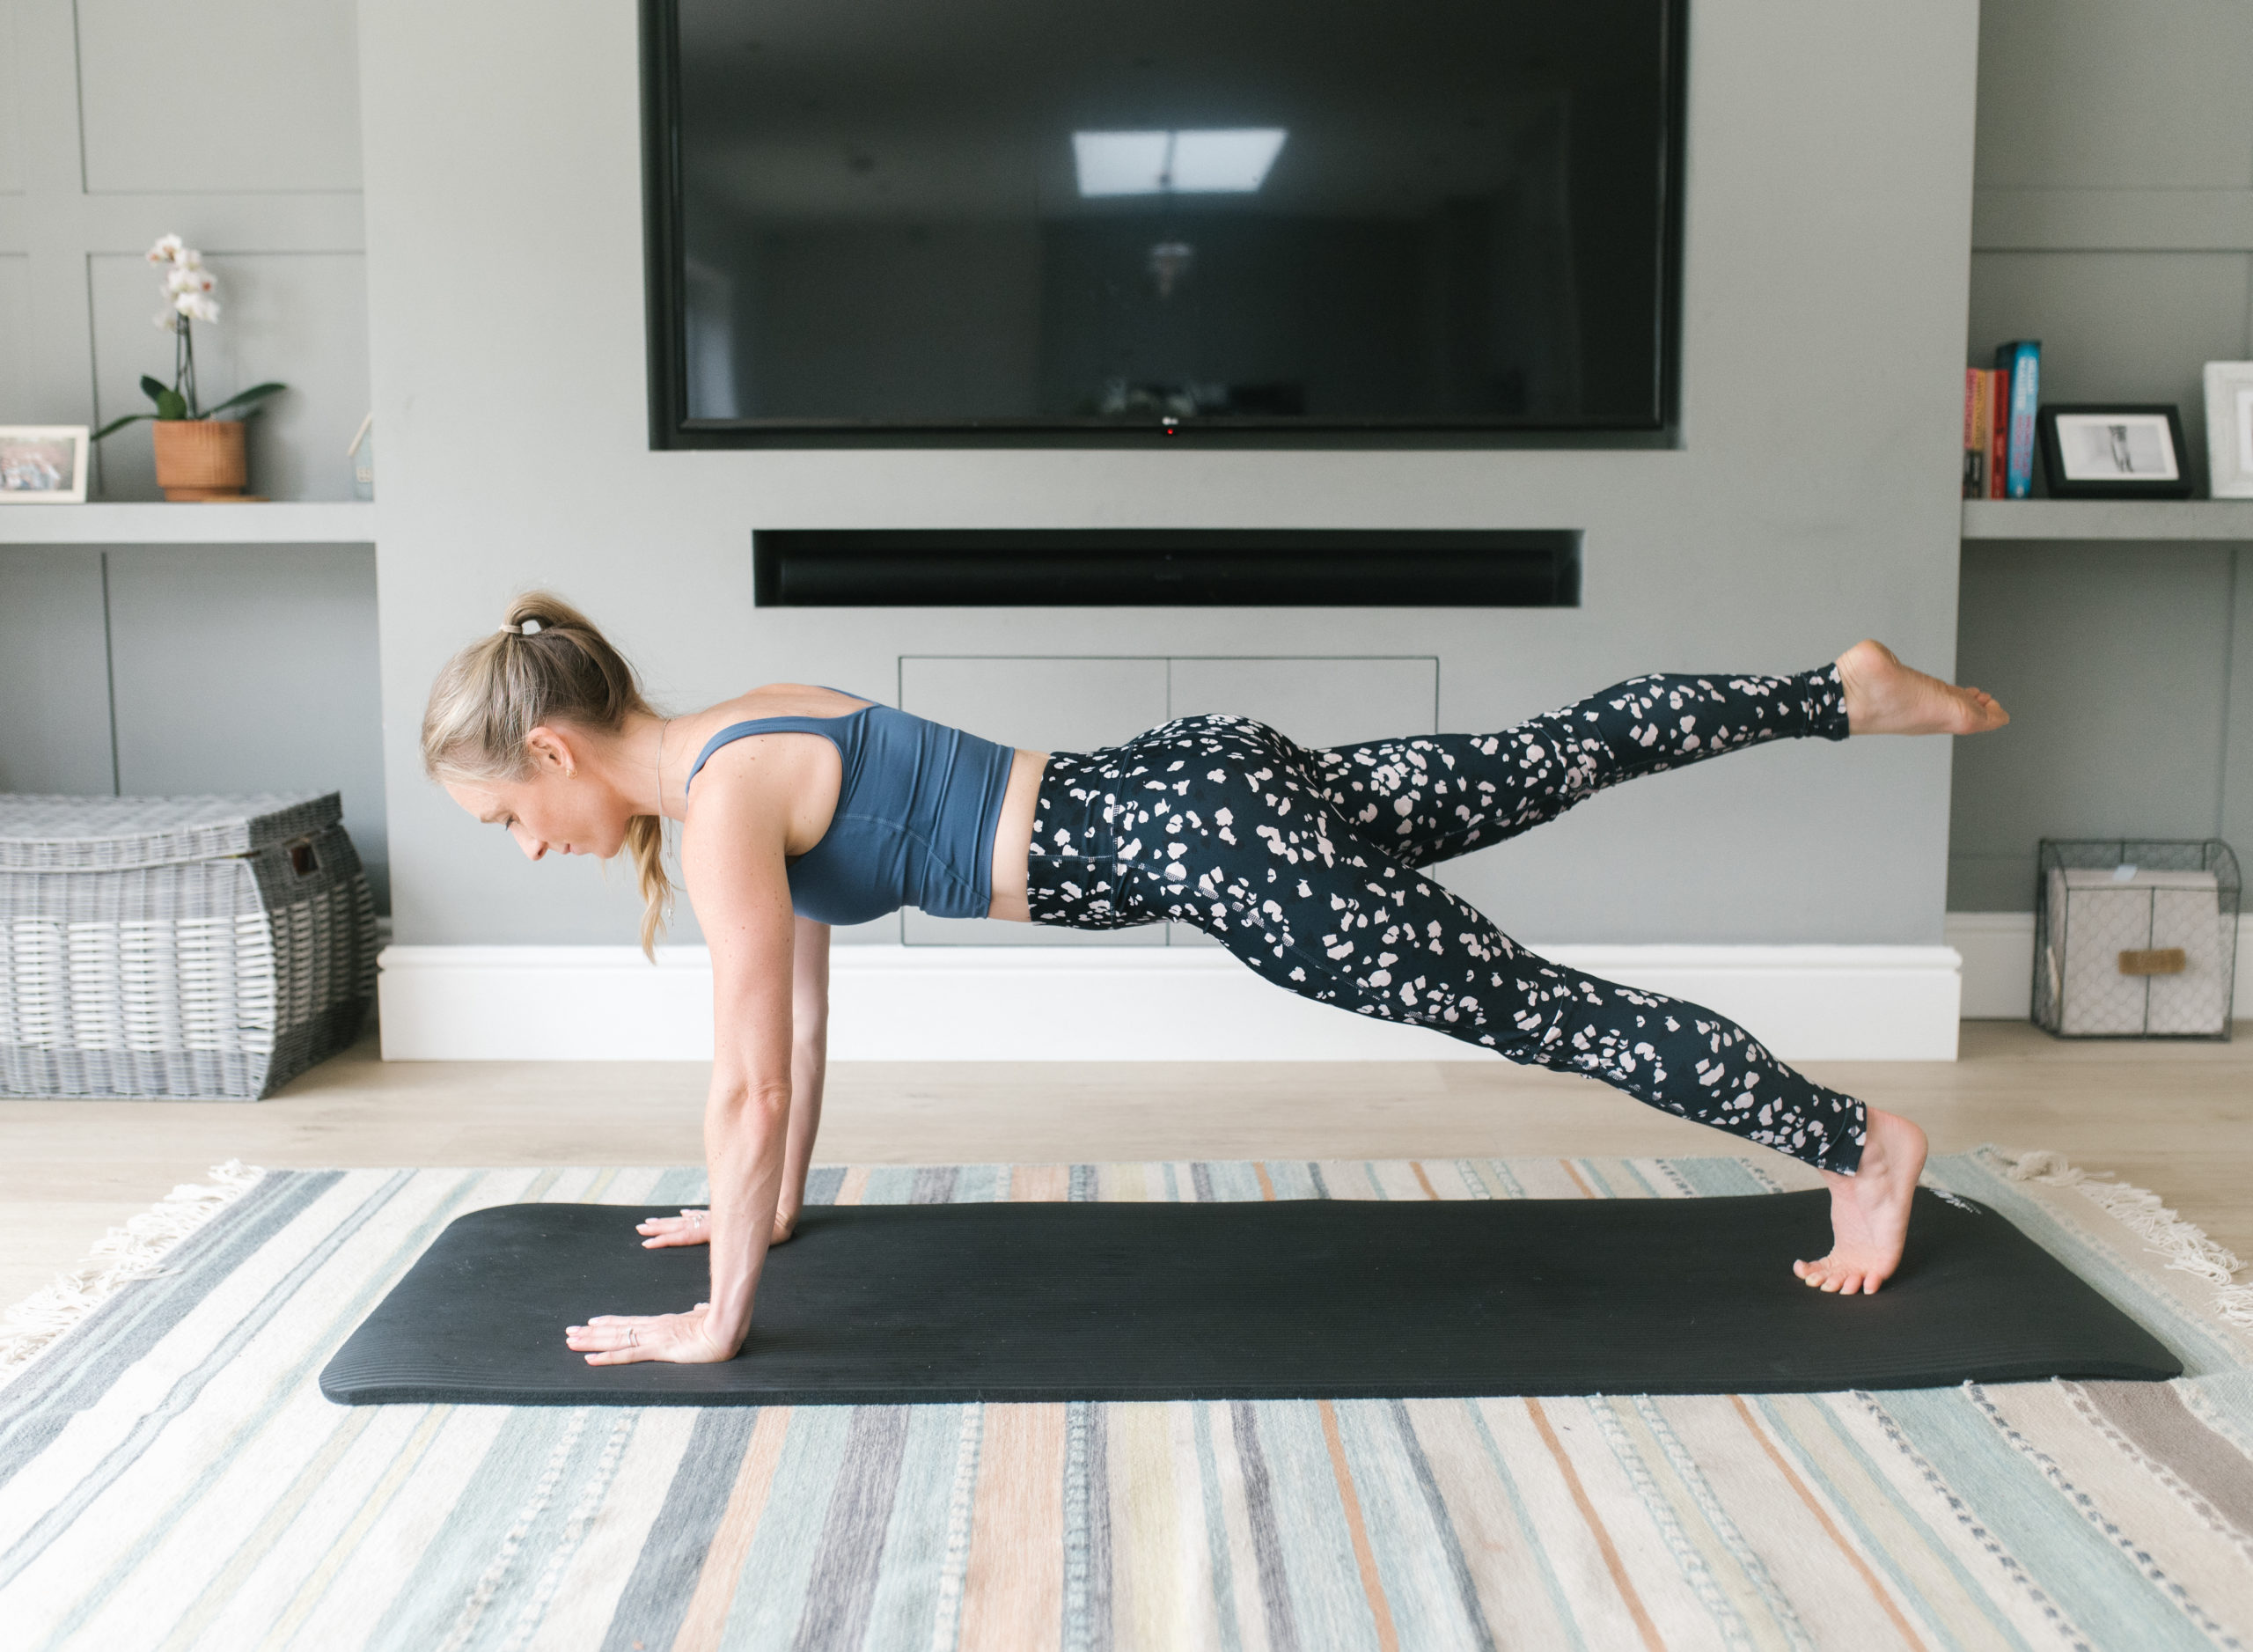
Jodie specialises in helping women with PCOS overcome their symptoms which can be absolutely crippling; Anxiety, acne and facial hair, fatigue and very heavy periods to name a few. She uses her knowlegde on nutrition and her love of pilates to help empower women to make changes without being ruled by medication and contraception.
Check her out on instagram for some more really amazing information jodie_relf.
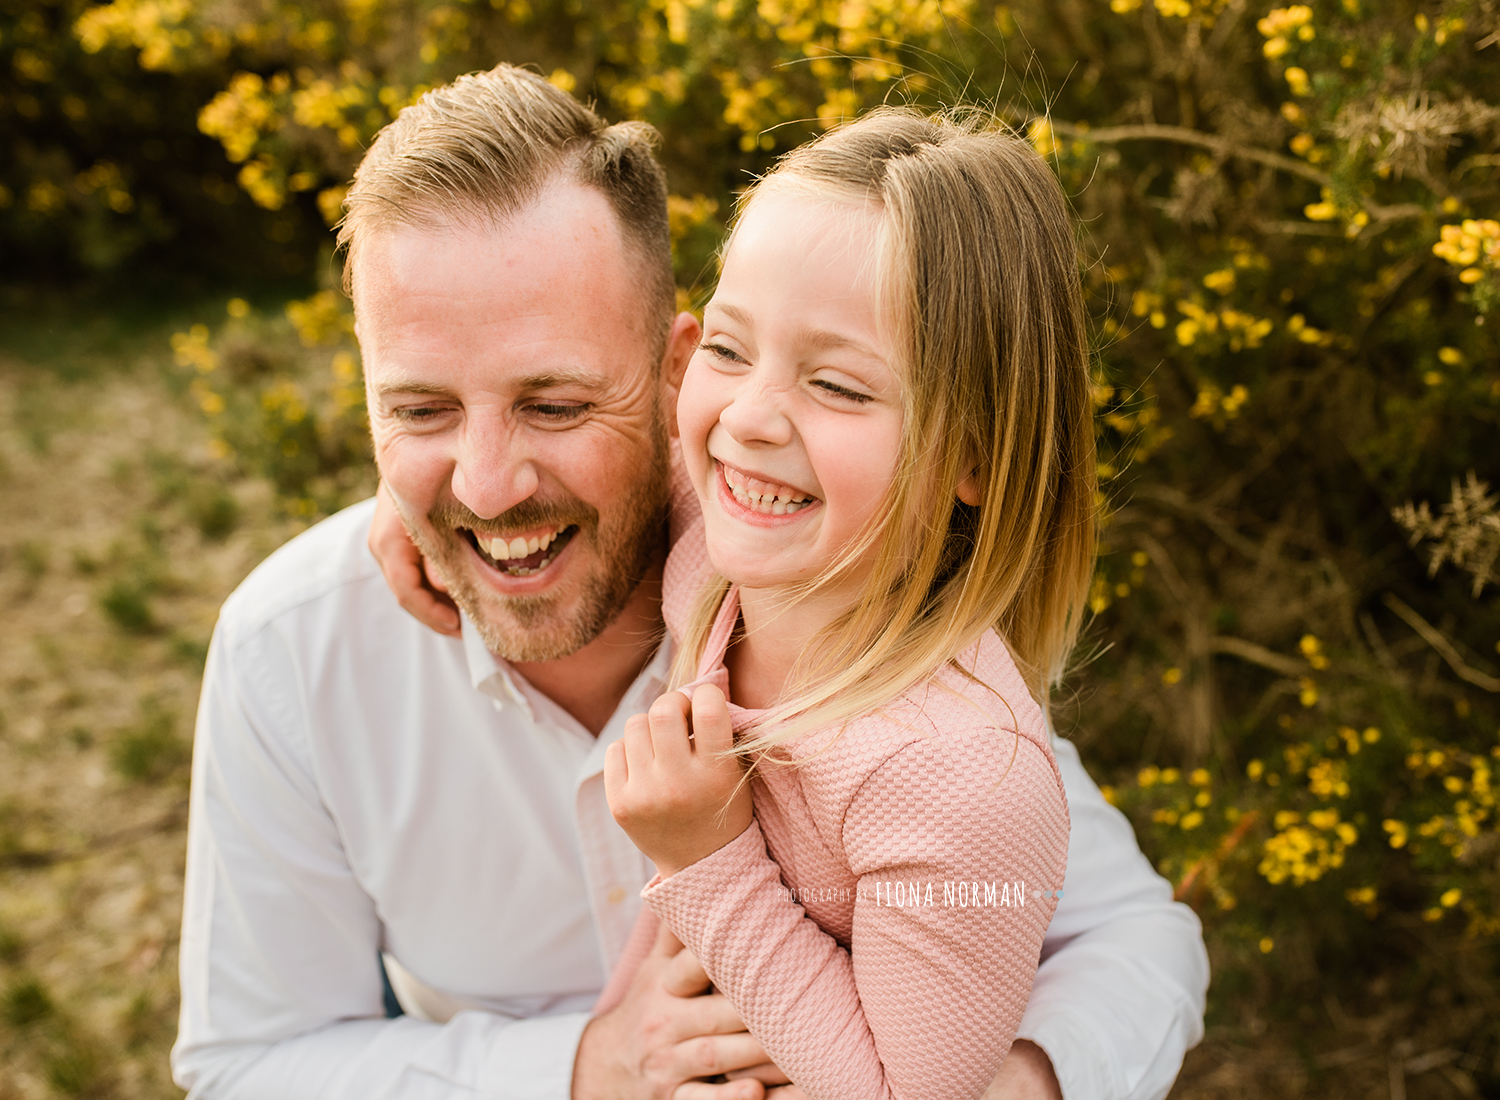
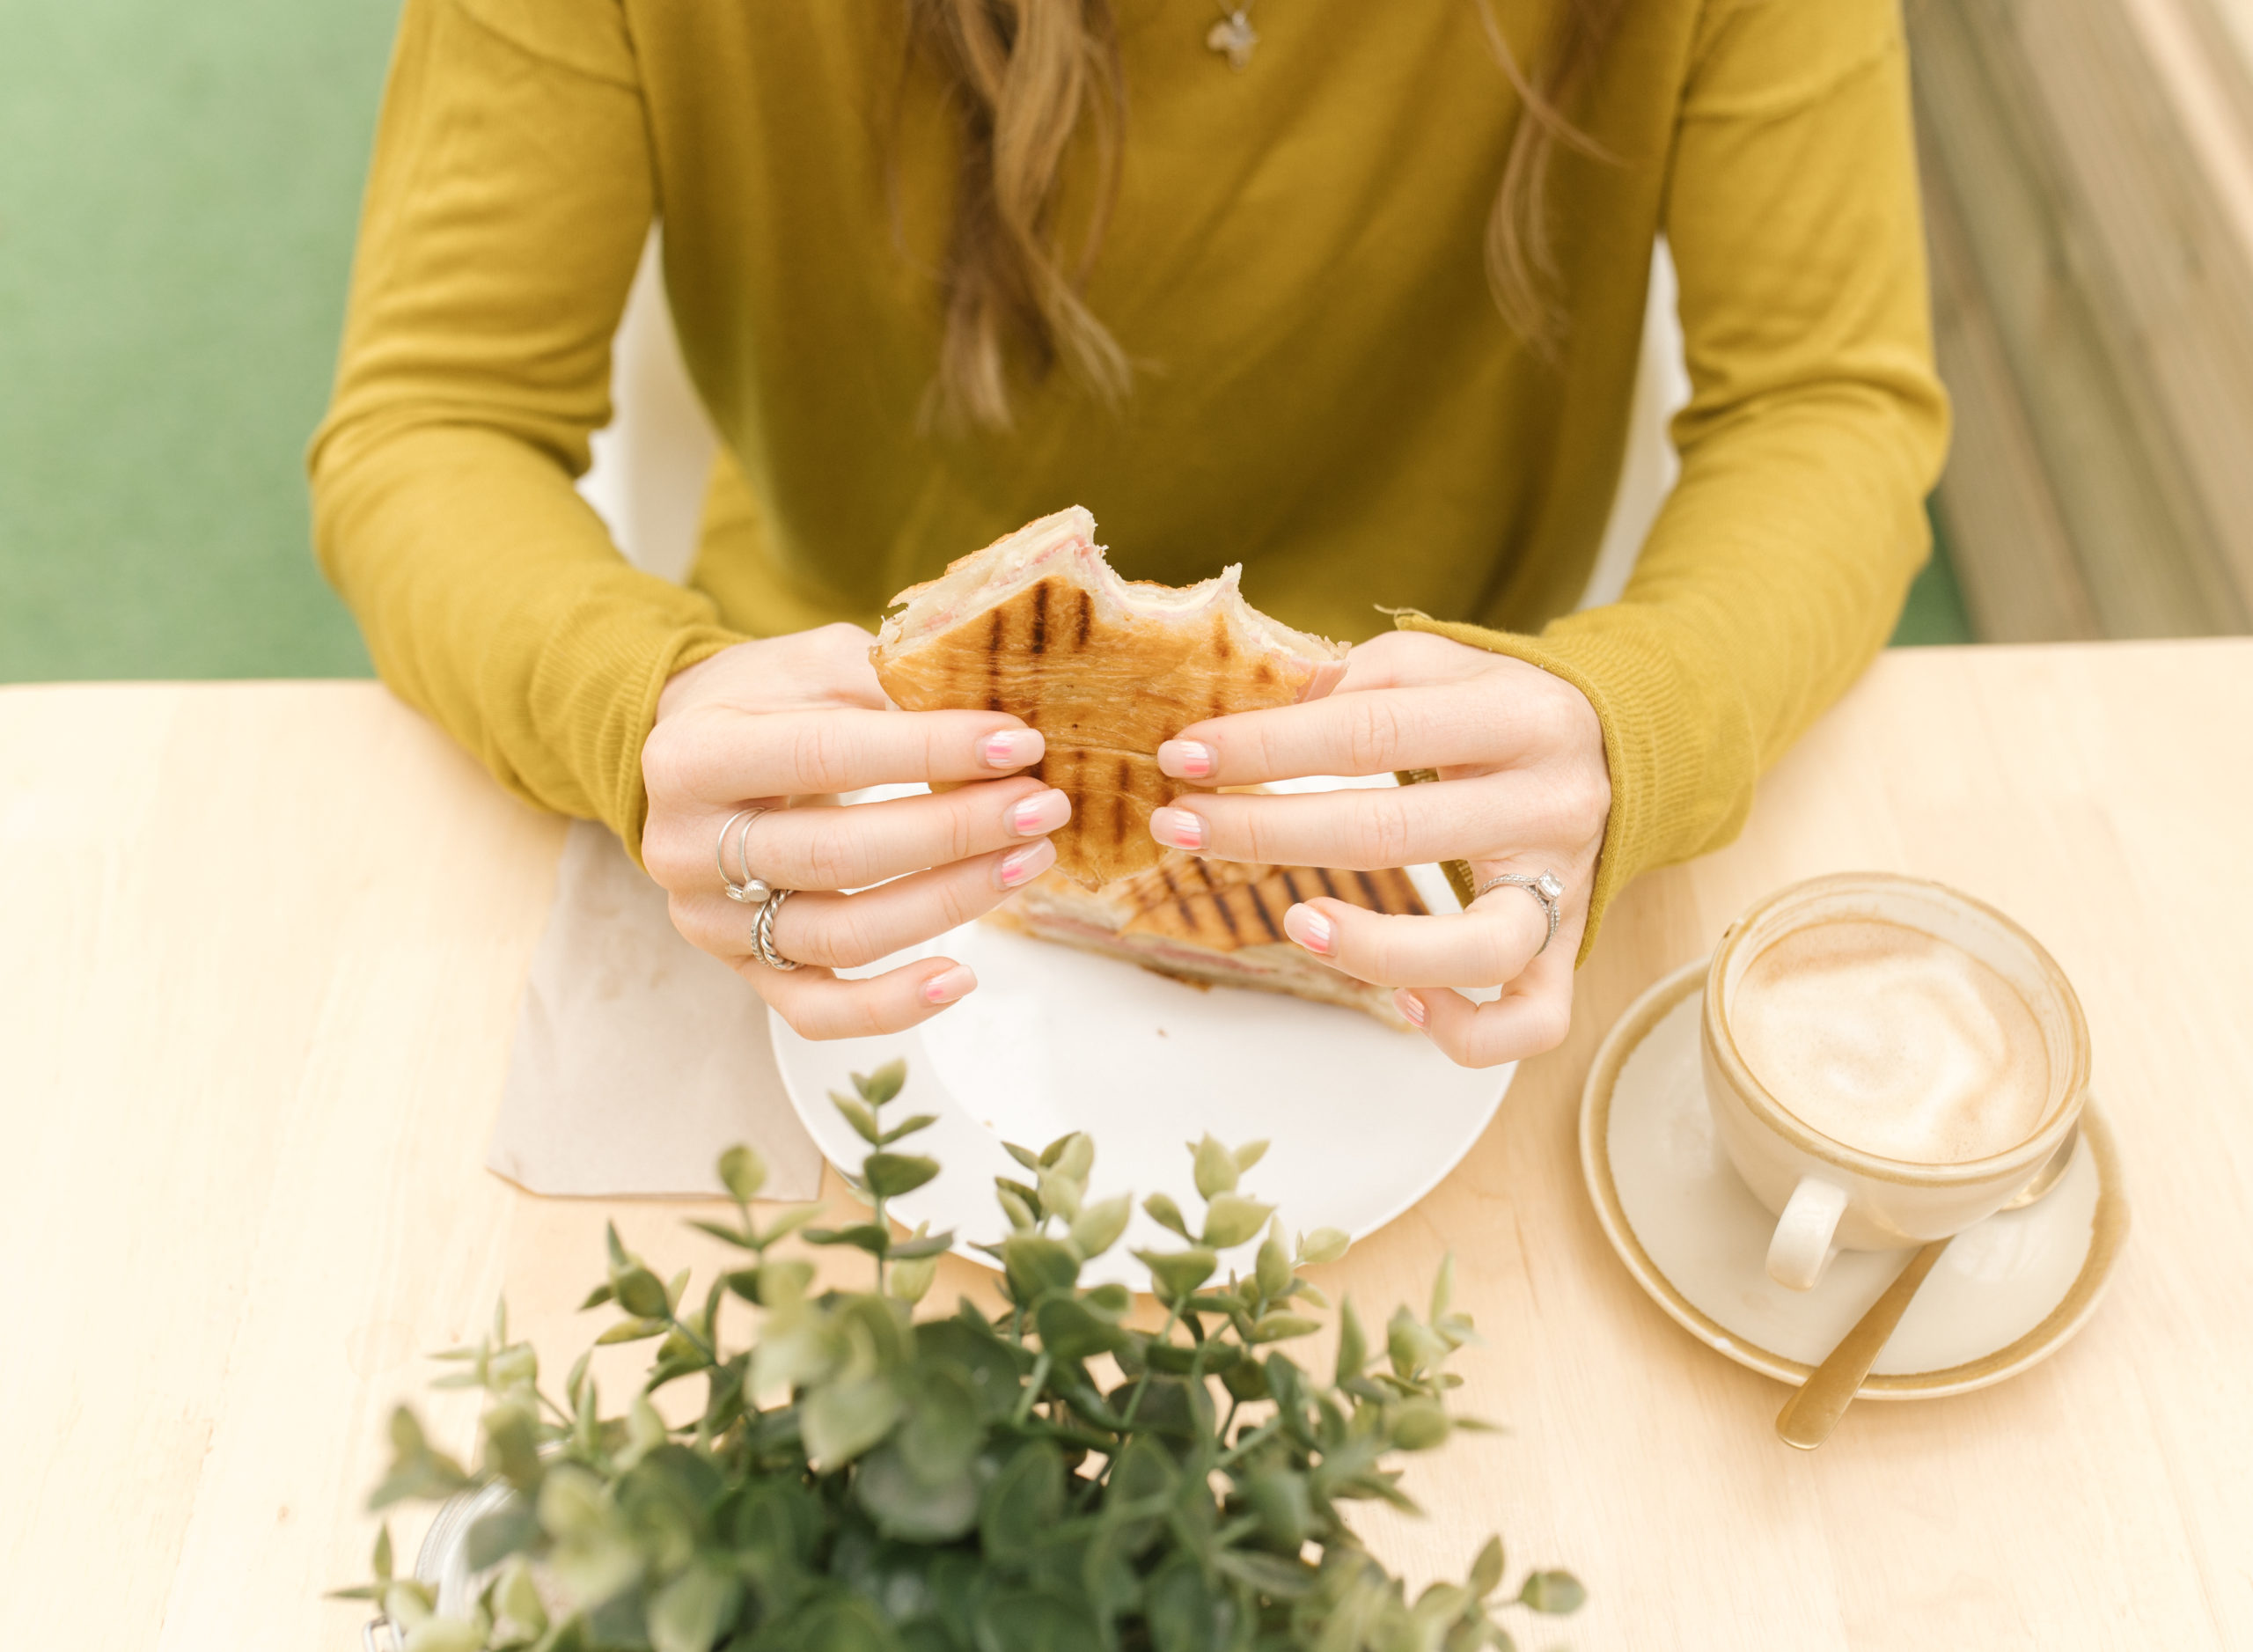
Her key audience are women 25-40 Jodie wanted some natural lifestyle type photos showing her as fun loving and passionate about cooking, nutrition and pilates. She wanted to show people that a healthy diet doesn’t just mean no fun or things like bread and wine and that everyone deserves to have a well lived life. I think we nailed it! We used a selection of different outfits and positions in the house and the studio to get a variety of shots (over 100 usable shots) that didn’t seem samey and boring. She will be able to use these across all her media platforms and her mail lists in the future.
If you have a business and need some updated photos then let’s chat!! 07970612867 fiona@fionanormanphotography.com


Tips from a sleep expert - Plus 20% Off
I'm Kirsty, a Baby and Child Sleep Therapist. I support families in creating healthy sleep habits for the whole family, giving you the tools and confidence to carry on for the future and any challenges you may face.
Do you have bedtime battles with your little one? Nap time struggles? Early wakings? Frequent night waking? Or need some routine for your little one's day?
I can help by offering;
* FREE discovery calls * Bespoke sleep support * Age-appropriate, realistic routines and techniques for babies and children 0 months - 7 years.
To achieve at your own pace, better sleep for you and your family.

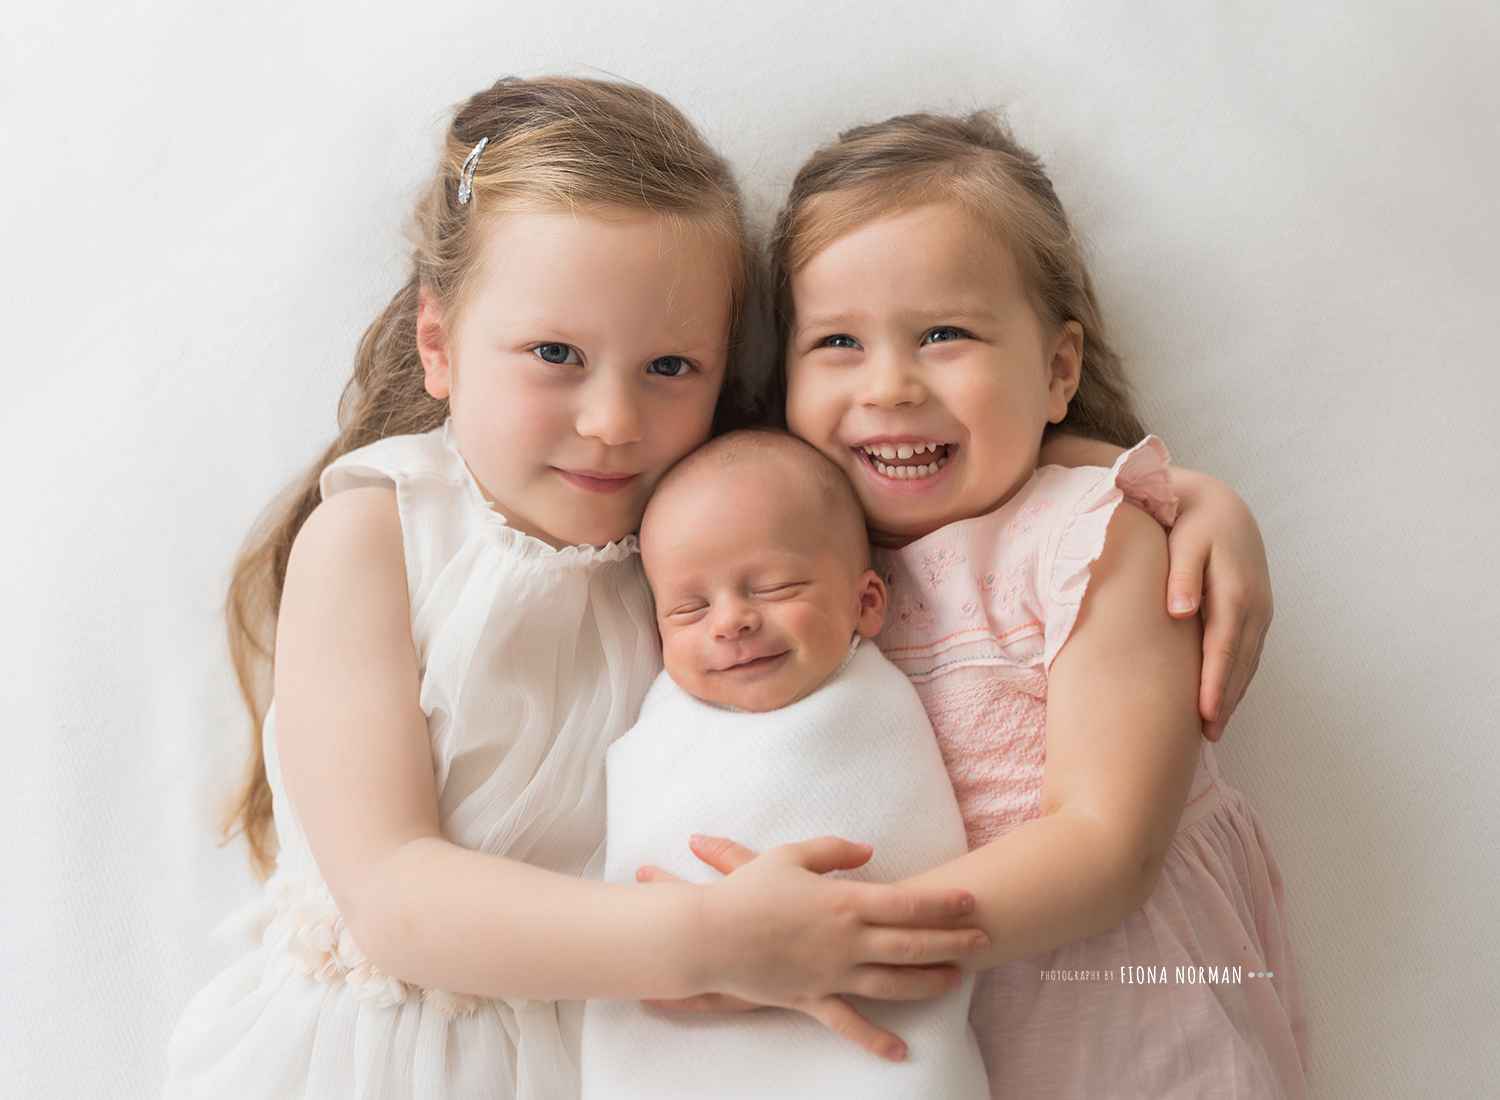
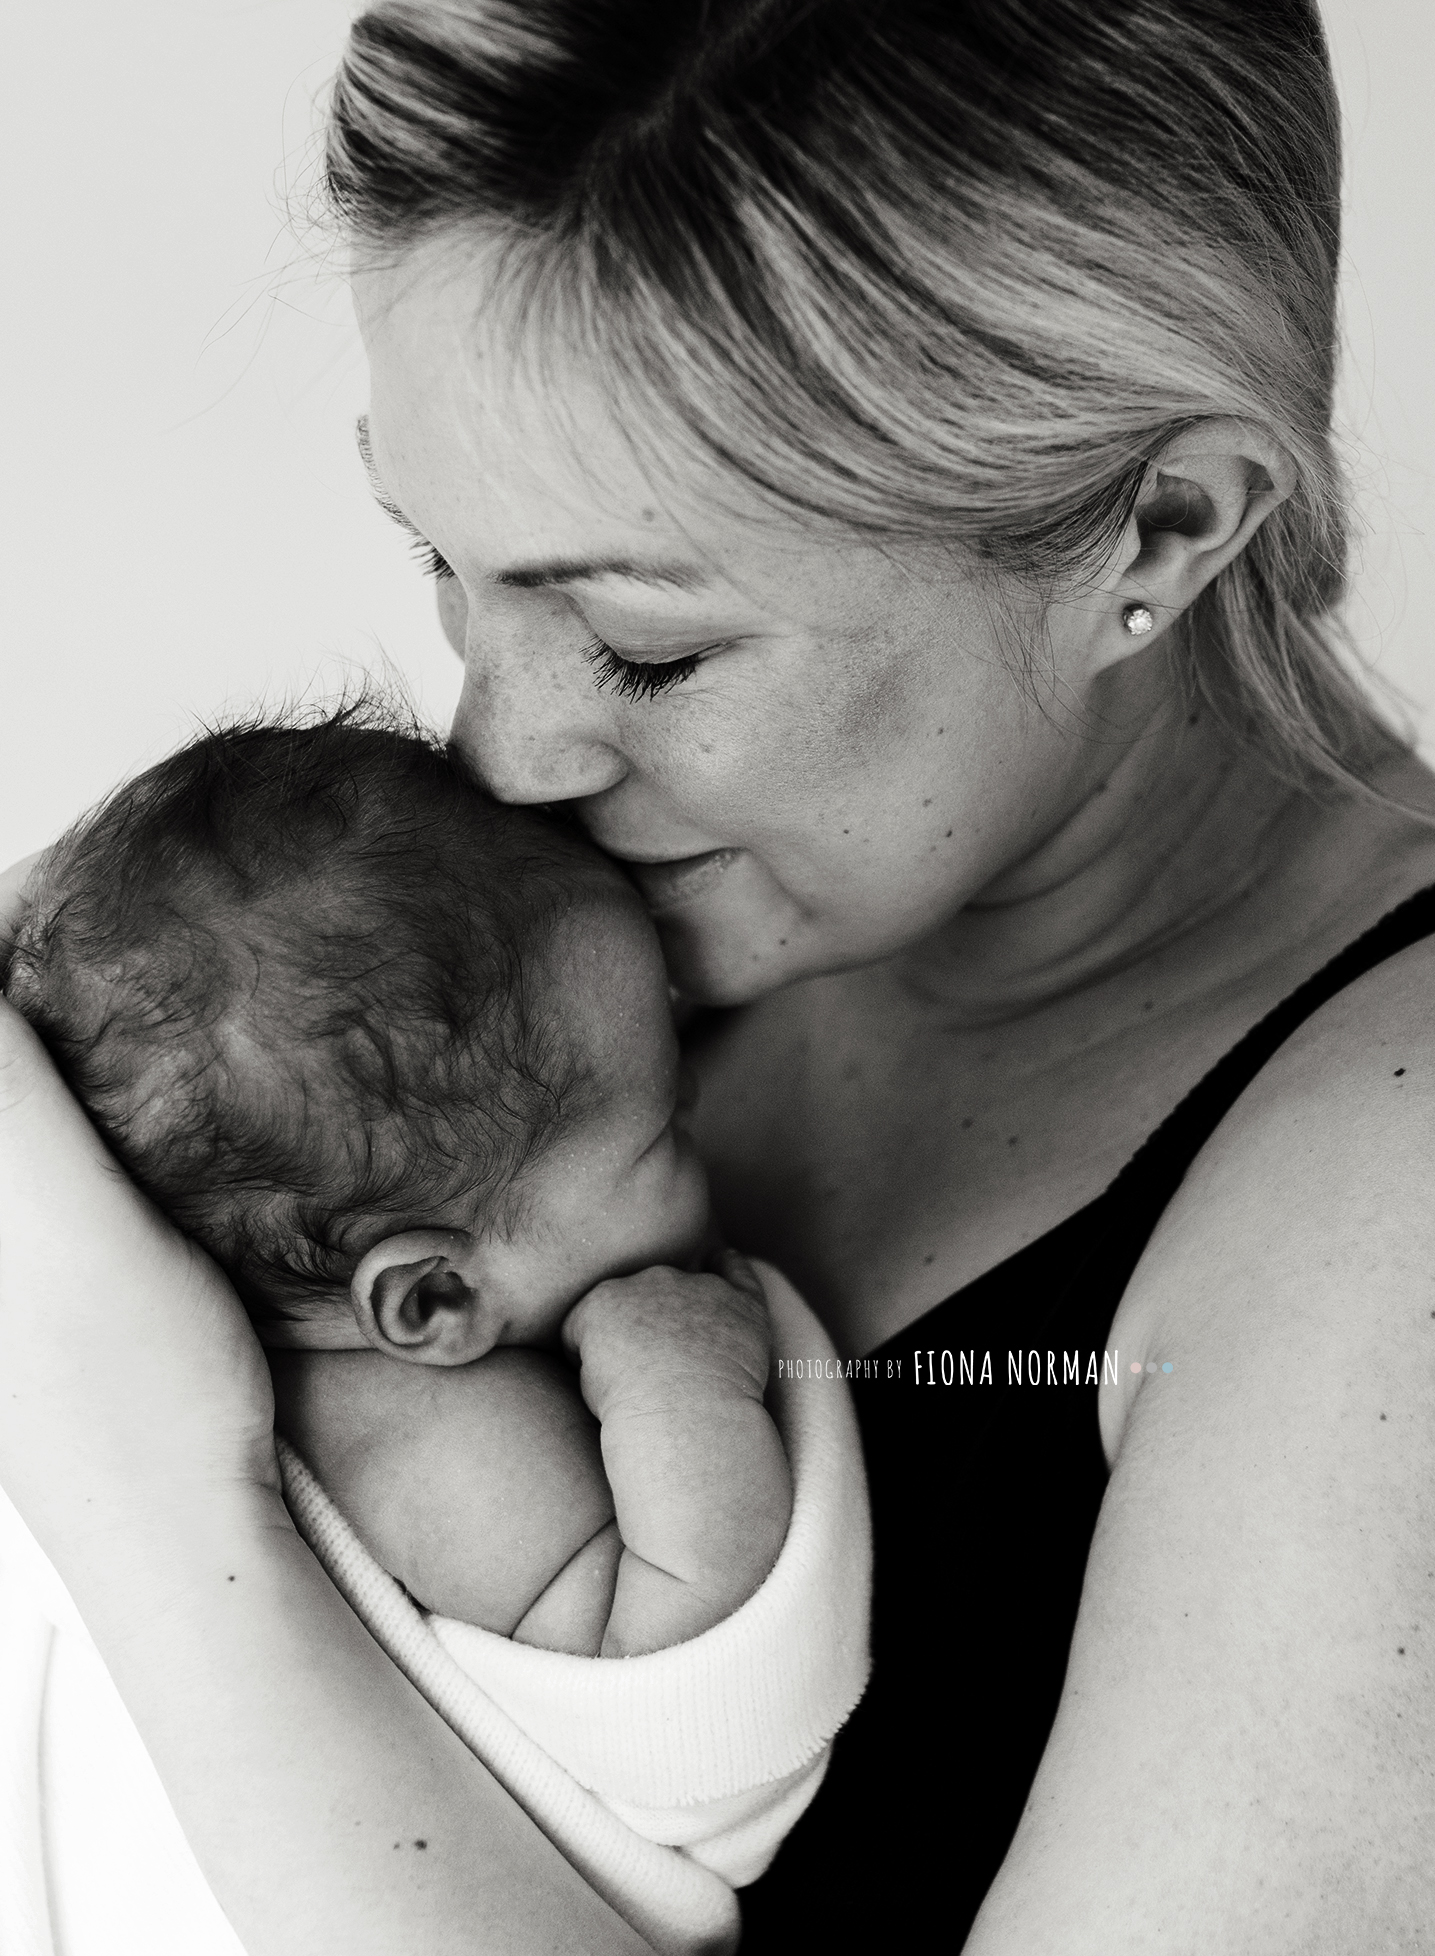
Having A New Baby!
Nothing prepares you for the sleep deprivation you face as a new parent, and I think the best thing you can do is lower your expectations. Yes, you may be blessed with a good sleeper, but if you're not, that's OK, don't suffer. Ask for help!
Did you know babies are born too soon? We humans can't physically carry them for any longer than nine months, which is why you should prepare to imitate life in the womb for your baby to be most settled. This is otherwise known as the fourth trimester, and you should think of your baby as a foetus outside the womb during this time.
Cuddling is what your baby wants, don't worry about the beautiful nursery you have decorated; they can enjoy that in a few months. Instead, expect fussiness and crying from your newborn and exhaustion from you.
Before birth, your baby is lavished with rhythmic sensations, lots of jiggly motion and whooshing sounds from the blood pulsing through the uterine arteries. To give your little one the best fourth-trimester care, you can implement "The 5 S's."
- Swaddle
- Shush
- Sway
- Hold on the side/stomach position
- Suck

Sleep Therapist
My Top 5 Tips For Better Sleep With A Newborn.
1. Swaddle - From birth to 4-5 months, babies have what we call the startle reflex; swaddling them prevents this startle reflex from waking them. Swaddling can encourage better, longer sleep for babies. Even If your baby doesn't seem to like swaddling, stick with it! Once your baby rolls, you must stop swaddling.
2. Dream feed - A dream feed is a good idea to give once you go to bed to keep your baby topped up to encourage longer stretches of sleep.
3. Use white noise - White noise creates a comfortable womb-like environment that calms babies, encouraging them to fall asleep and link sleep cycles.
4. Follow the eat, wake, sleep cycle - The baby wakes from sleep and immediately eats. Then the baby is awake for a while to play. Then the baby goes back to sleep….
This cycle has several purposes. First, it encourages full feedings by allowing the baby to eat immediately after waking. The baby will have the most energy immediately after waking, making him more inclined to take a full feeding and go longer between feedings.
Also, by feeding the baby after sleep rather than before sleep, the cycle prevents the baby from associating food with sleep or using food as a sleep prop when using this cycle, feeding before bedtime is typically only feeding before sleep.
5. Create a pre-nap and bedtime routine - Babies crave routine, structure and predictability. Creating a pre-nap and bedtime routine prepares them for what comes next, sleep!
A pre-nap routine could be - upstairs, nappy change, into a sleeping bag, close the blinds, turn on the white noise, have a cuddle and put into their cot and say you're sleepy words. "nap time now." or "love you night night."
A bedtime routine would be a little longer with a bath, massage, story, feed, turn on white noise, into a sleeping bag, cuddles, into bed, and sleepy words again. Repeating these daily routines quickly encourages your little one to fall into a routine.
HOW CAN I HELP YOU?

I'm a sleep consultant, but I'm also a mother.
I'm not going to tell you to leave your baby to cry and ignore their needs, just like I wouldn't do that to my children. But I'm not going to tell you that you need to suffer from sleep deprivation and that it's part of parenting. It's not.
I've helped many families make positive sleep changes for their whole family, including;
- Laying newborn sleep foundations, giving new parents tips and advice on normal newborn sleep.
- Frequent night wakings.
- Sleep associations you want to break
- Toddler bedtime battles.
- Early rising.
- Nap struggles.
- Routine support.
And more!
I would love to chat with you more... my number is 07834244230. Email is kirsty@thechildsleeptherapist.com or check out my website www.thechildsleeptherapist.com
ANYONE THAT HAS BOOKED A SESSION IN THE FUTURE OR THE PAST WITH FIONA NORMAN GETS 20% OFF - JUST QUOTE FIONAS NAME WHEN BOOKING!

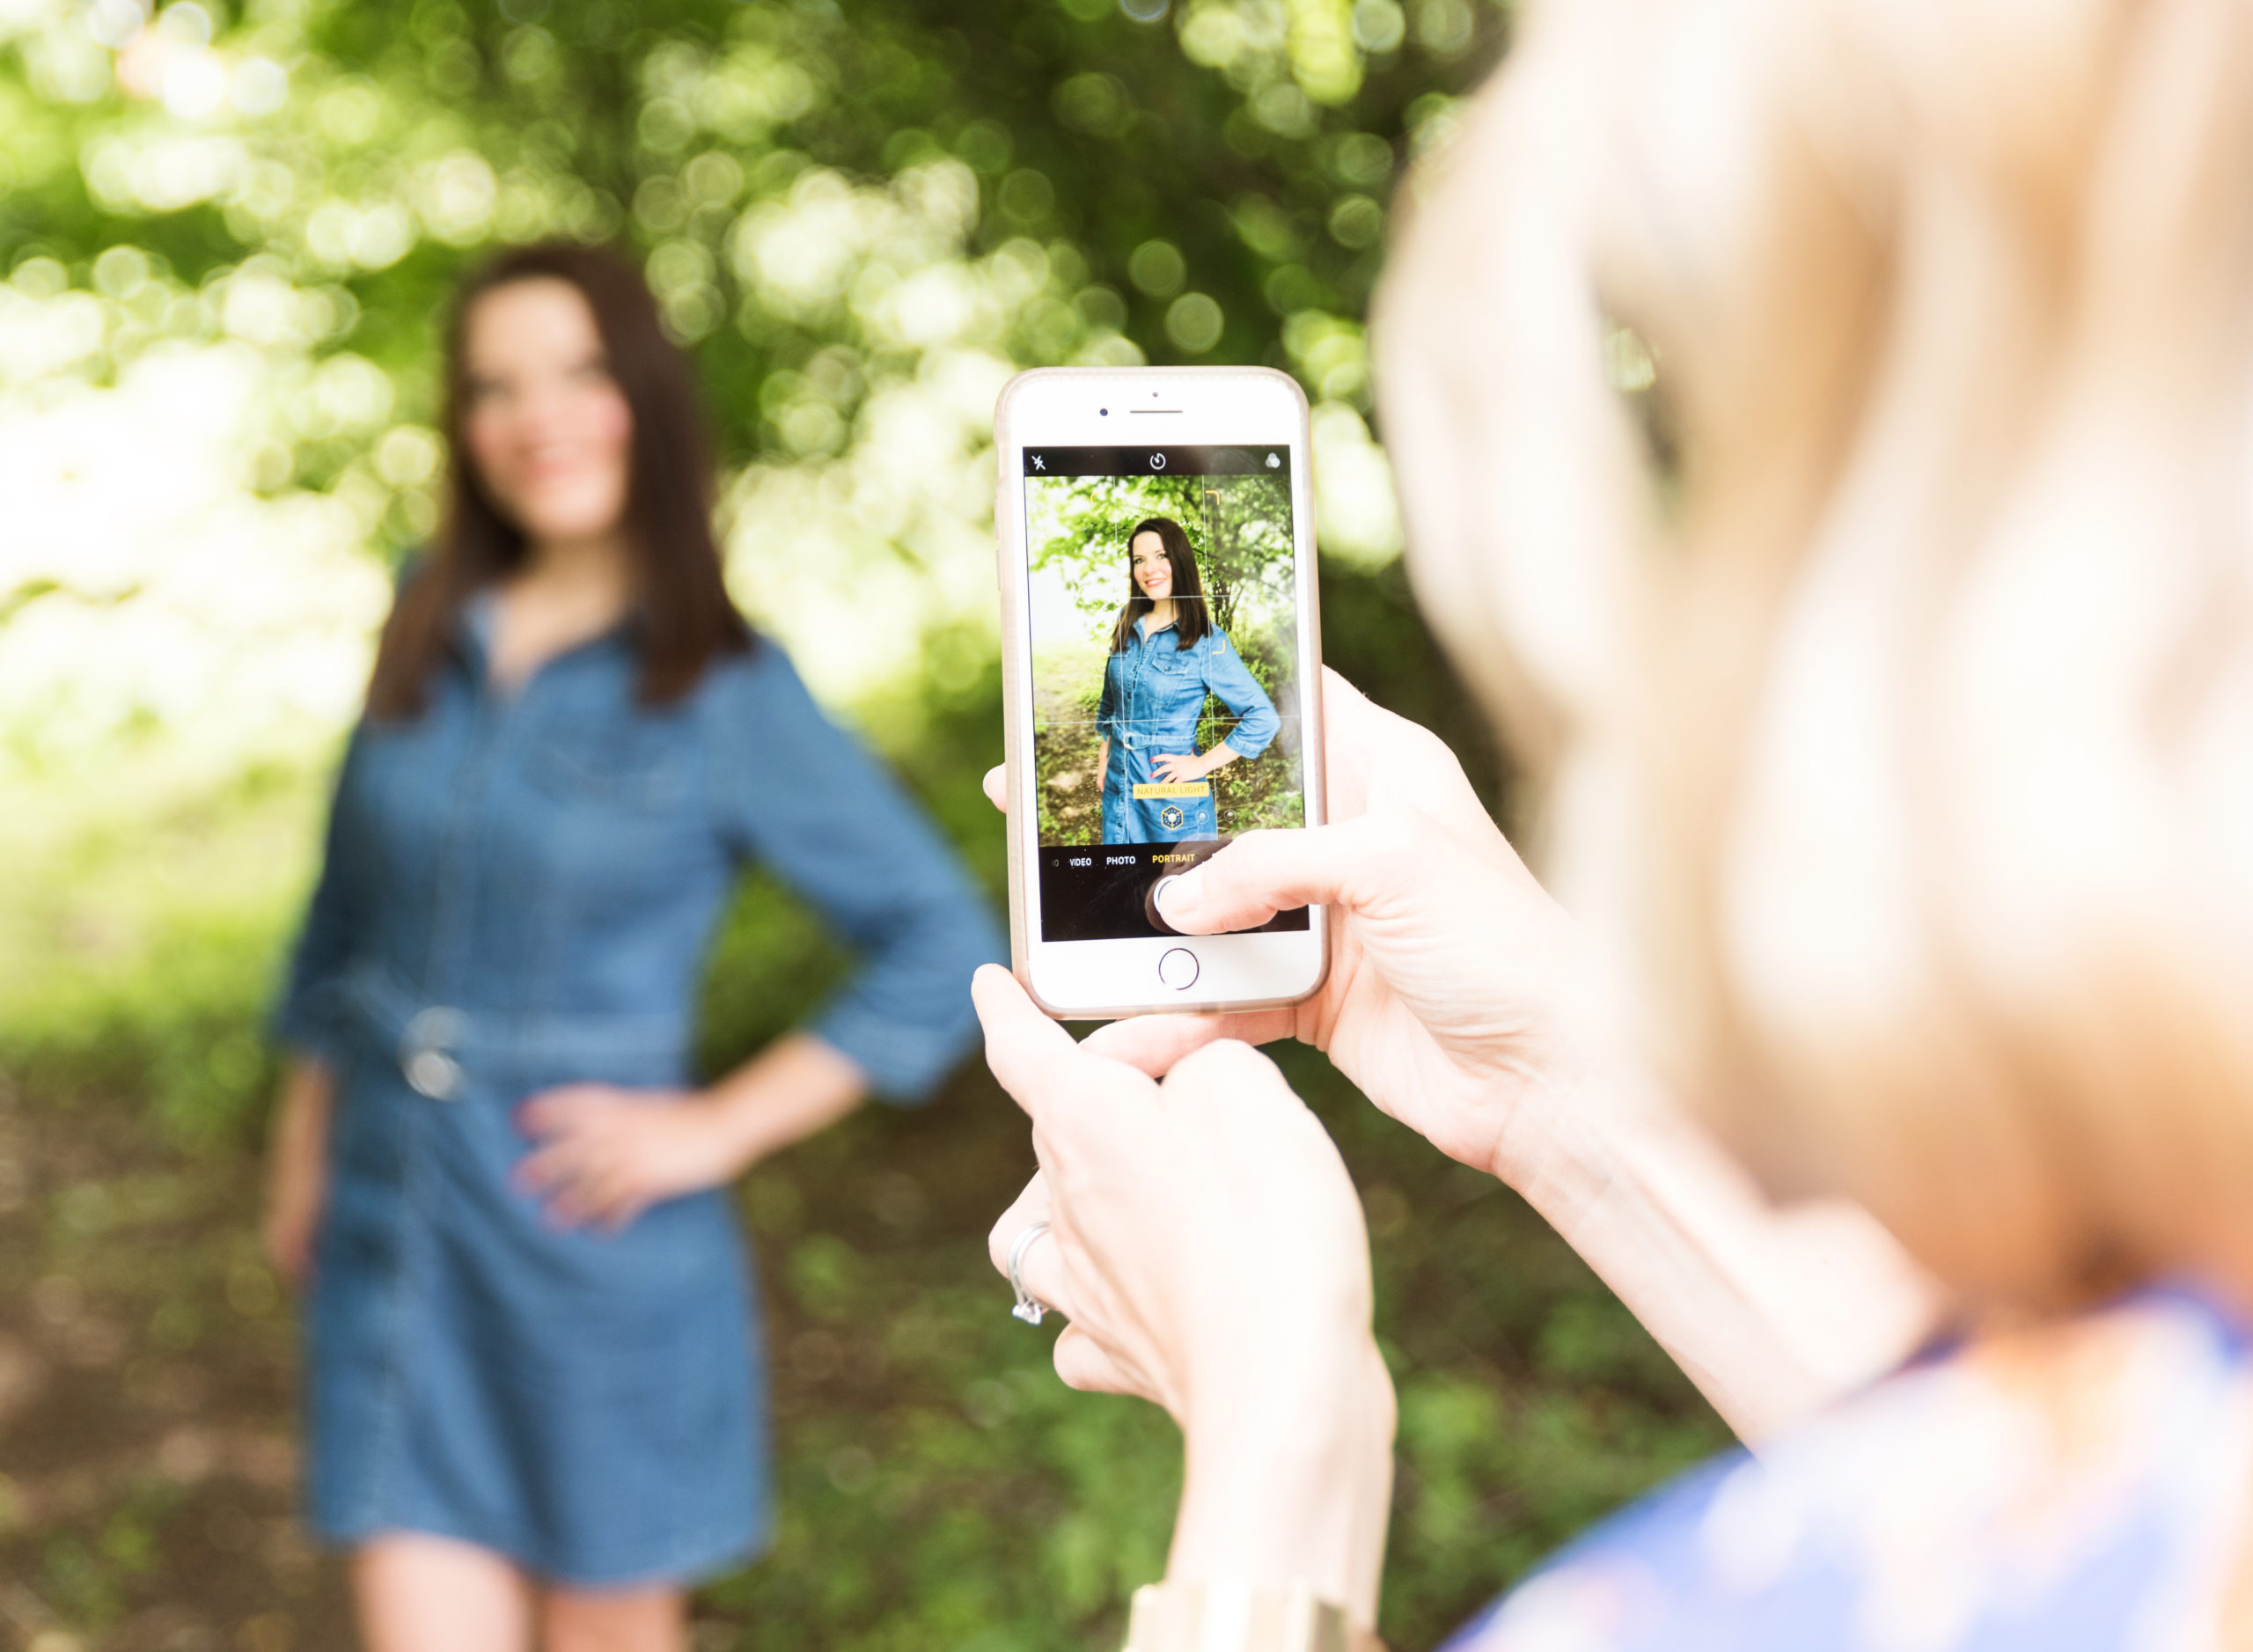
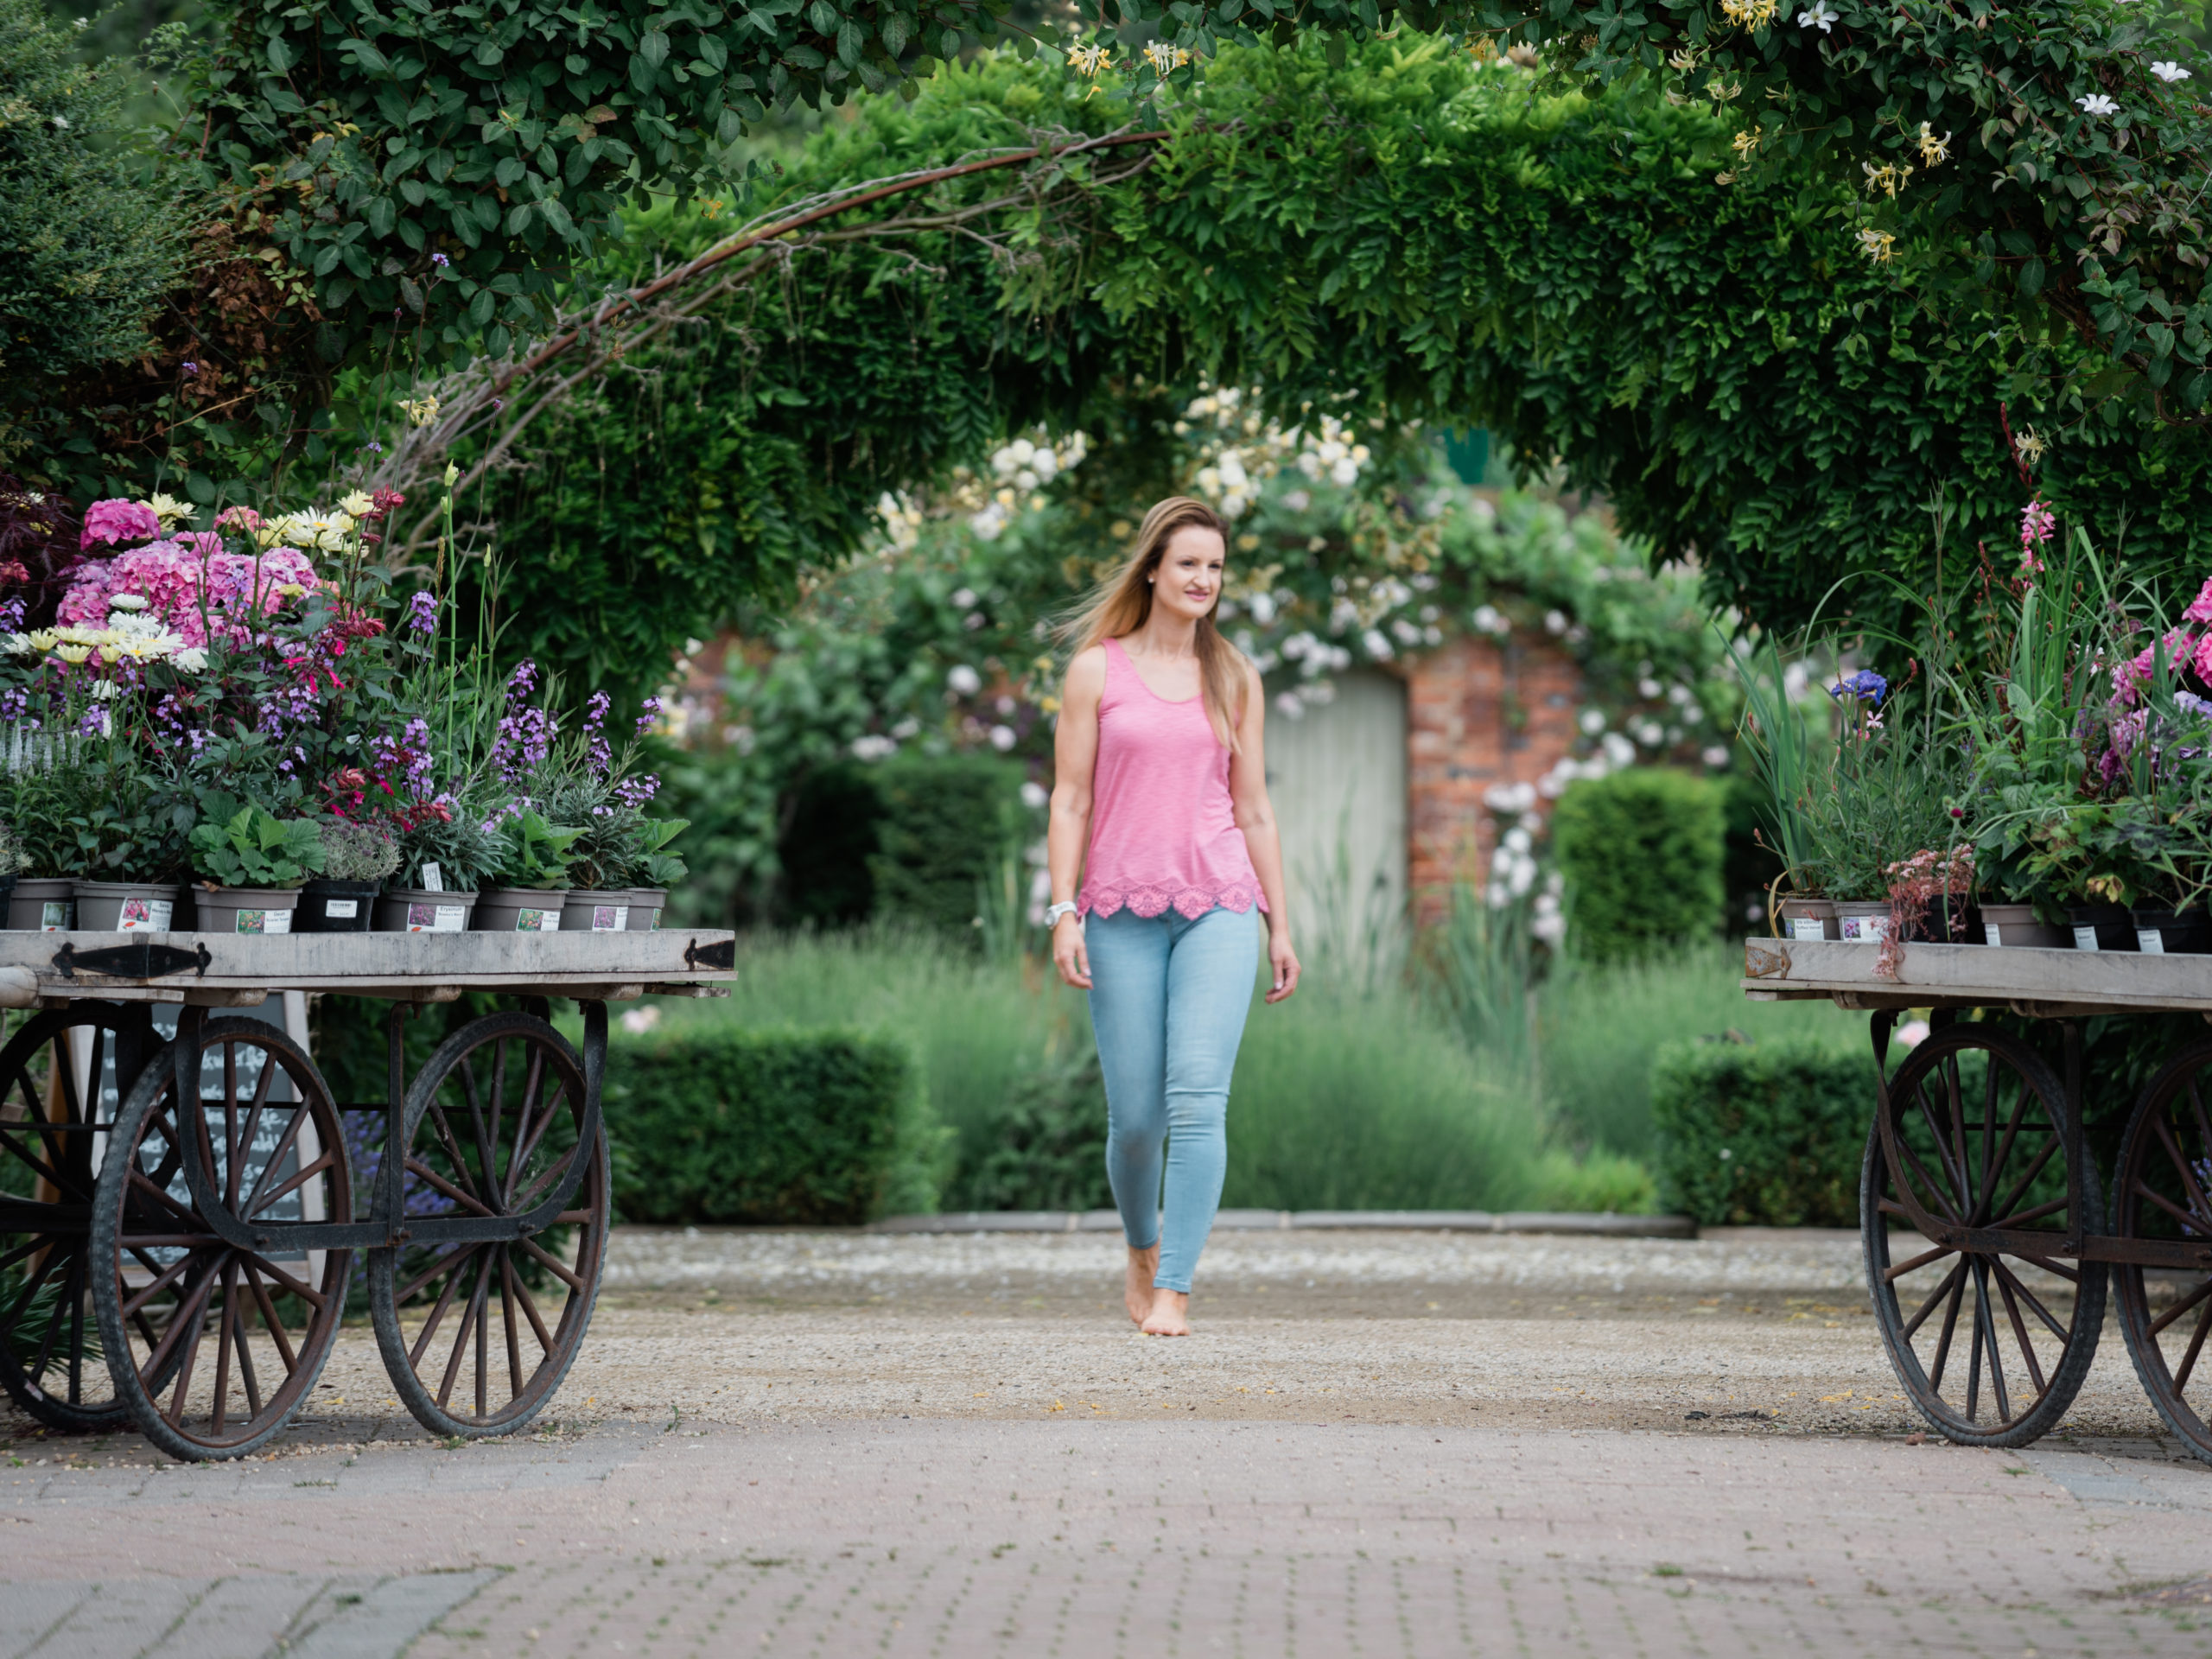
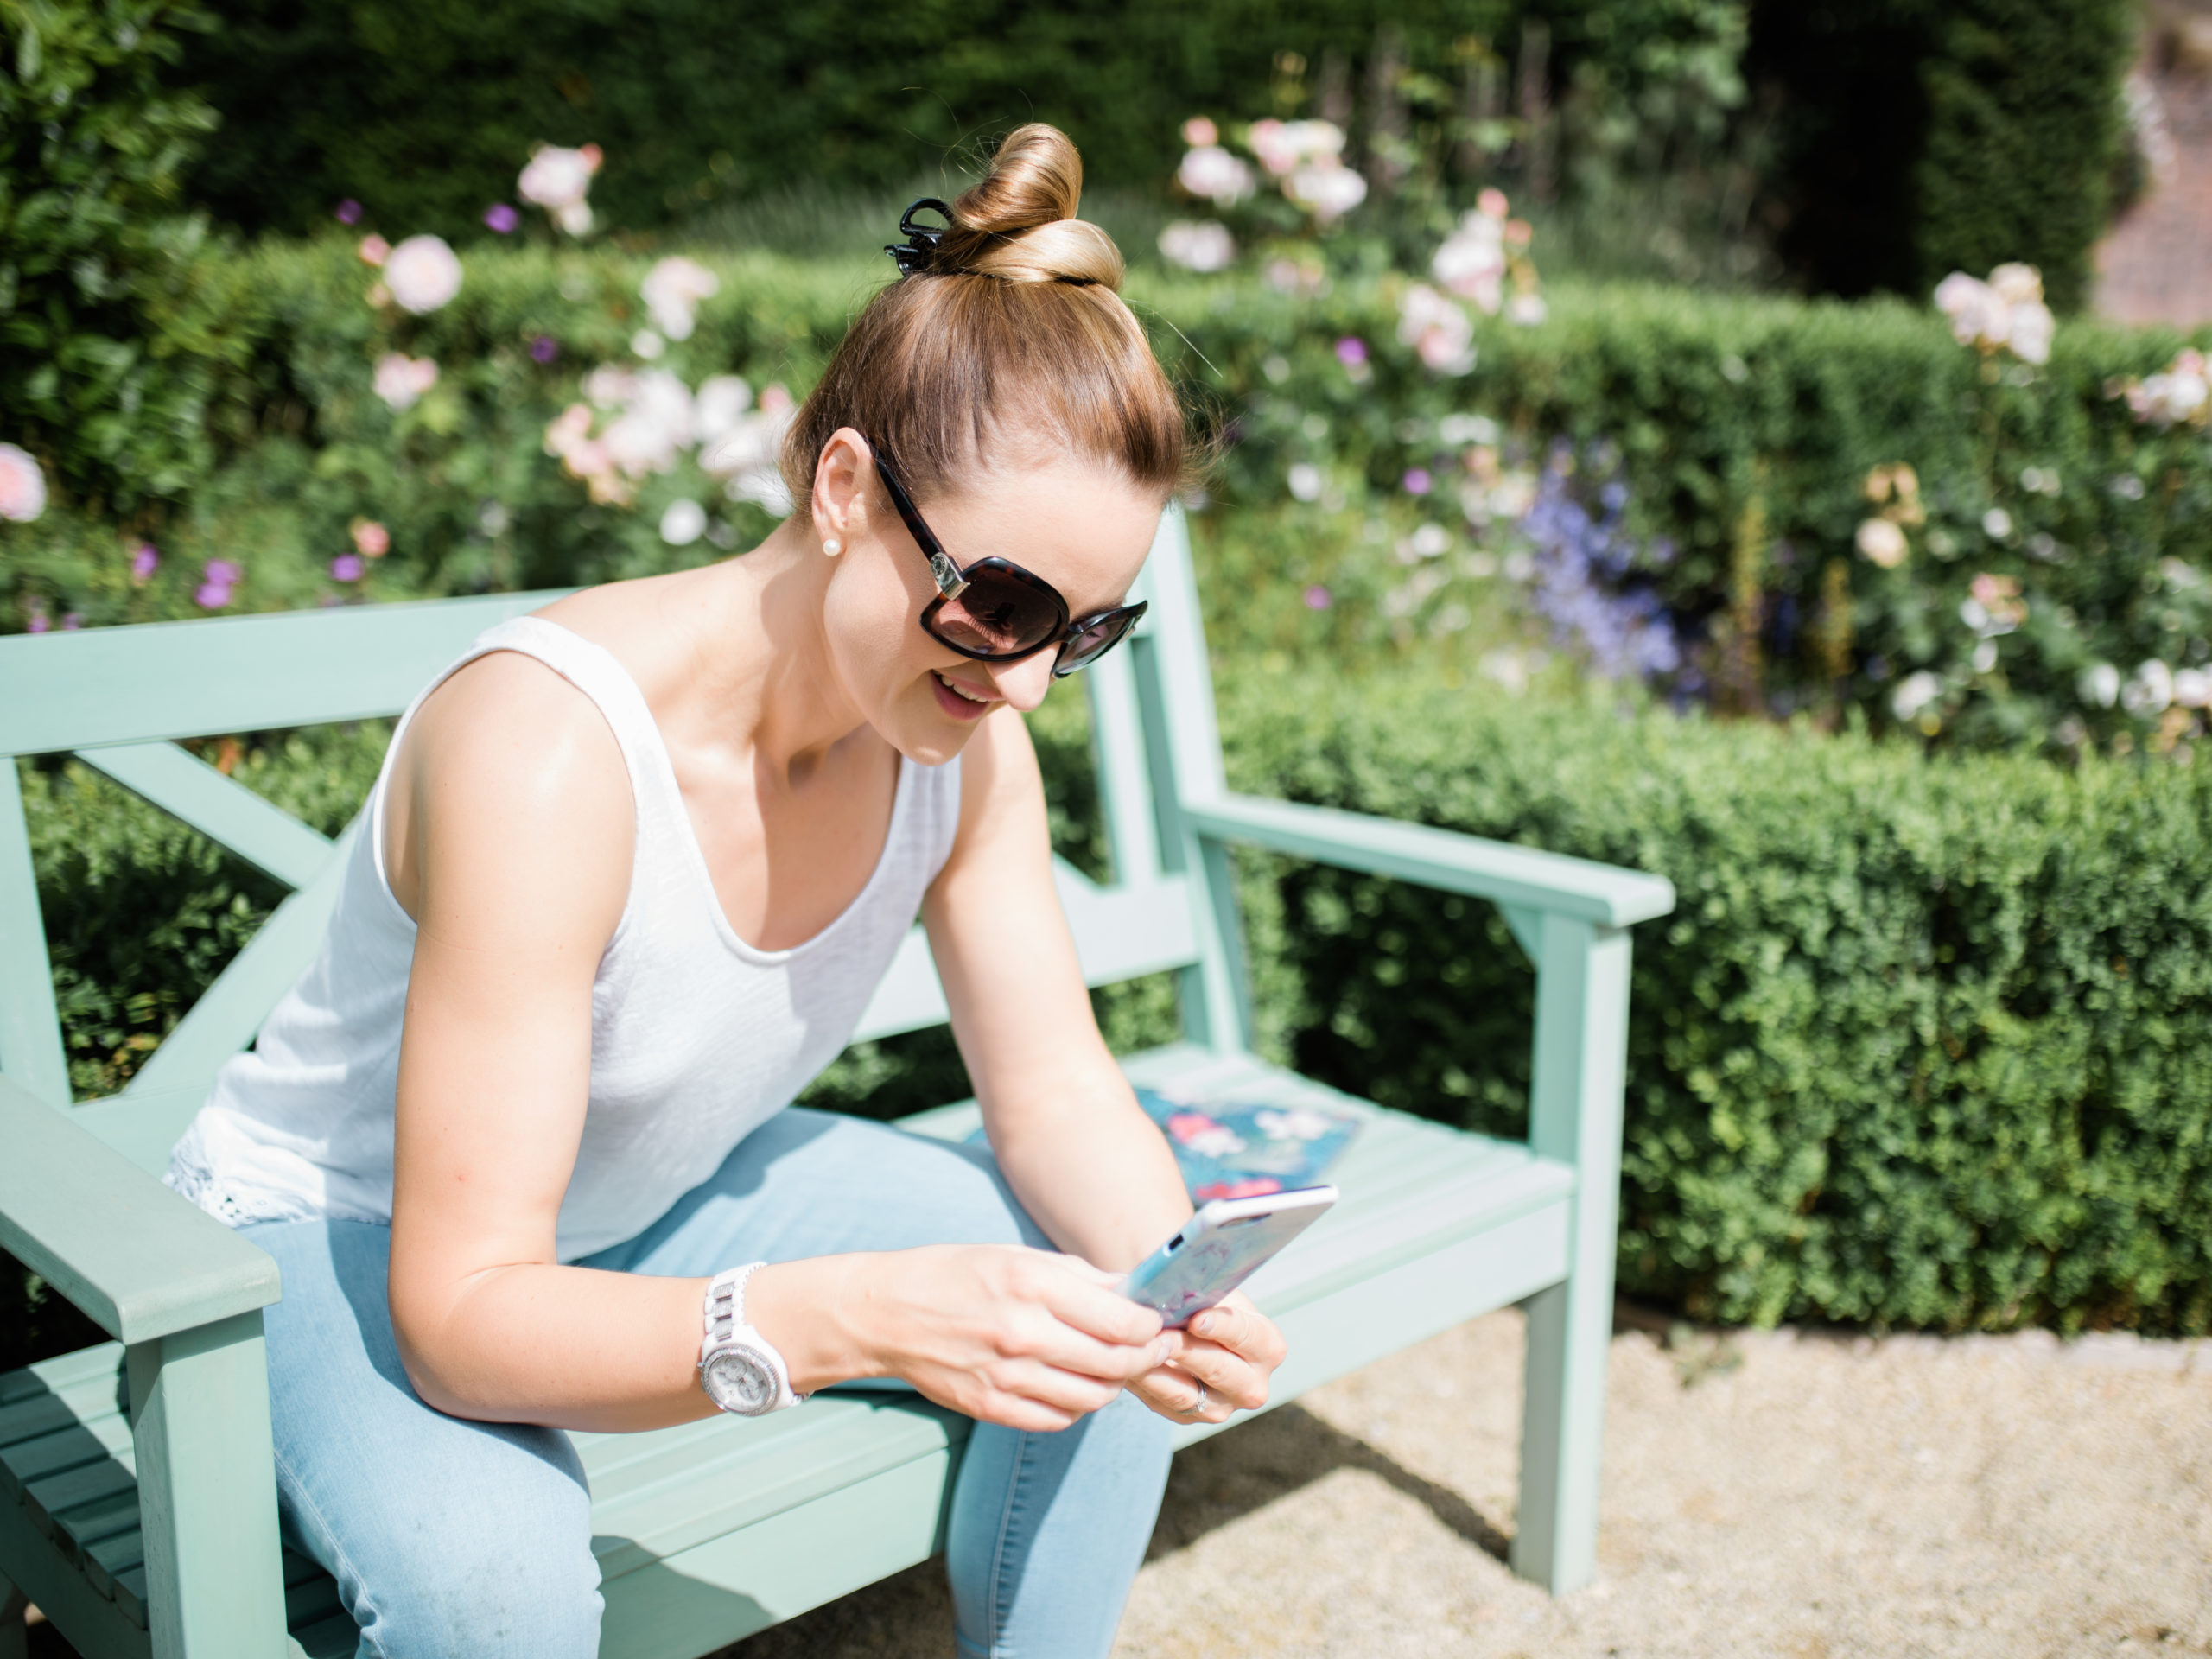
Business branding gallery - Elevate with Liz
BRAND Elevate with Liz
WEBSITE https://www.elevatewithliz.co.uk
CLIENT The lovely Liz, a brand consultant, photographer and social media specialist.
THE BRIEF
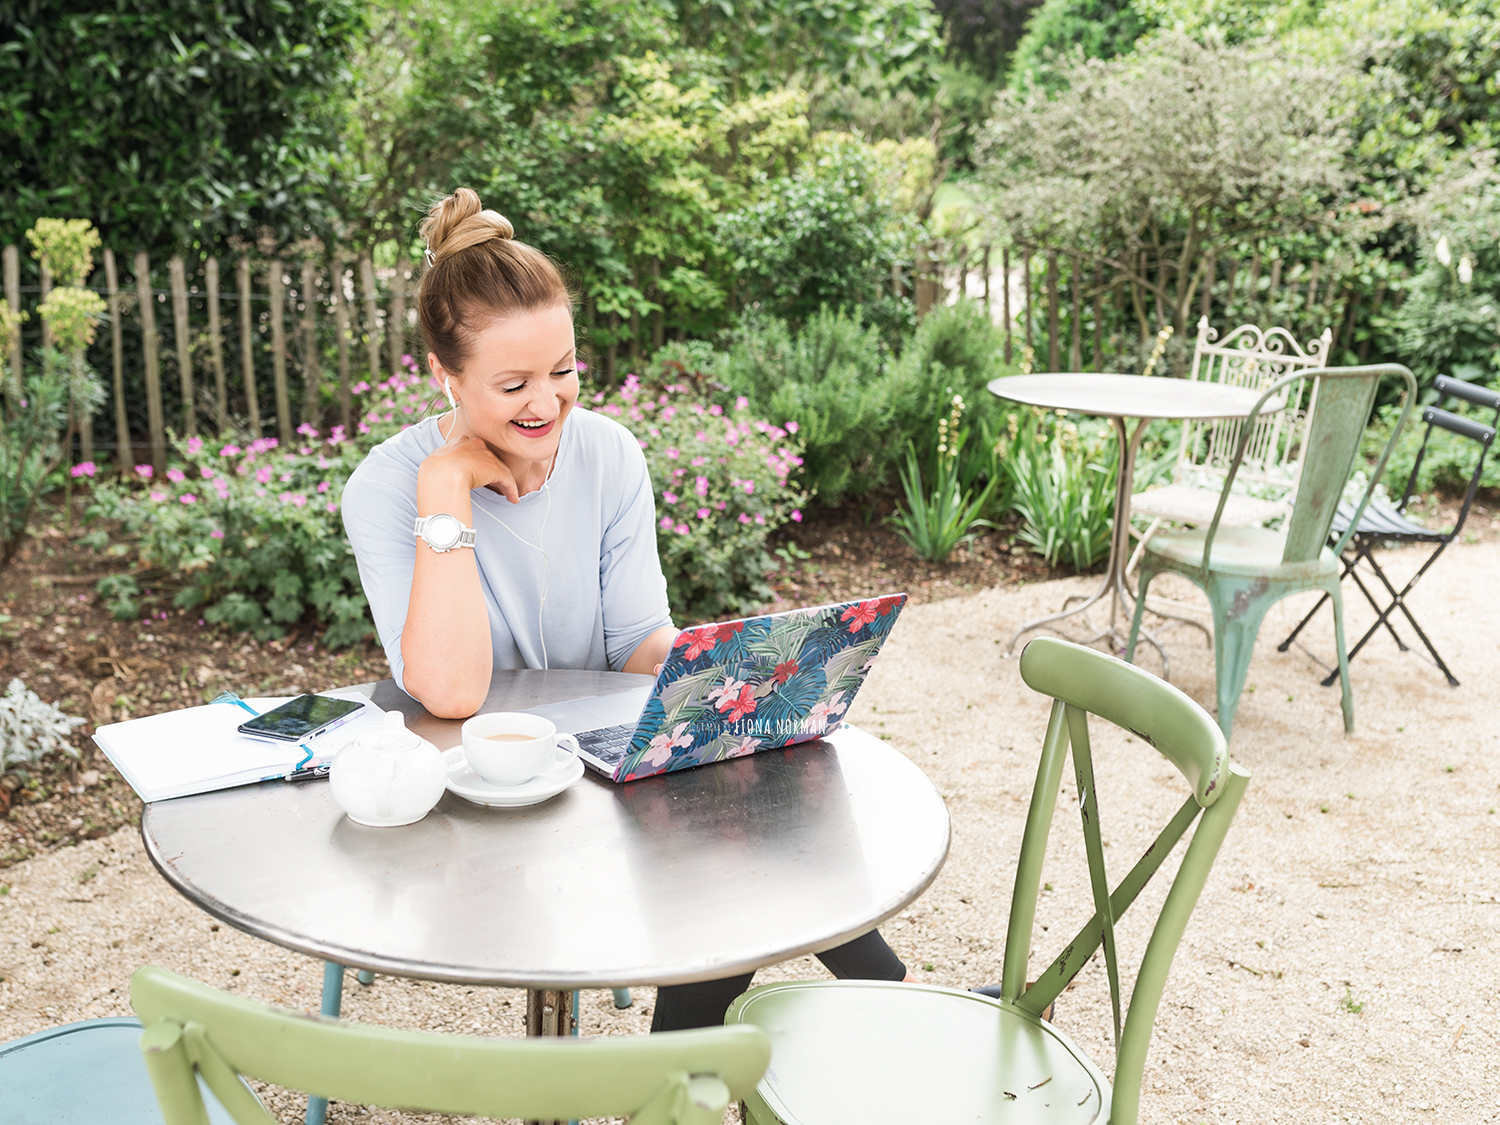
To create a folder of stock images for her workshops and websites to reflect her web design skills and talent for content curation and management.
LOCATION
Her house, her office and the local park.


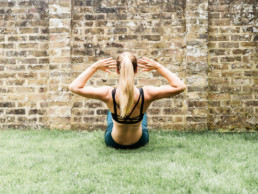
Business branding gallery - PT and nutrition coach
BRAND – NATURAL BORN CAVE WOMAN
INSTA @naturalborncavewoman
CLIENT – The lovely Ceefee
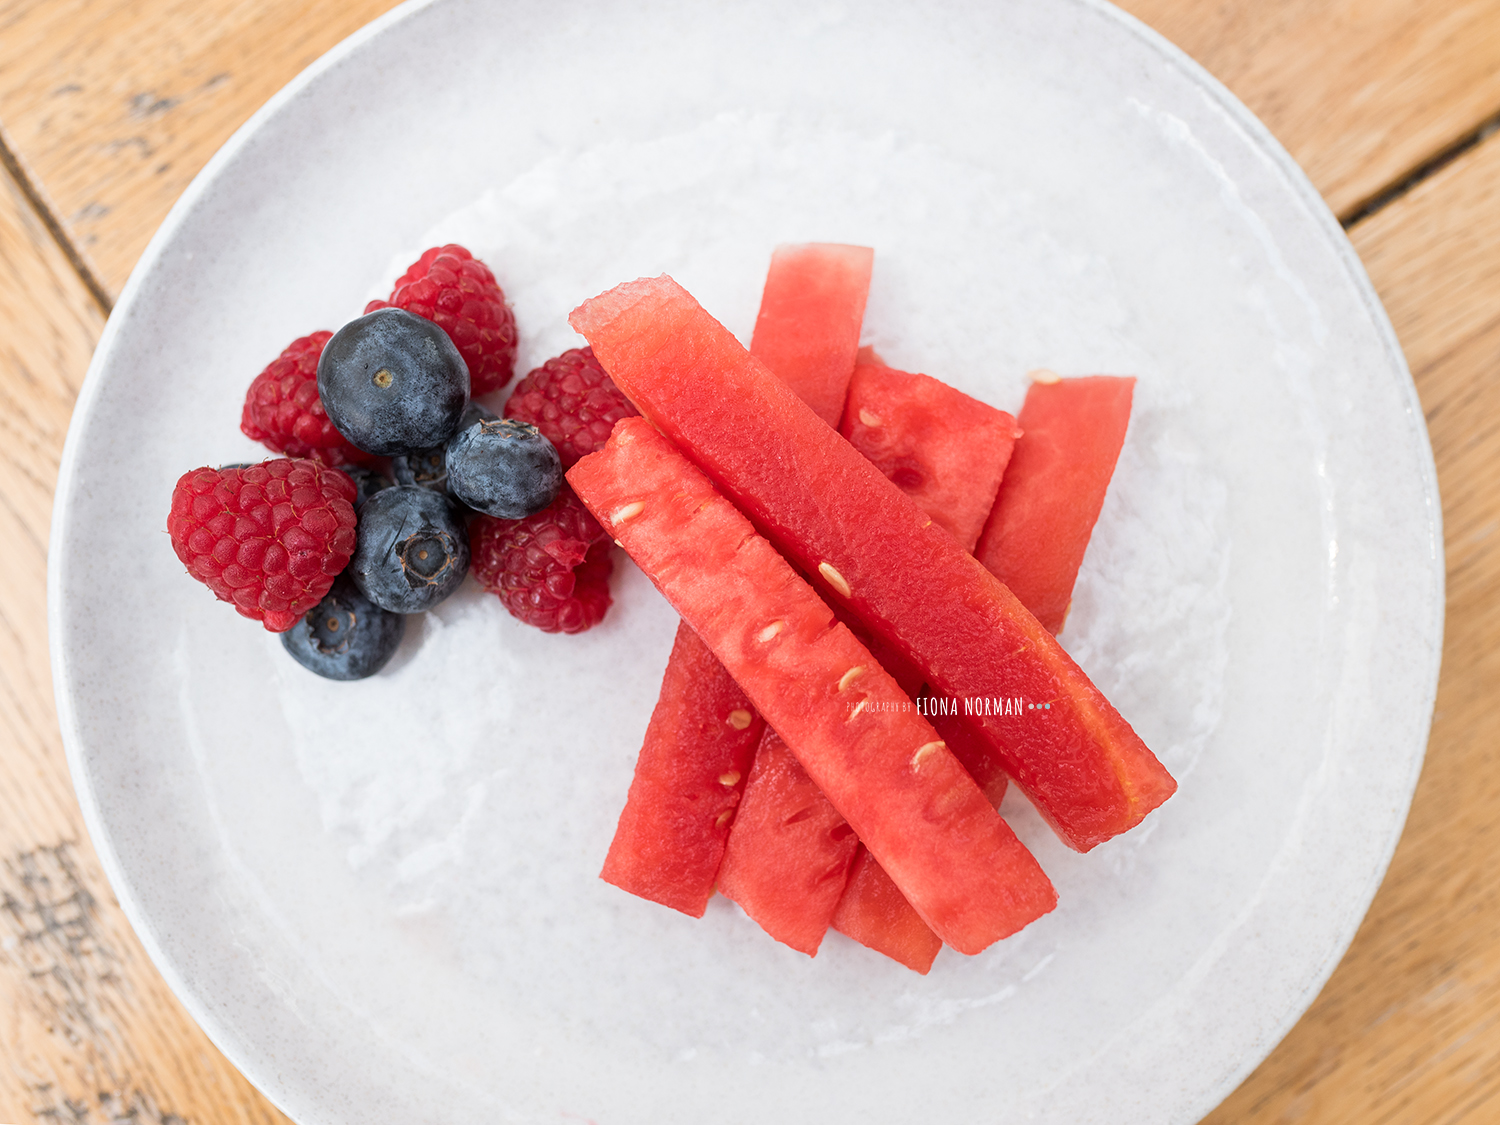
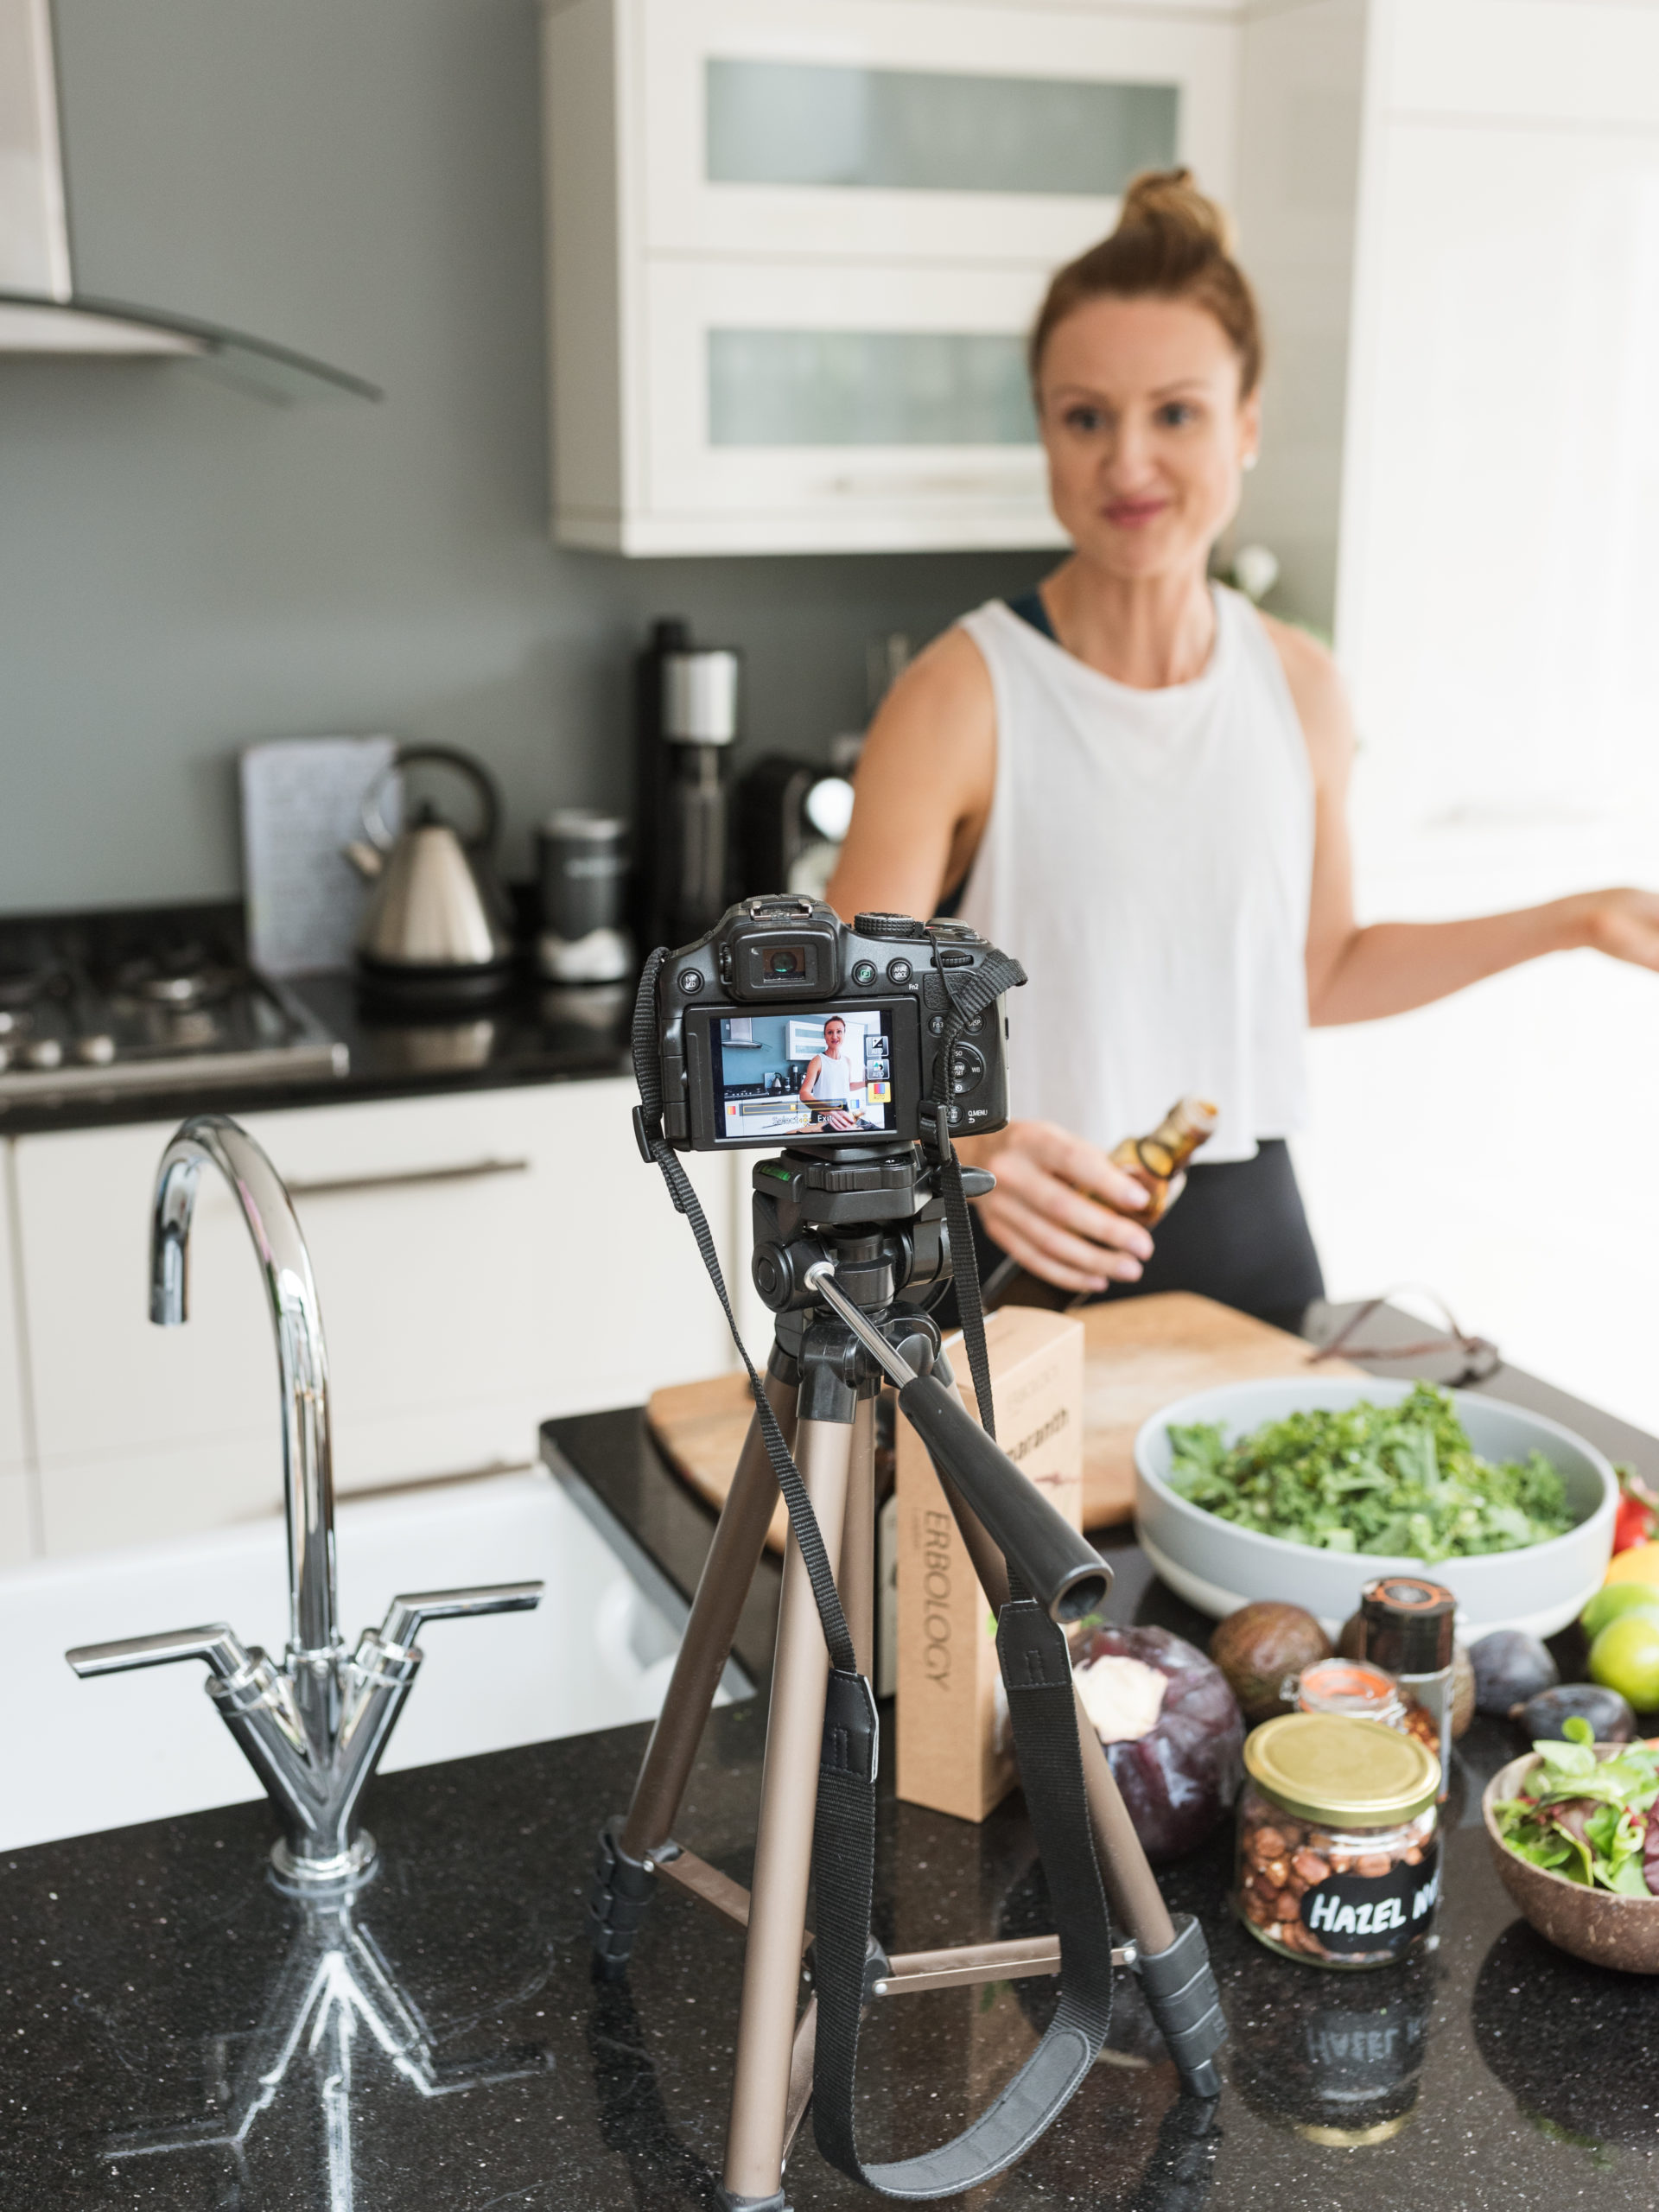
Ceefee runs an amazing business that aims to coach women in reaching their goals, be it mindset around food and exercise, macro tracking/exercising or specific physique goals. She produces amazing content on her YouTube channel but wanted help with images for her newly curated e-book and her social and email channels.
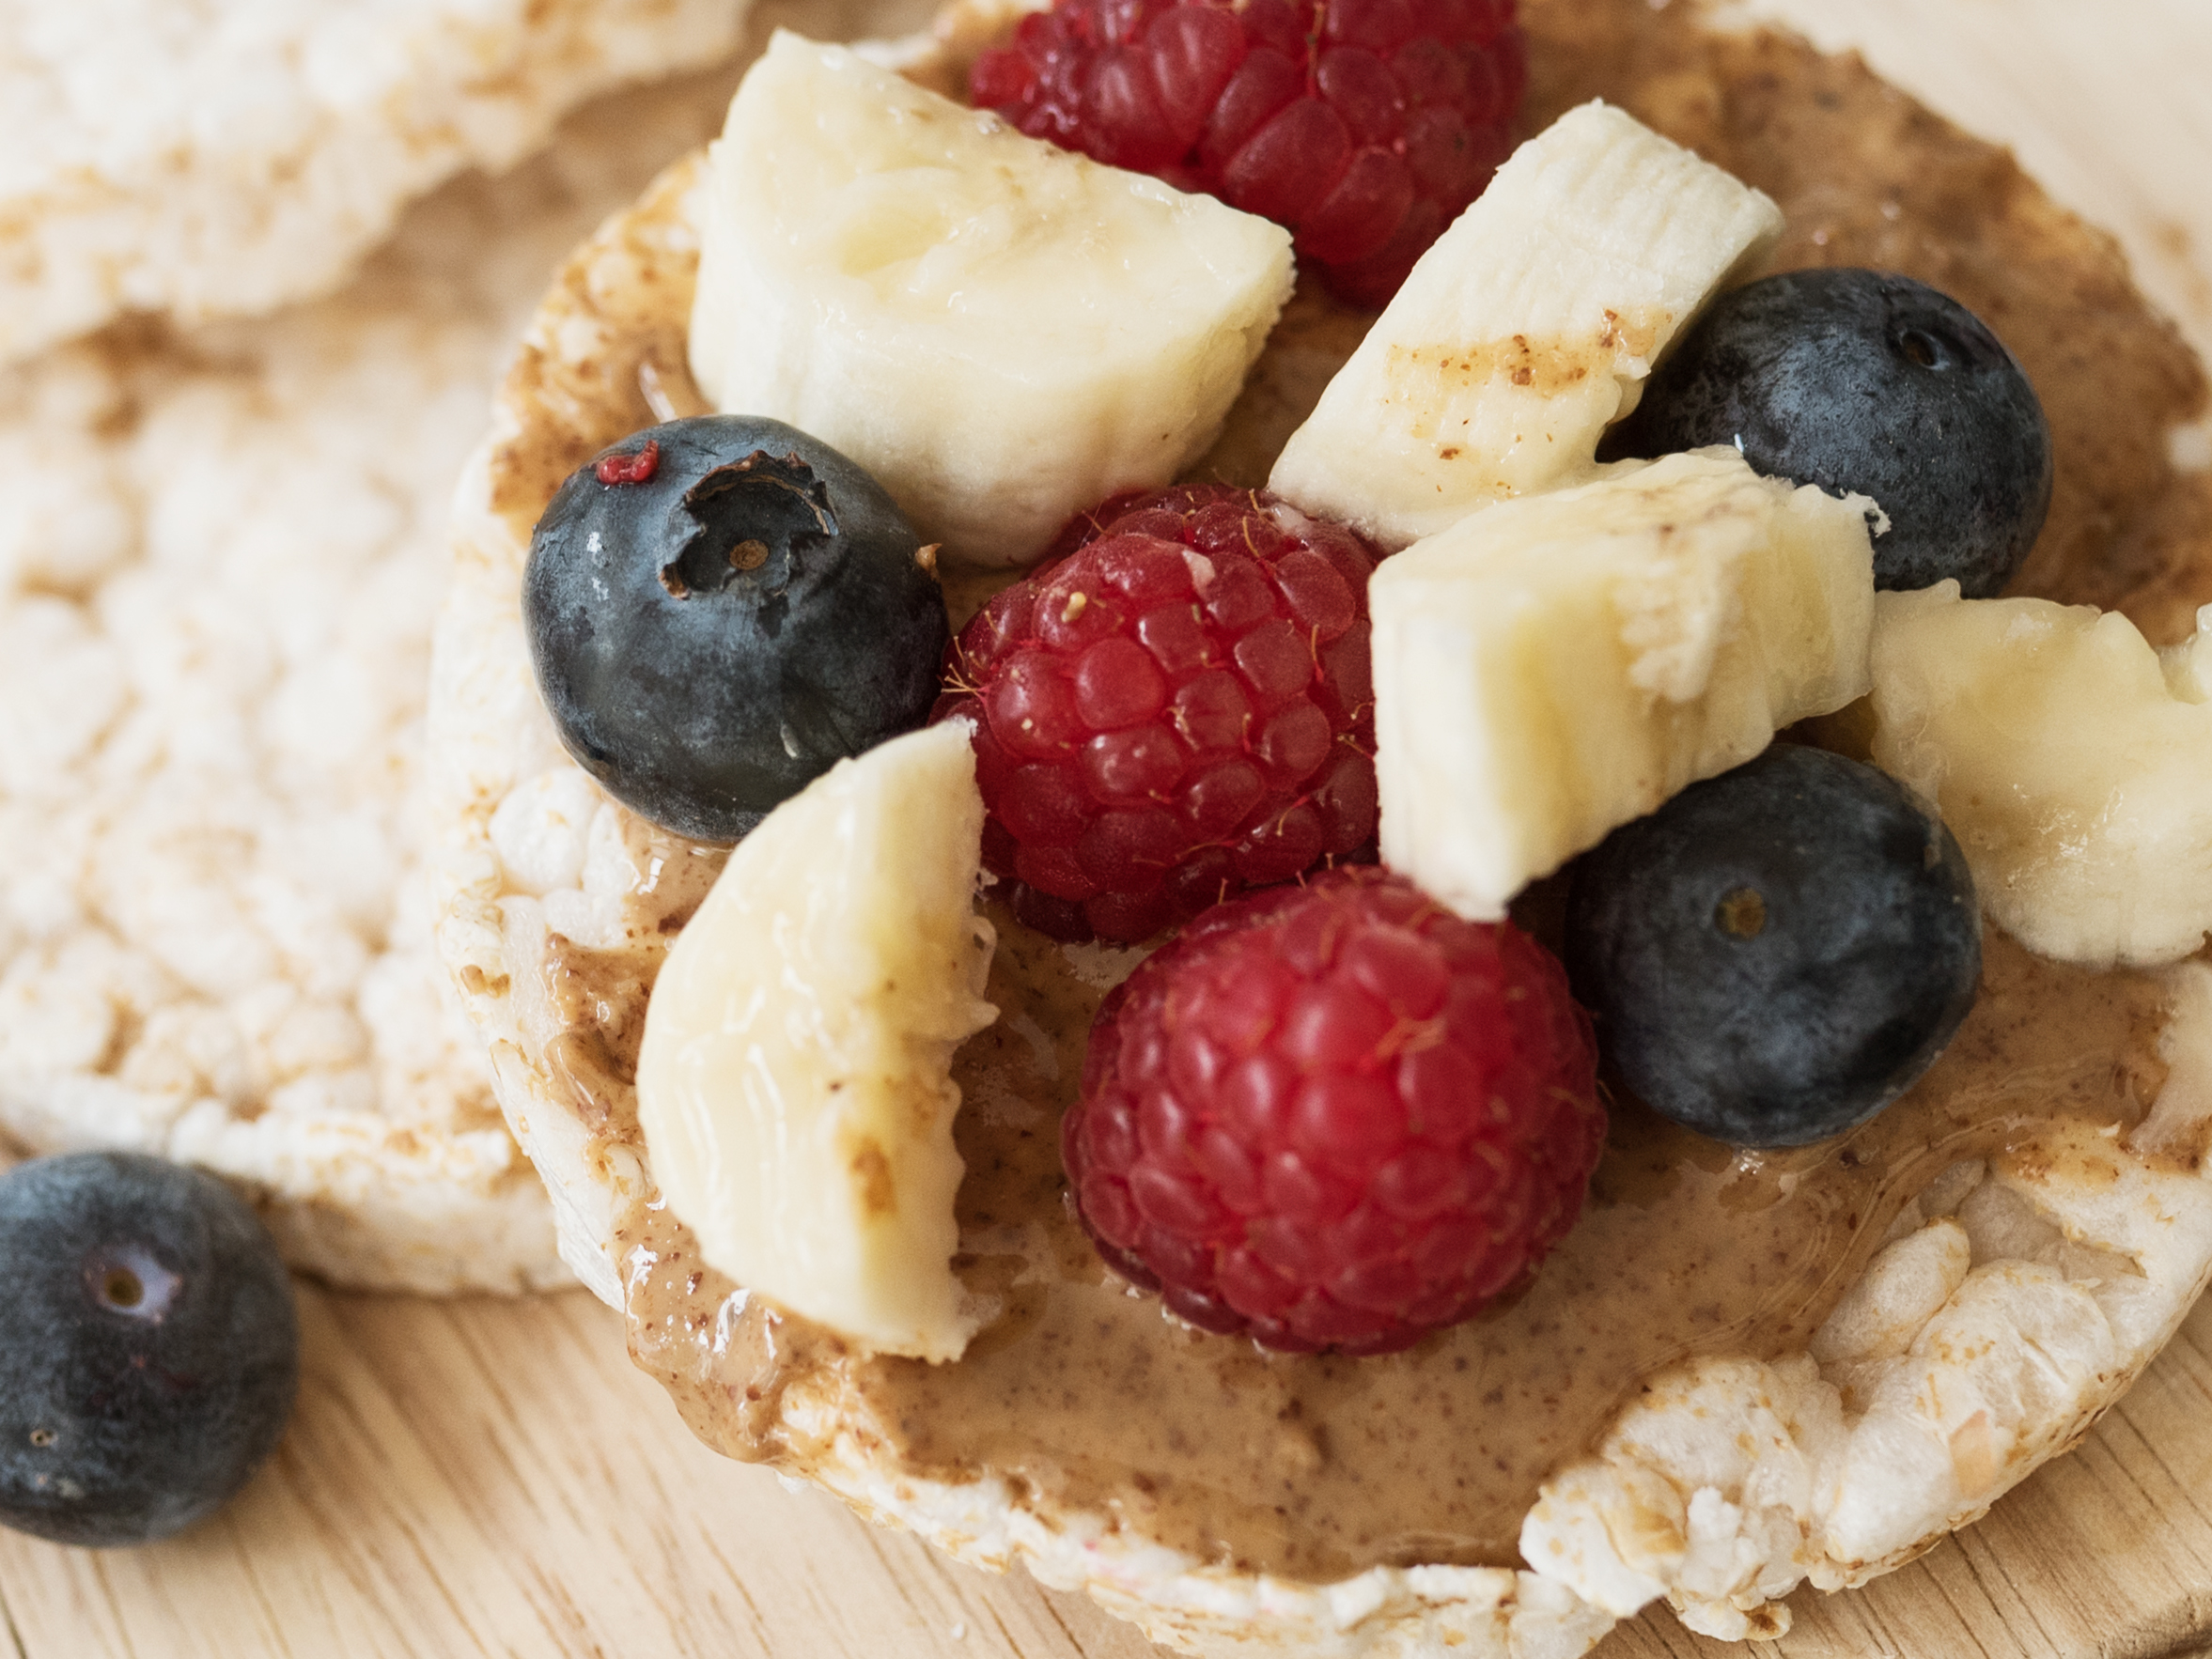
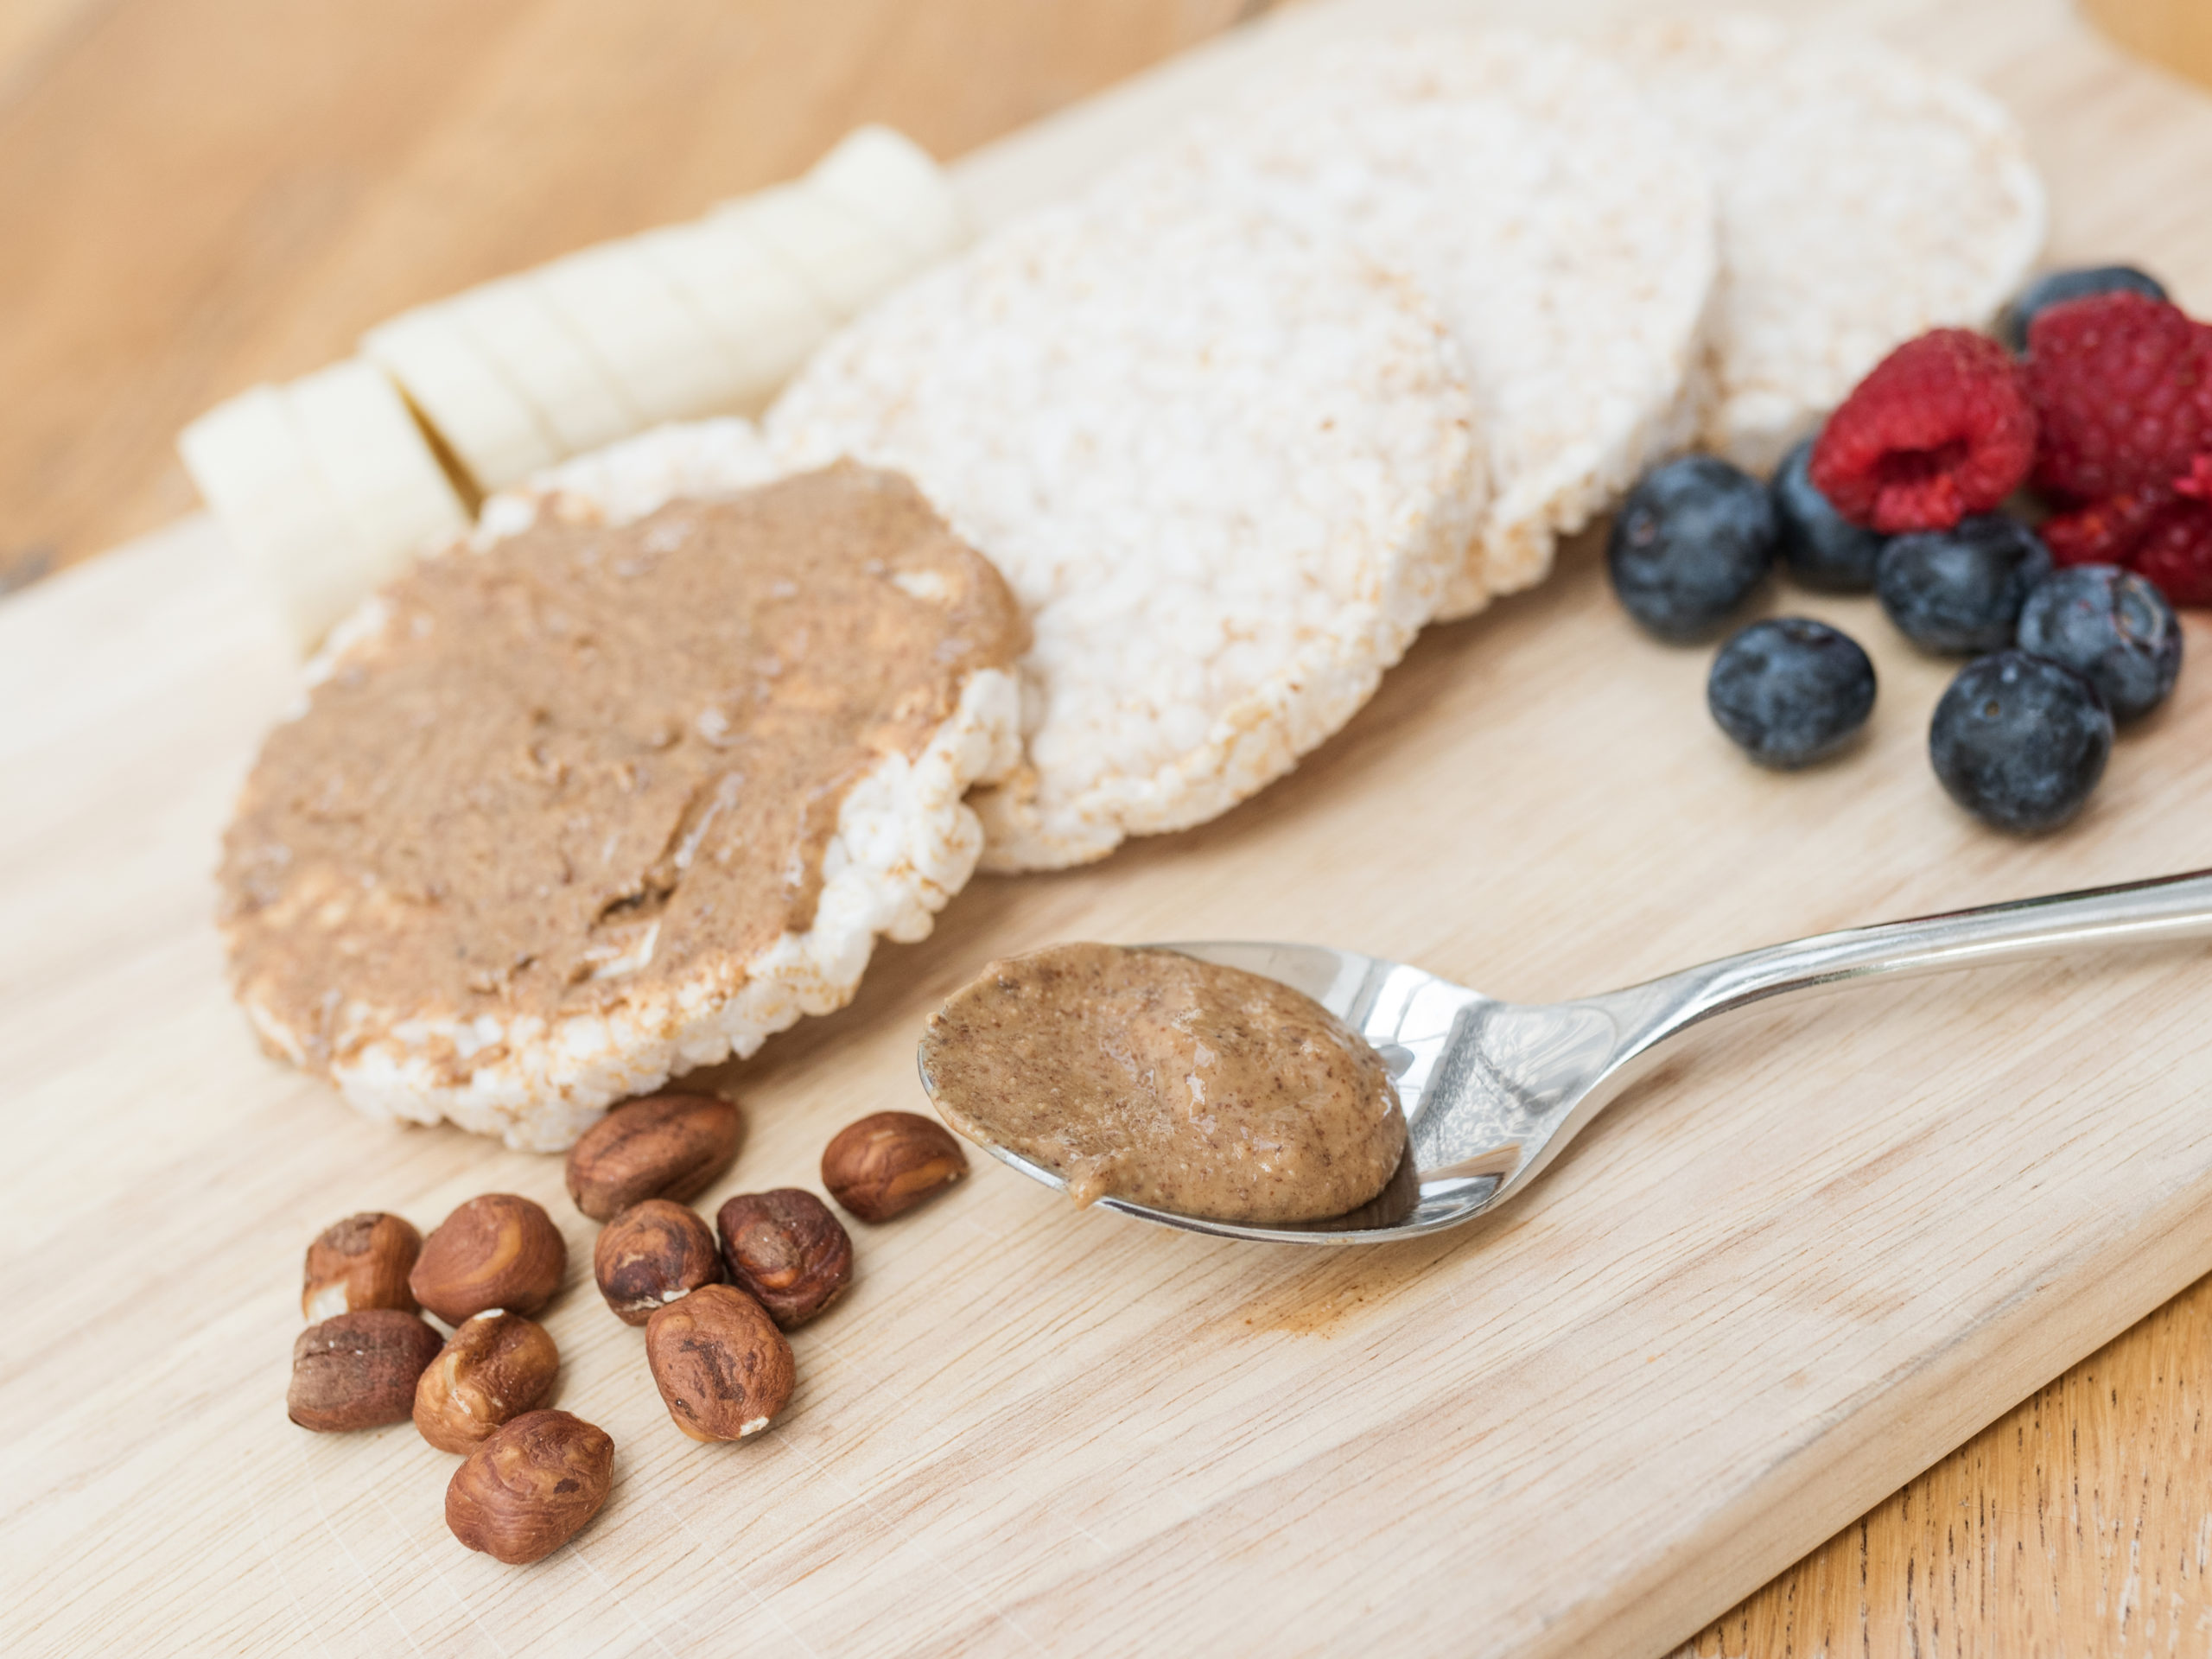
THE BRIEF – Light and airy, fun images that place her in a relevant setting and showcase her role as a coach and PT. She wanted images to use against relevant content, for example images of her recording recipes for for ebook and you tube channel as well as ‘stock/filler images’ like the food shots for her socials.


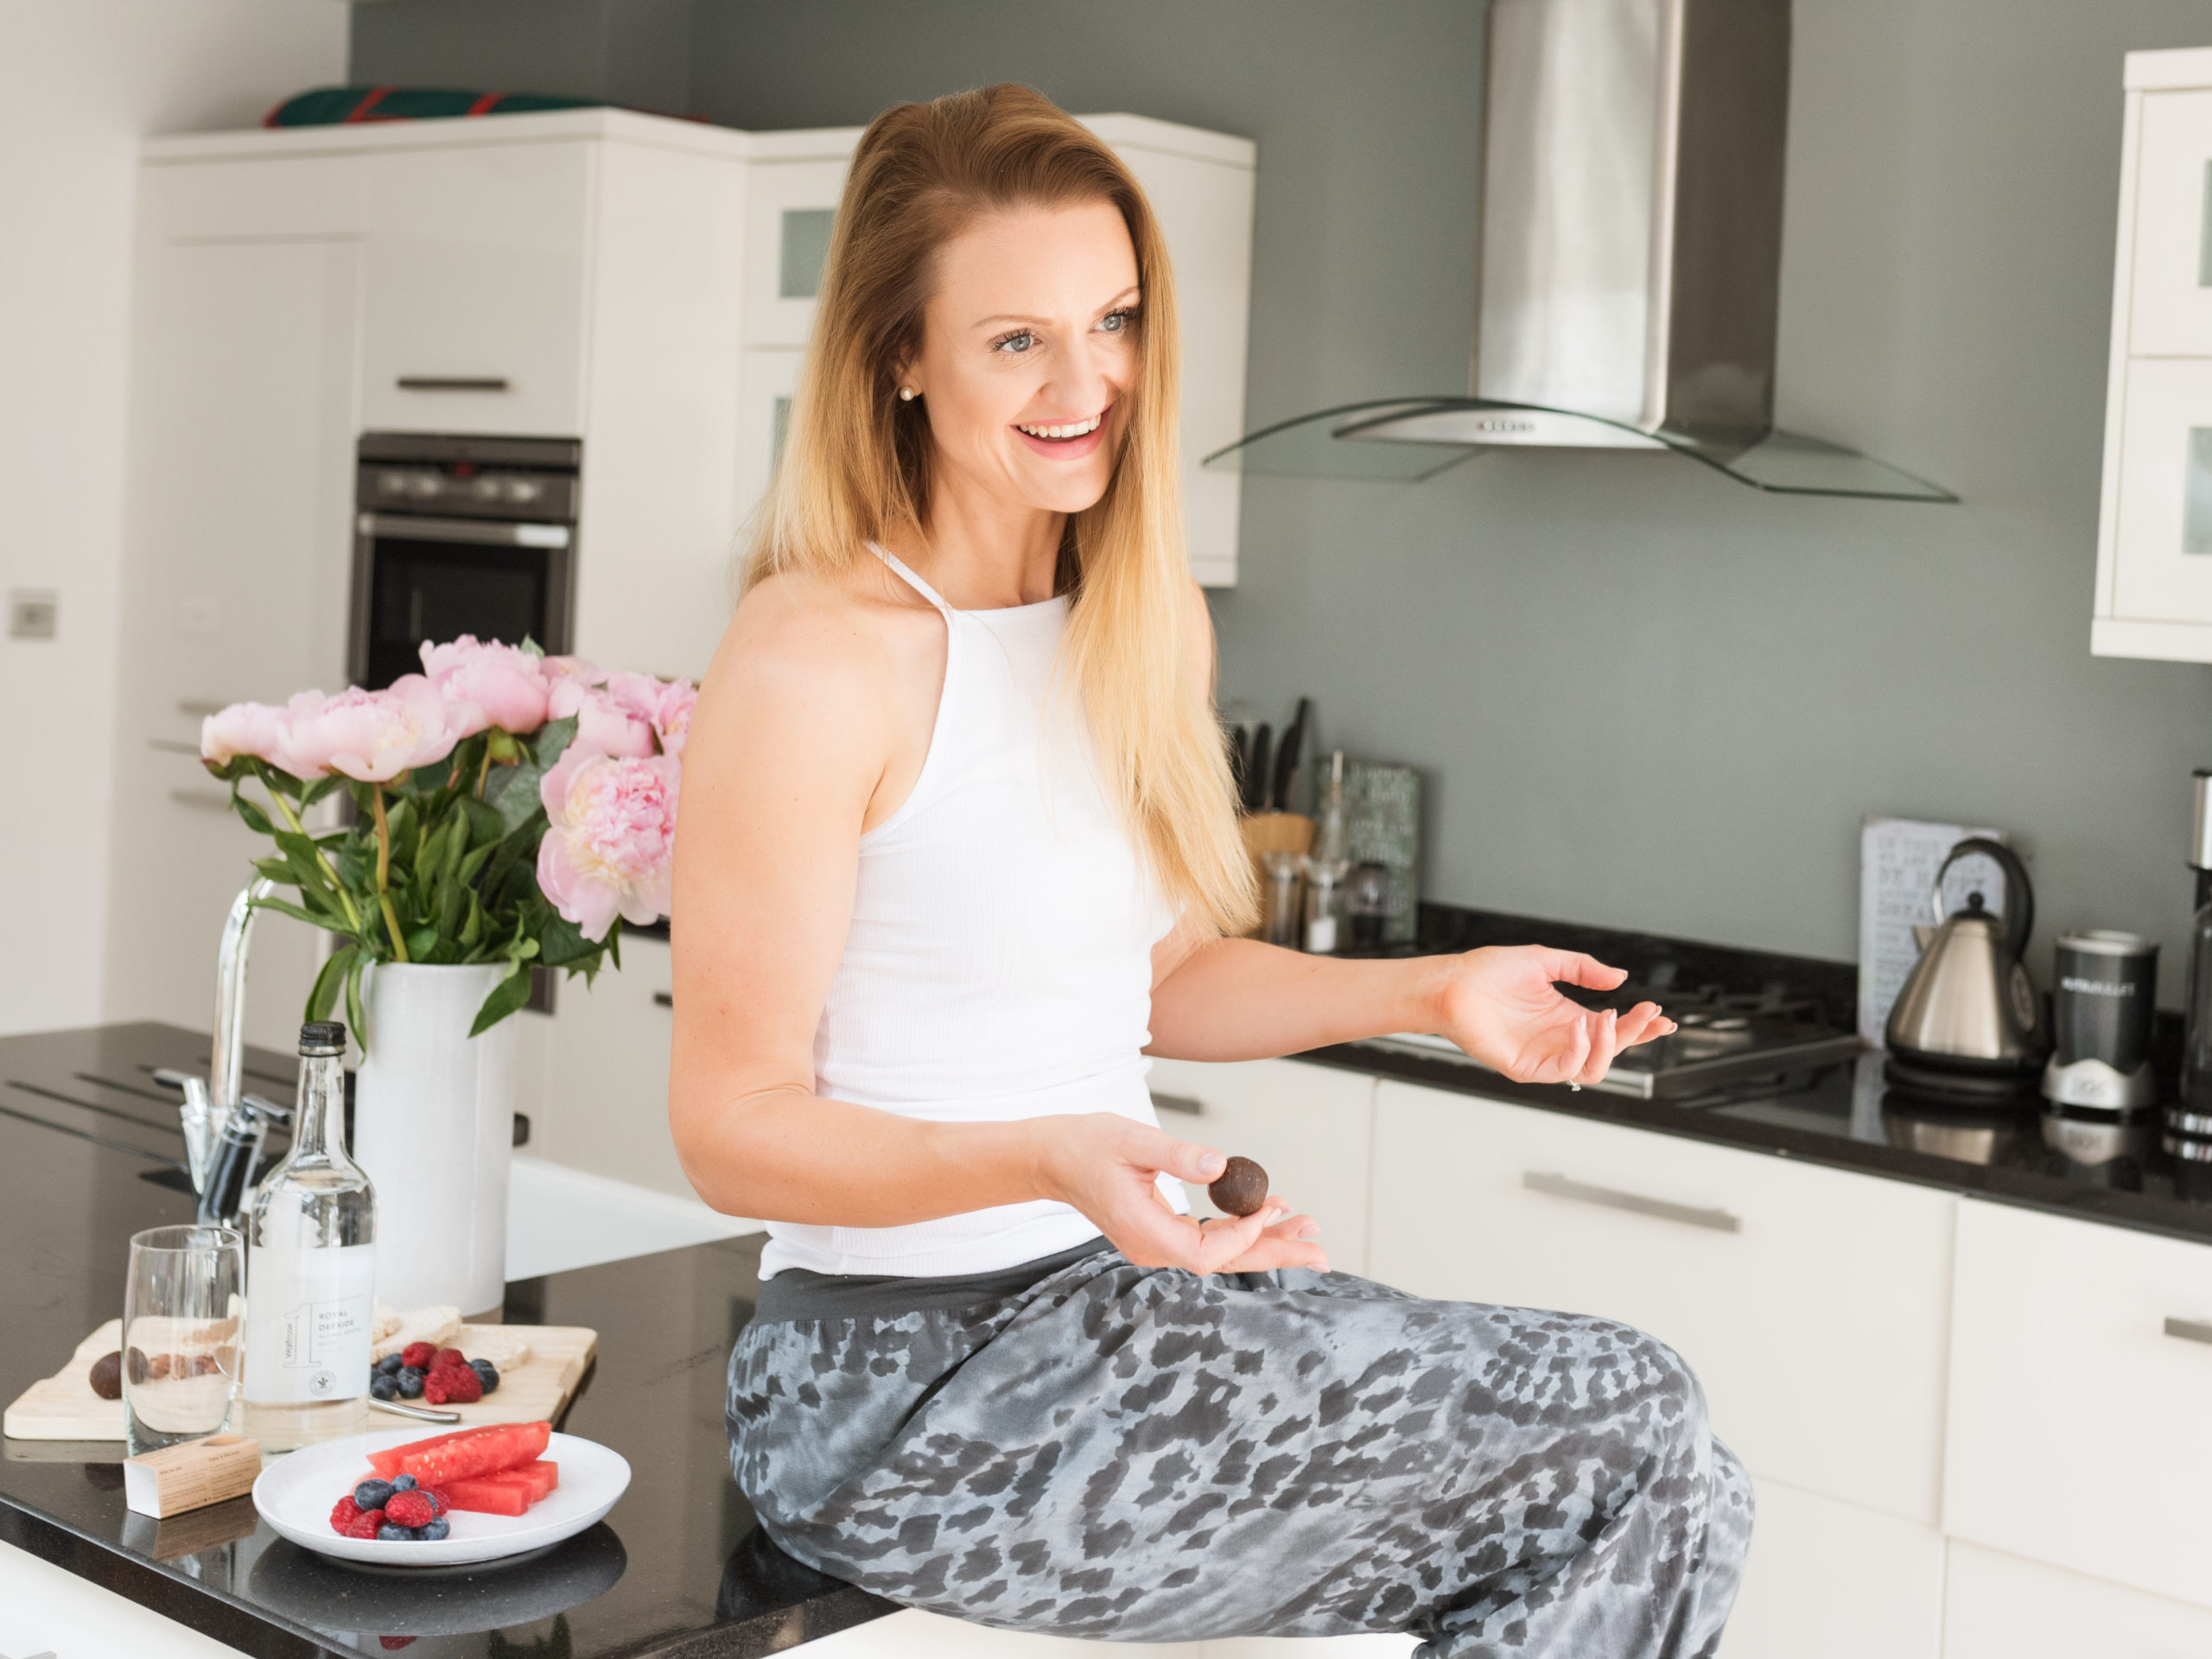


THE LOCATION - Dorney Court kitchen in Dorney, and a privately rented house in Windsor.
Business branding gallery - Pre and post natal pilates instructor
BRAND Move – Pilates
WEBSITE www.move-pilates.co.uk www.move-pilates.co.uk
CLIENT- The lovely Nina!
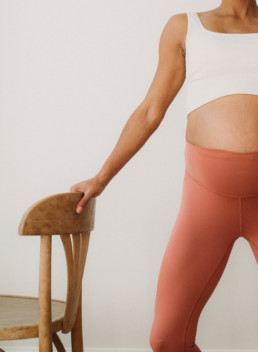
The brief – To update the Pre and postnatal content within her website and socials and to do it whilst she was pregnant herself (no need to hire a model!).
Nina wanted Light and airy shots that took advantage of the beautiful parque floor and also showcased the reformer machine in all it’s glory. She wanted a mixture of close ups, equipment and different poses to familiarise potential clients with what she does whilst also inspiring them to use their home setting.
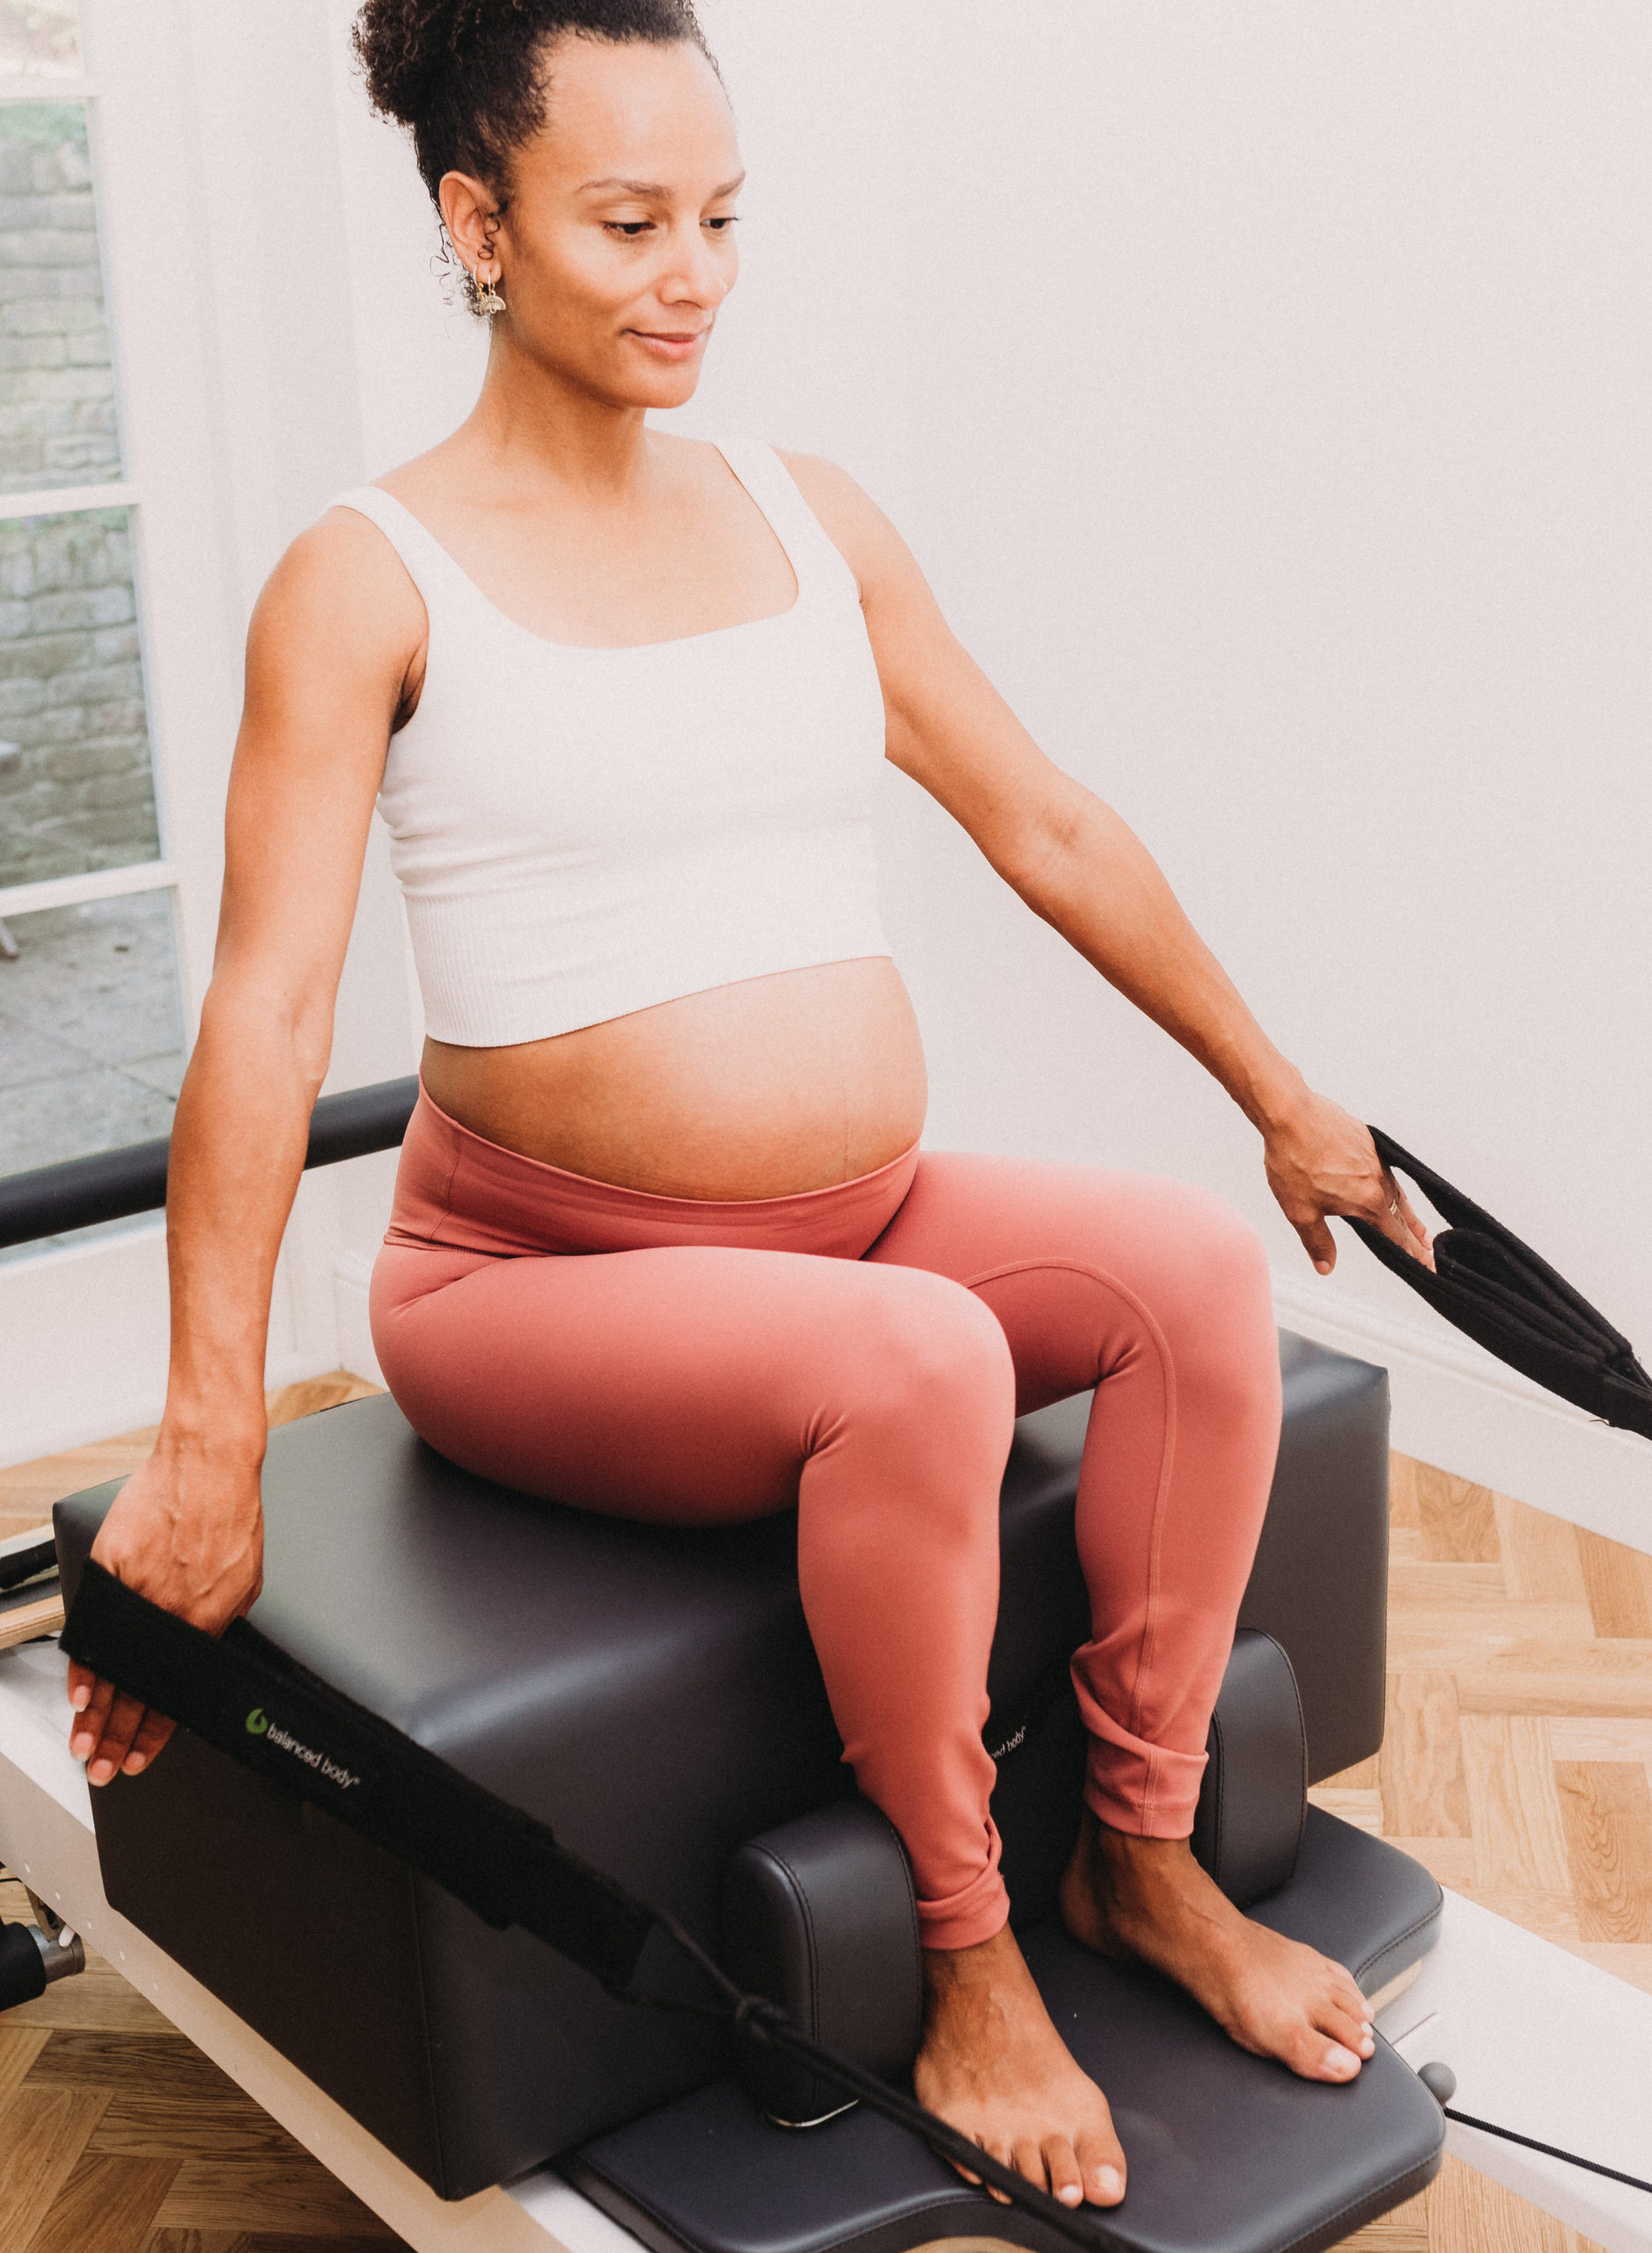
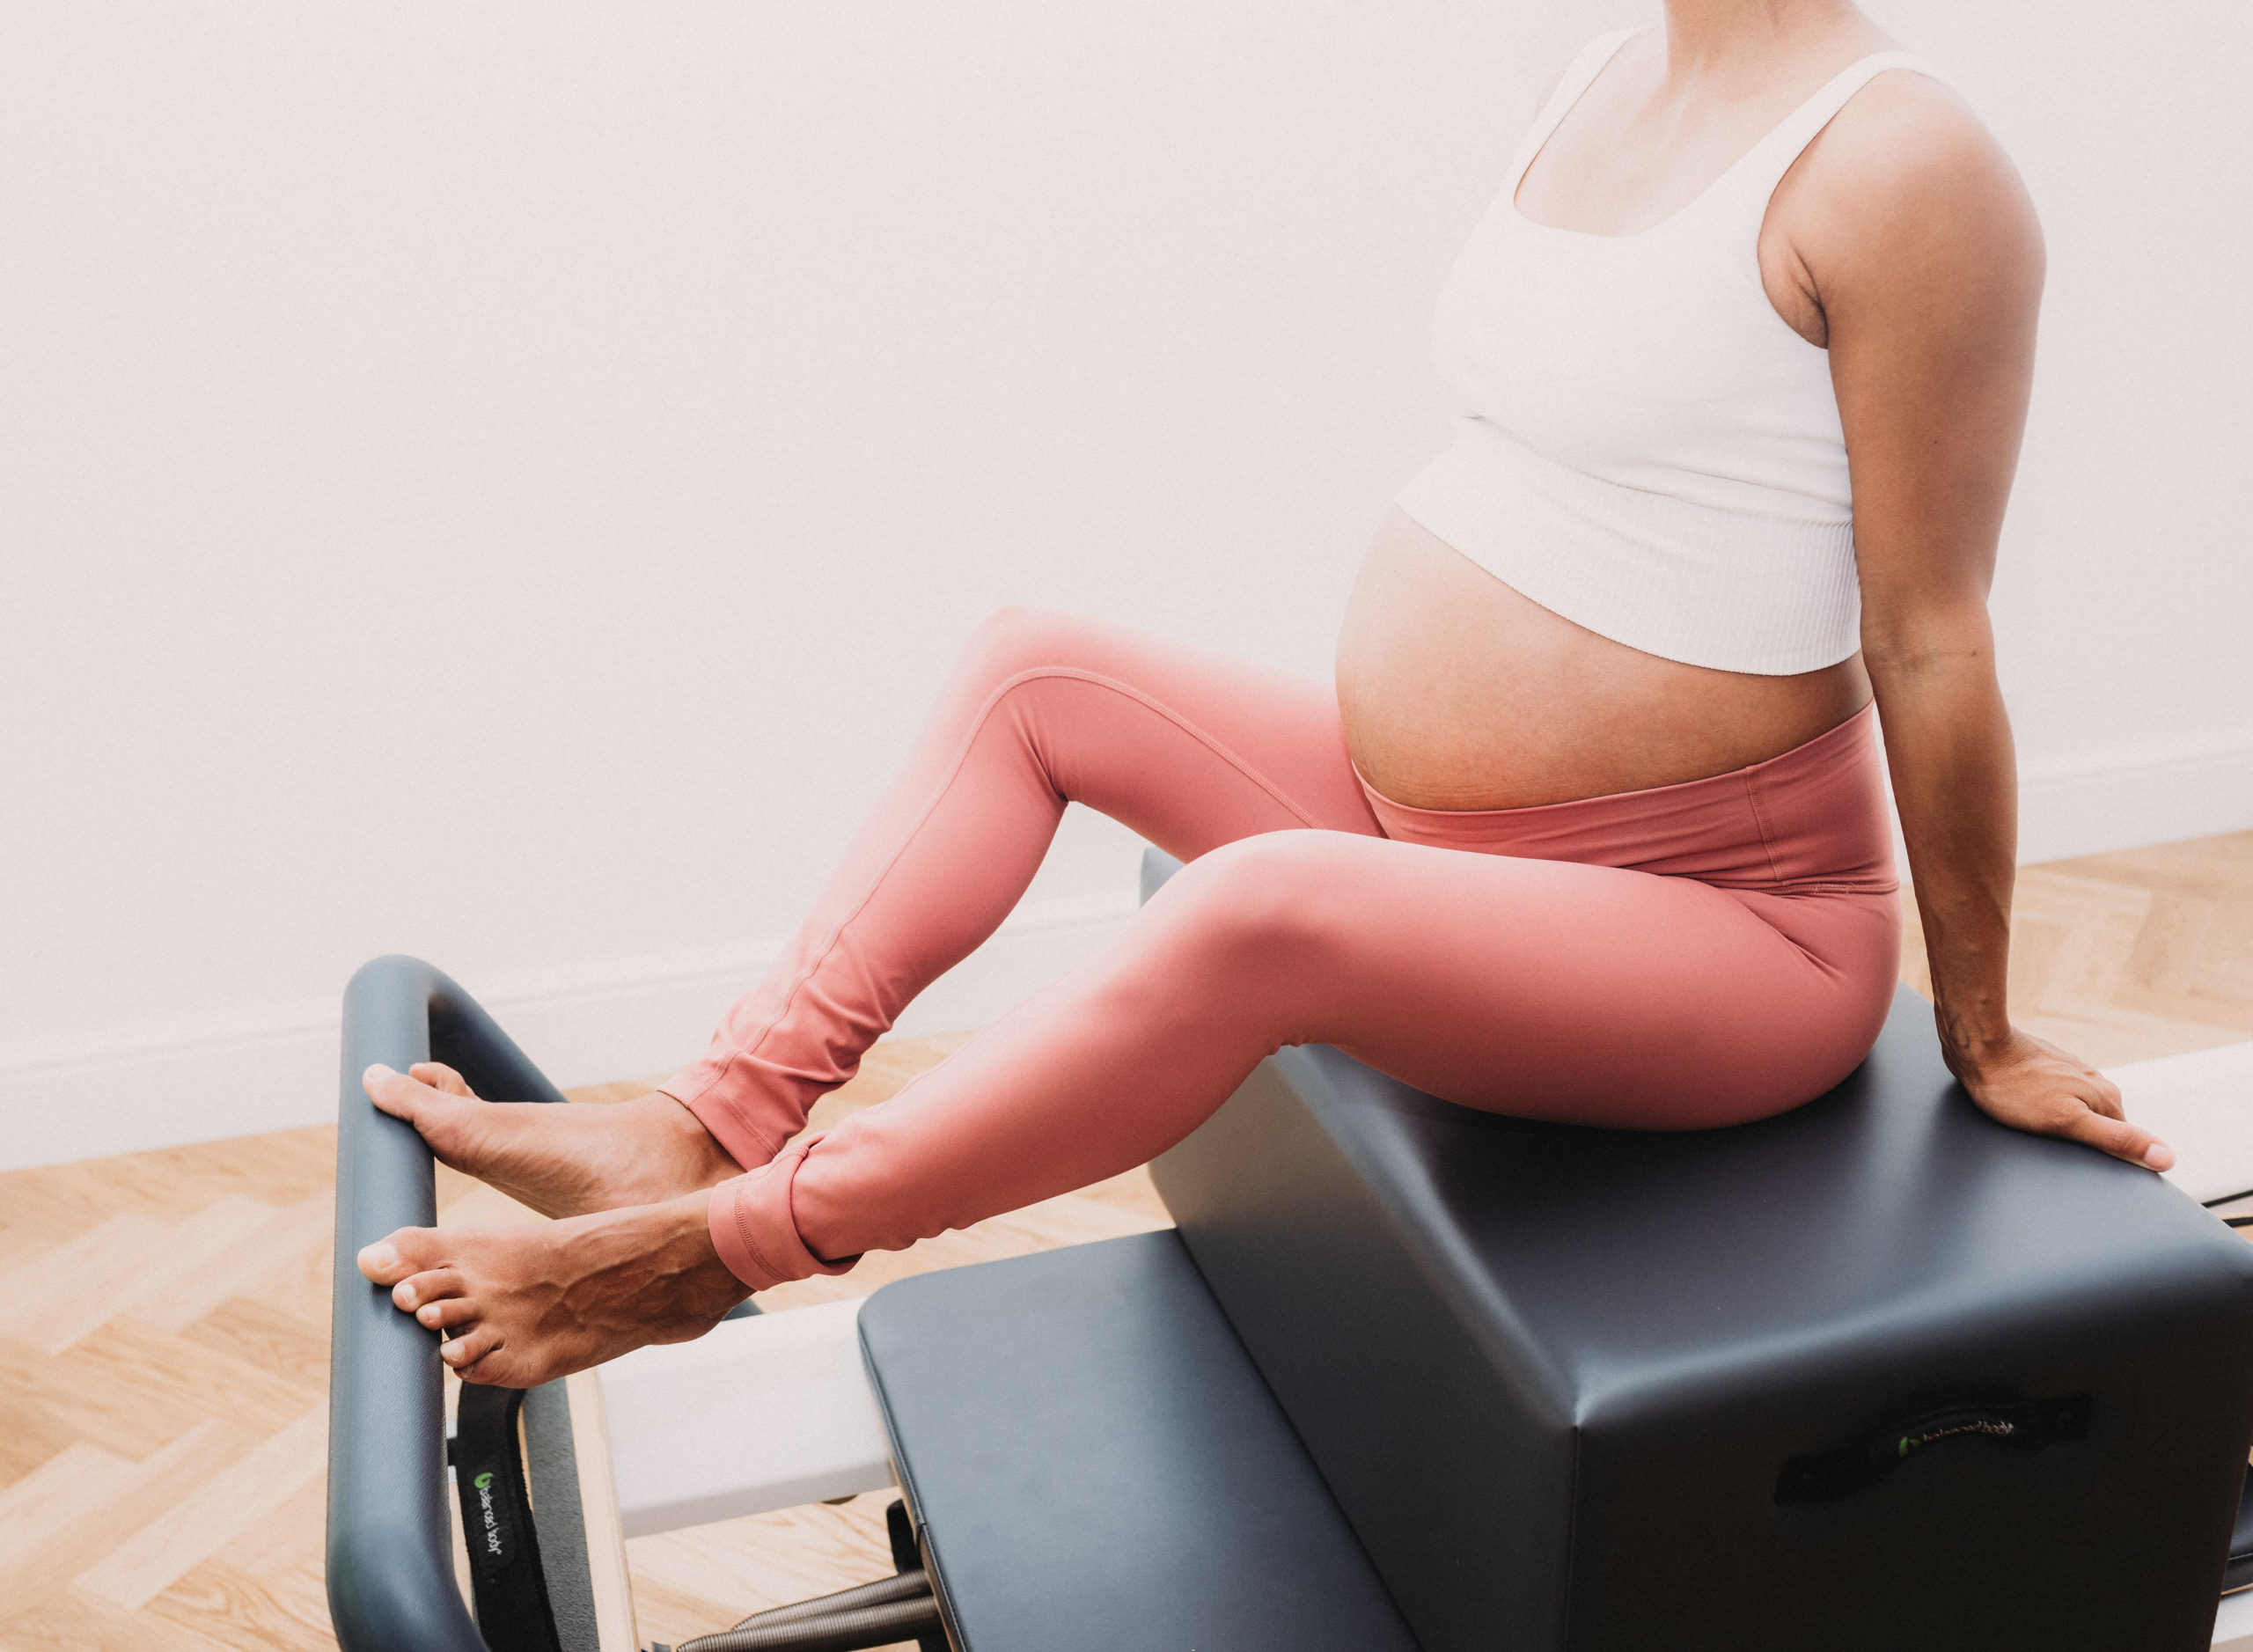

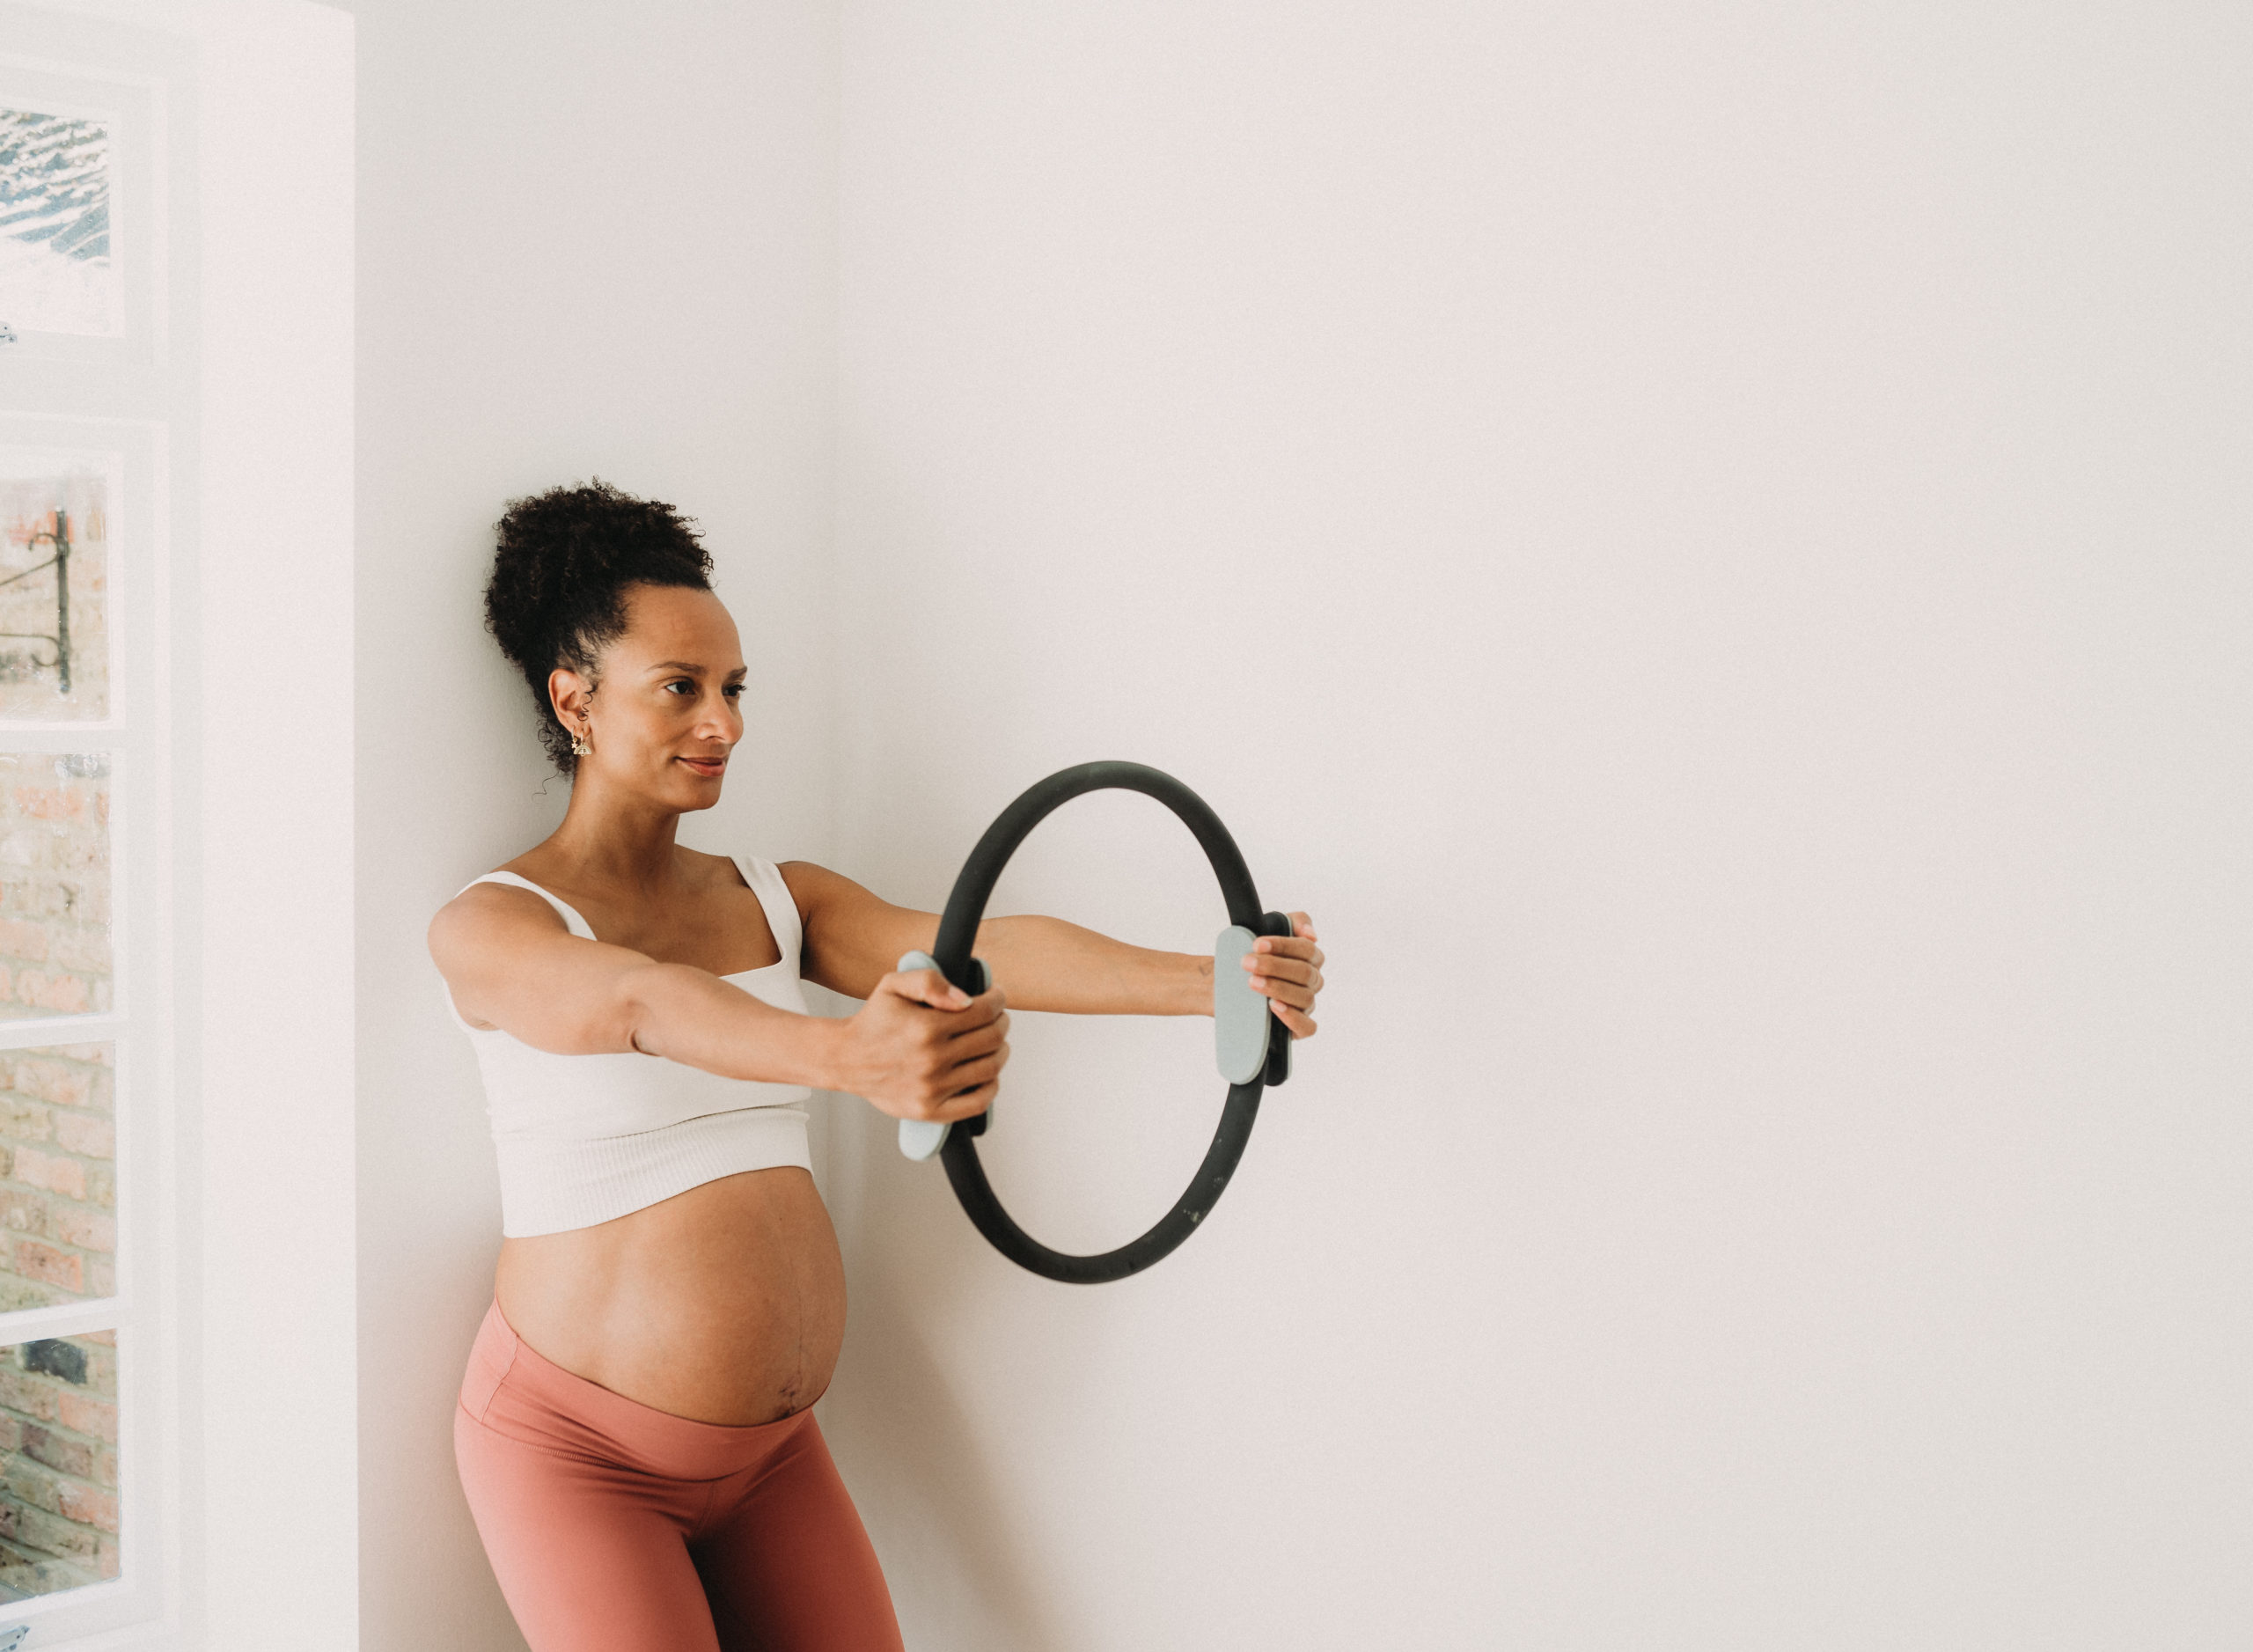
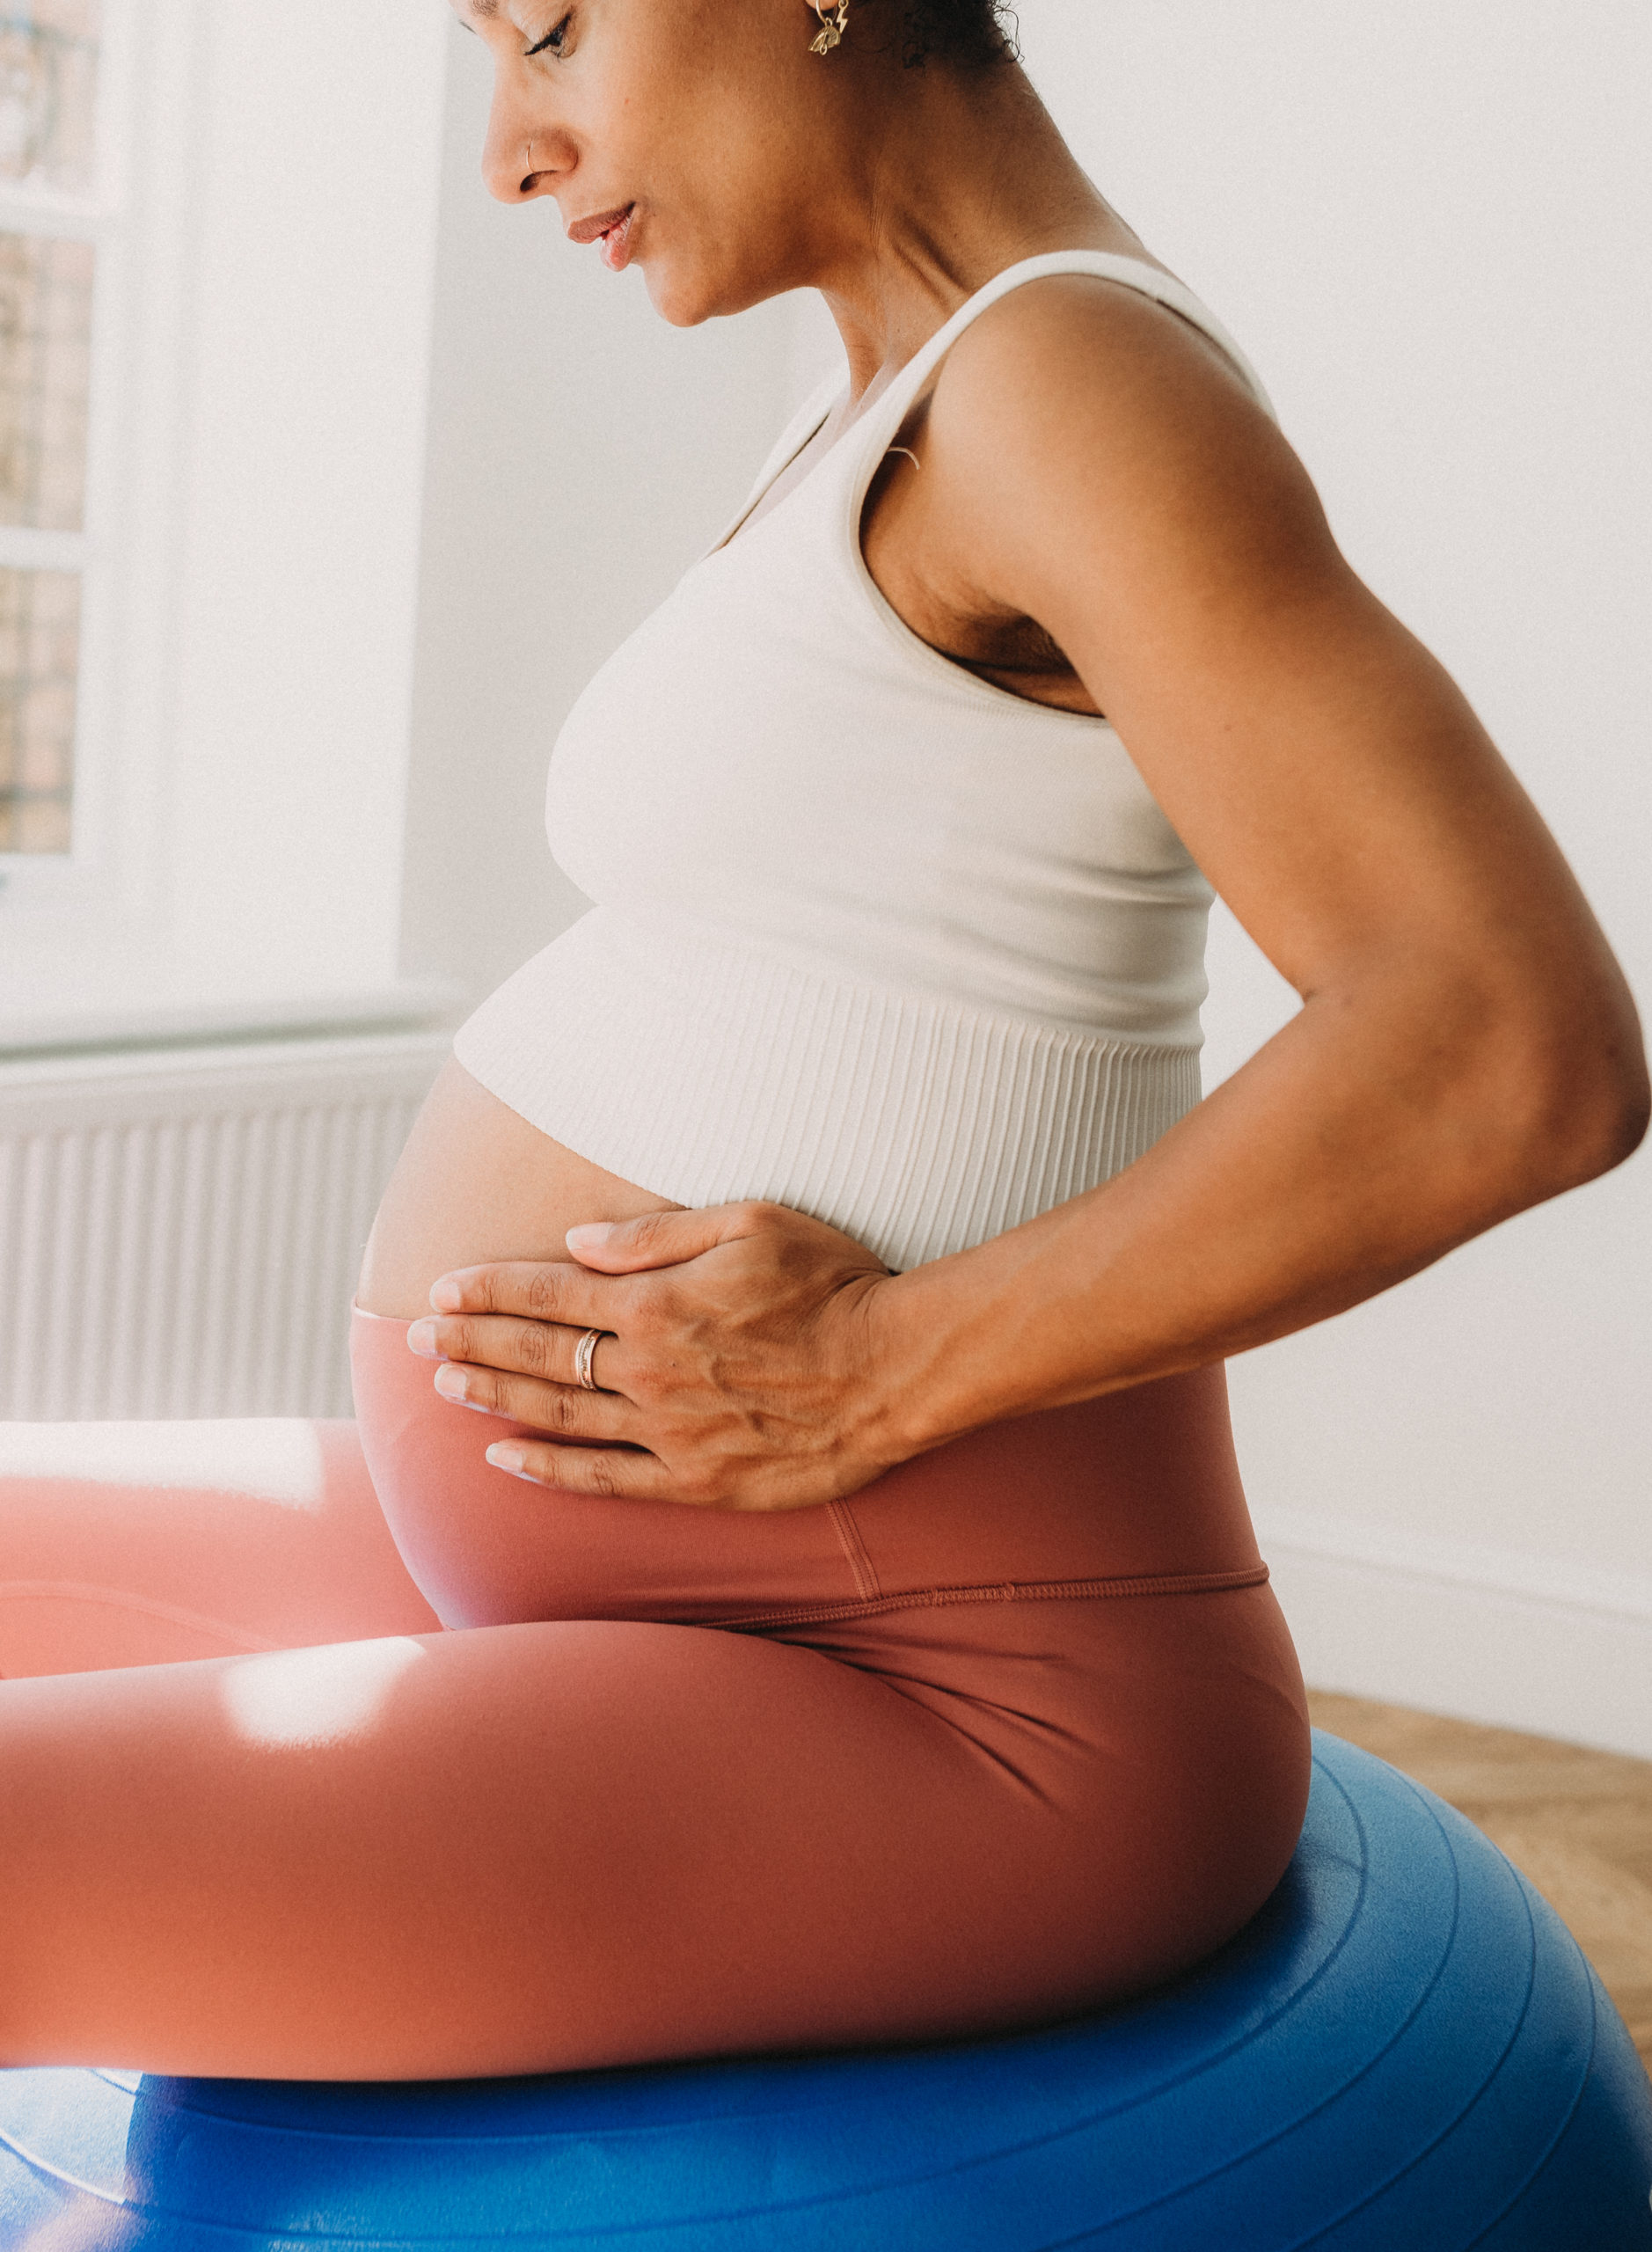
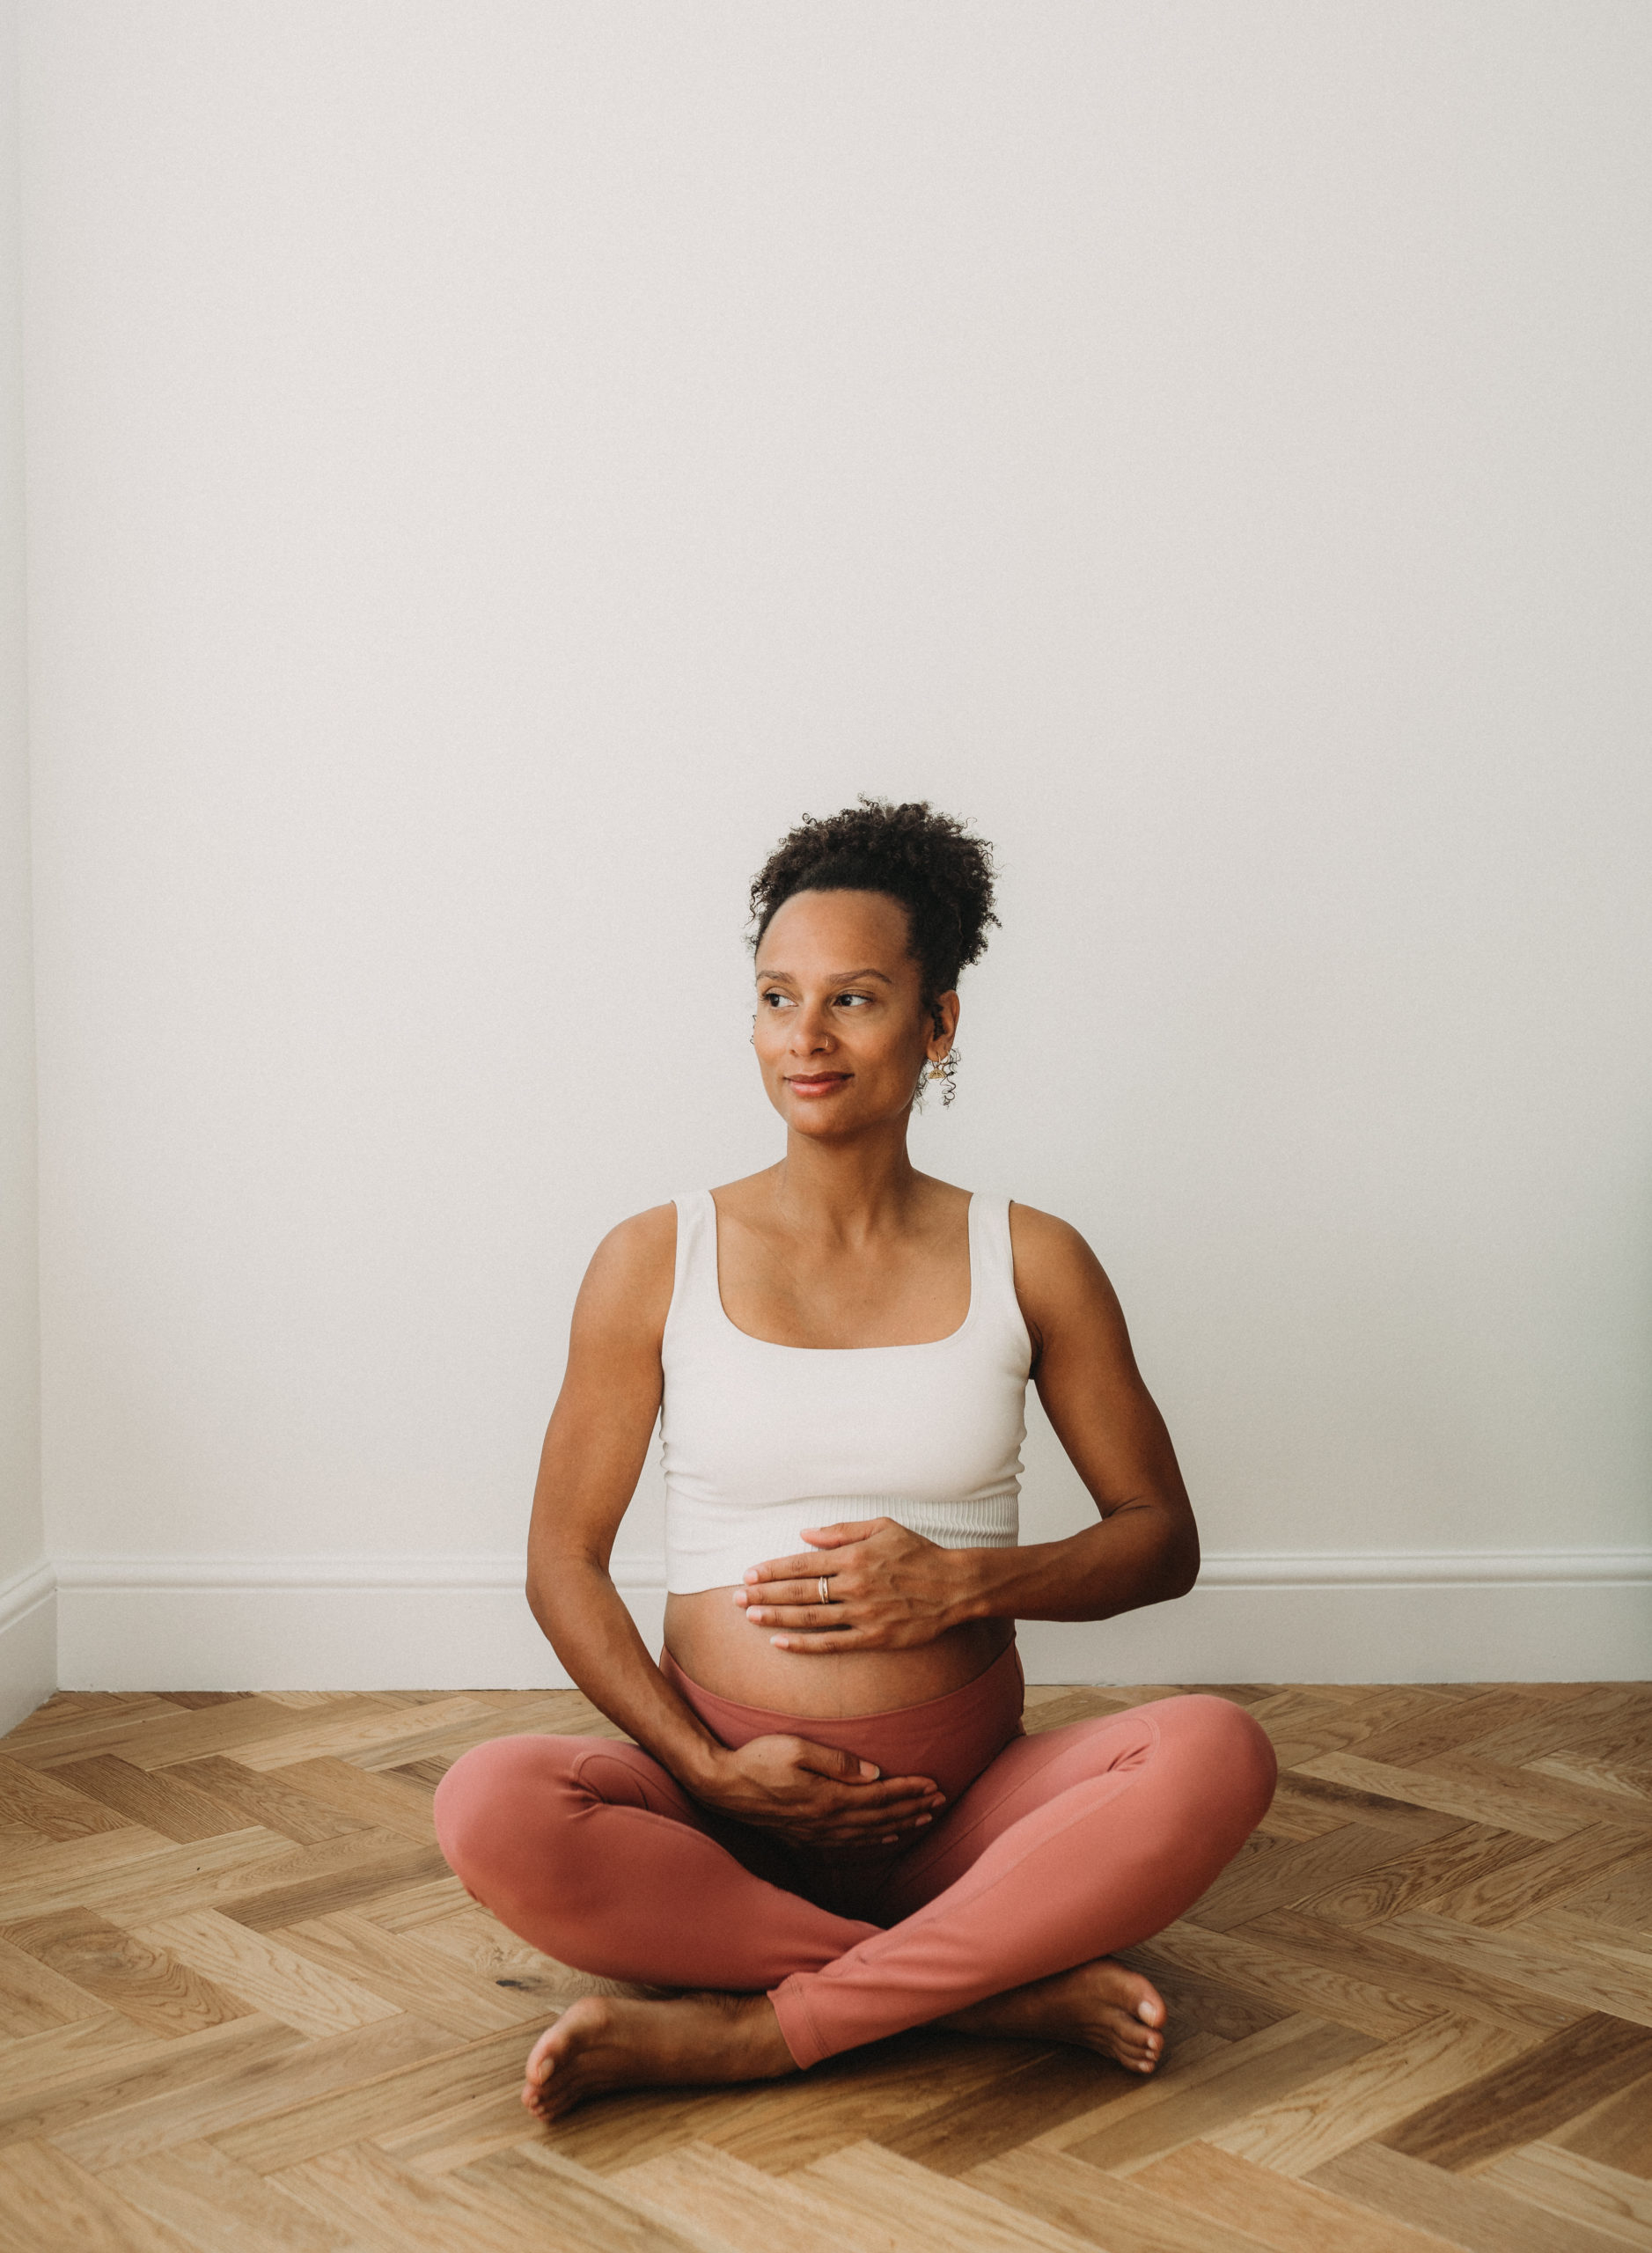
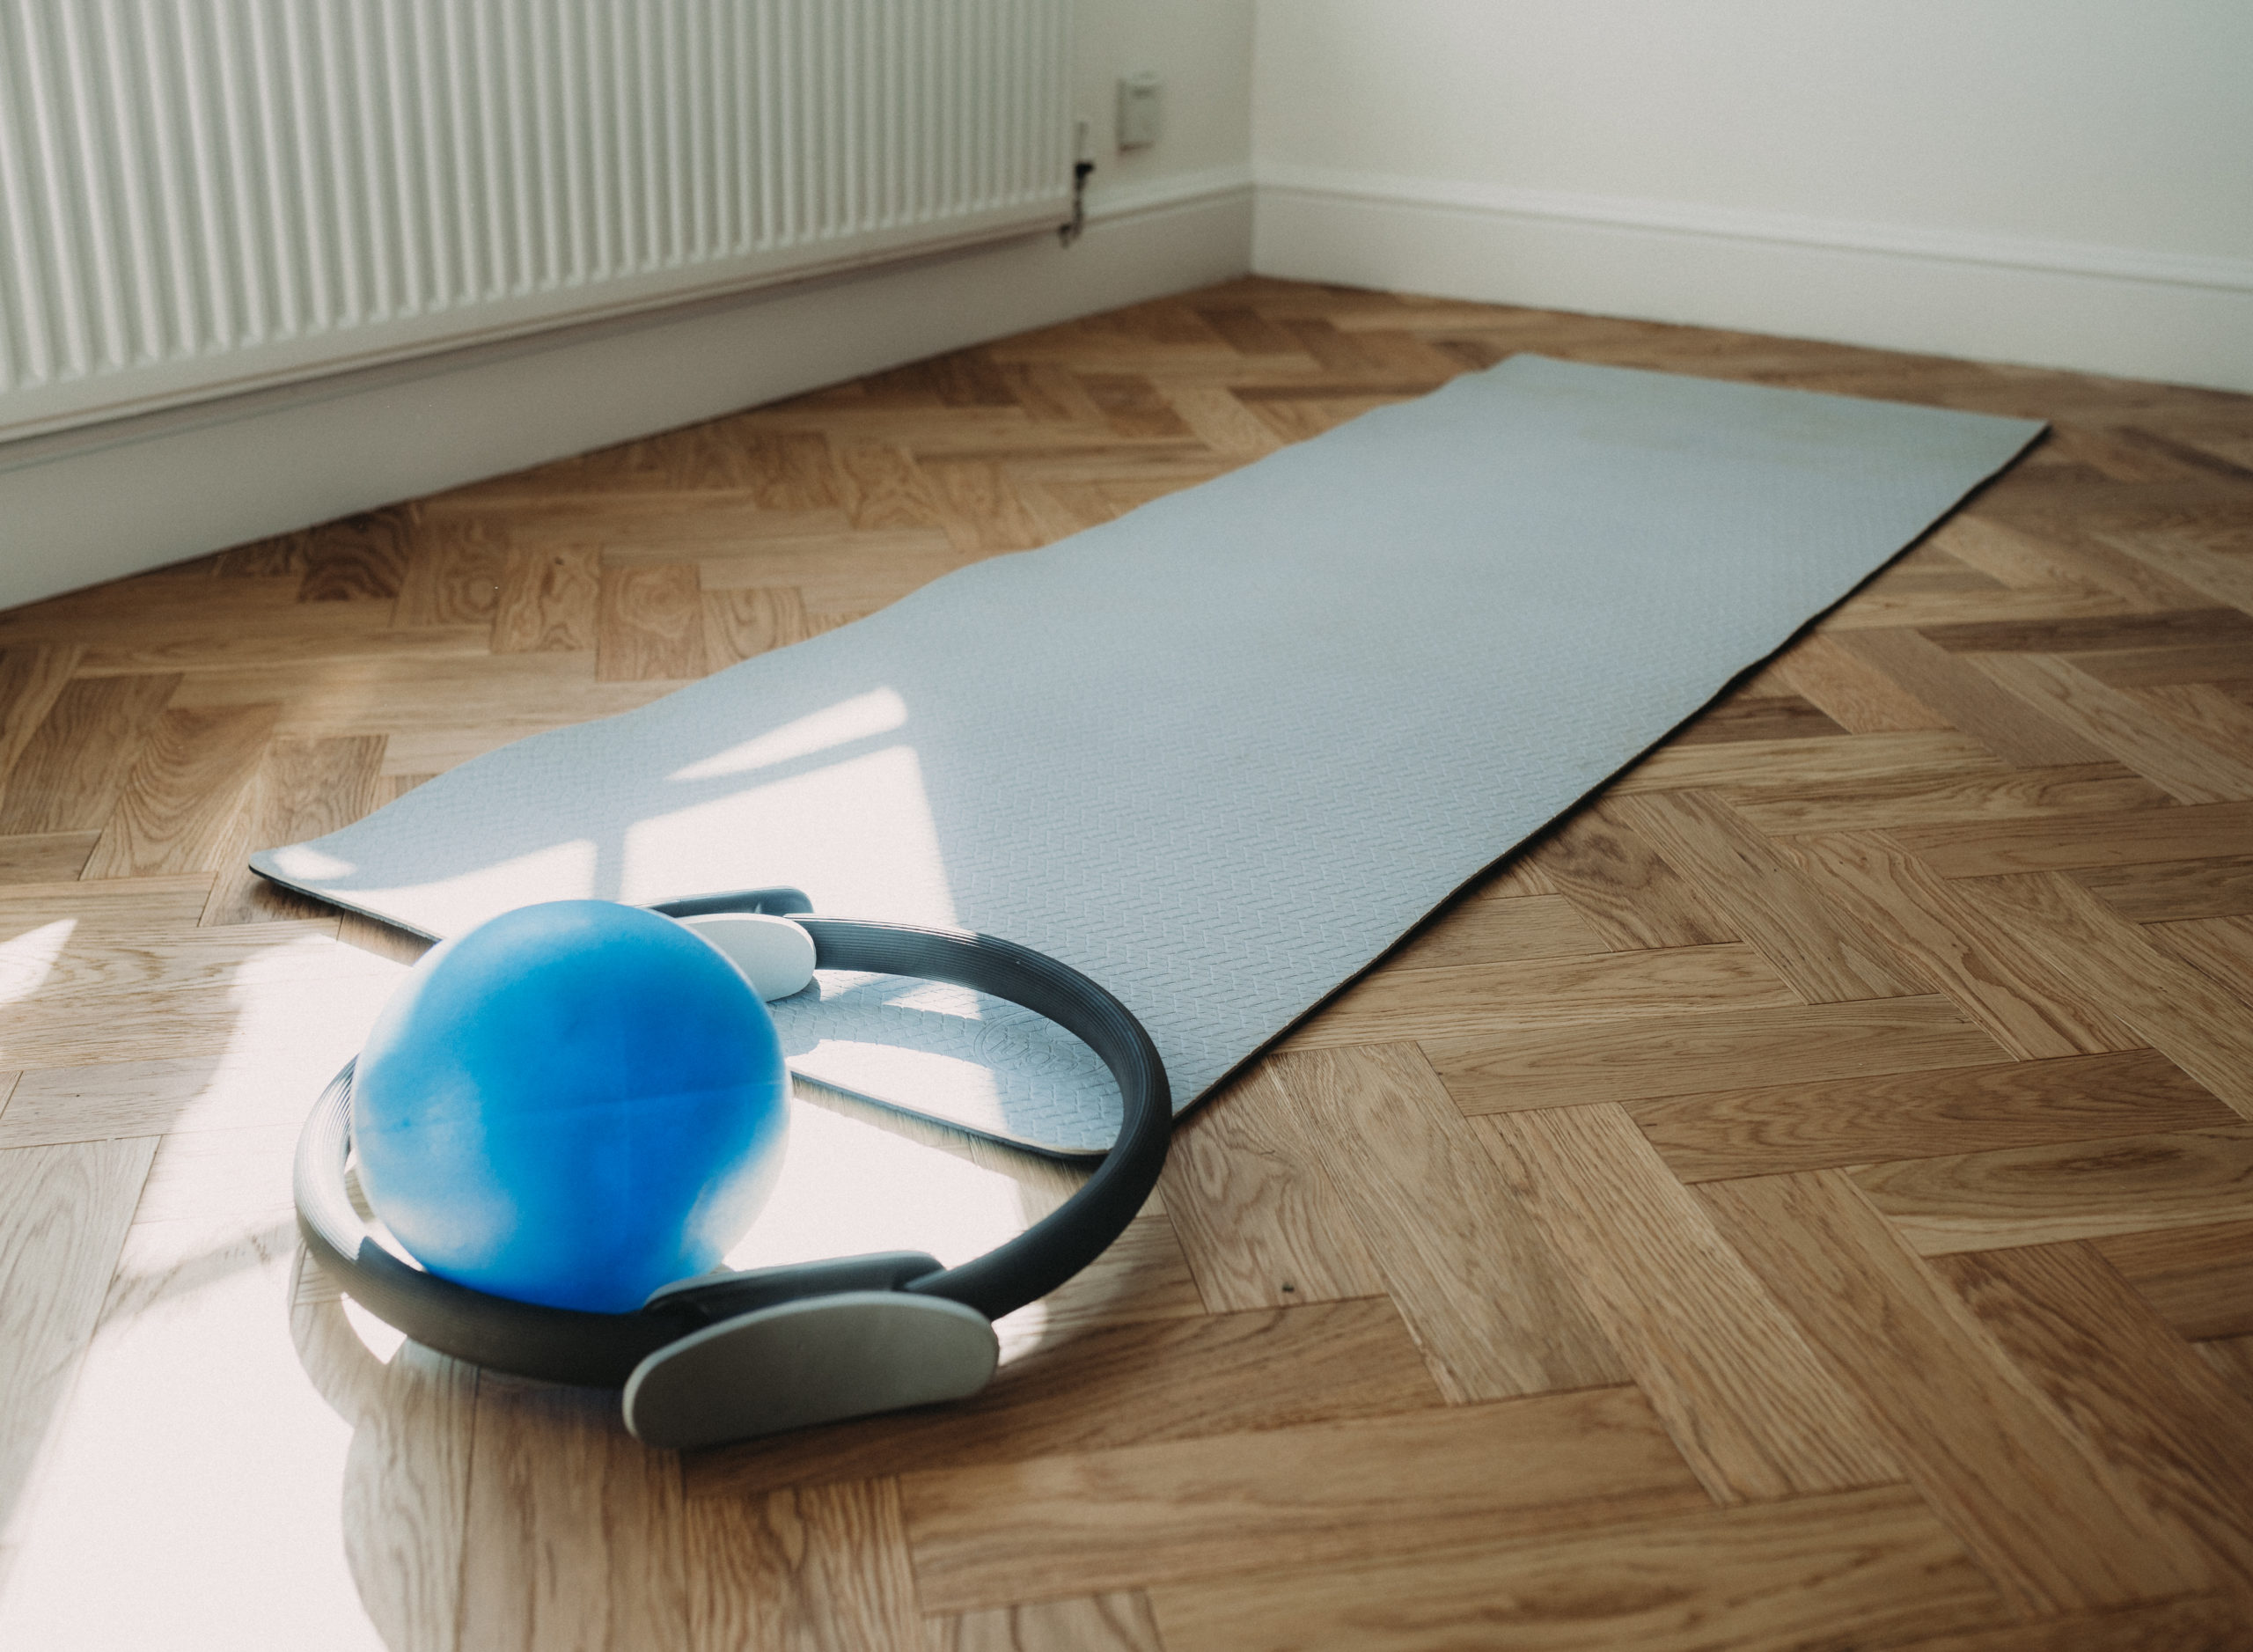
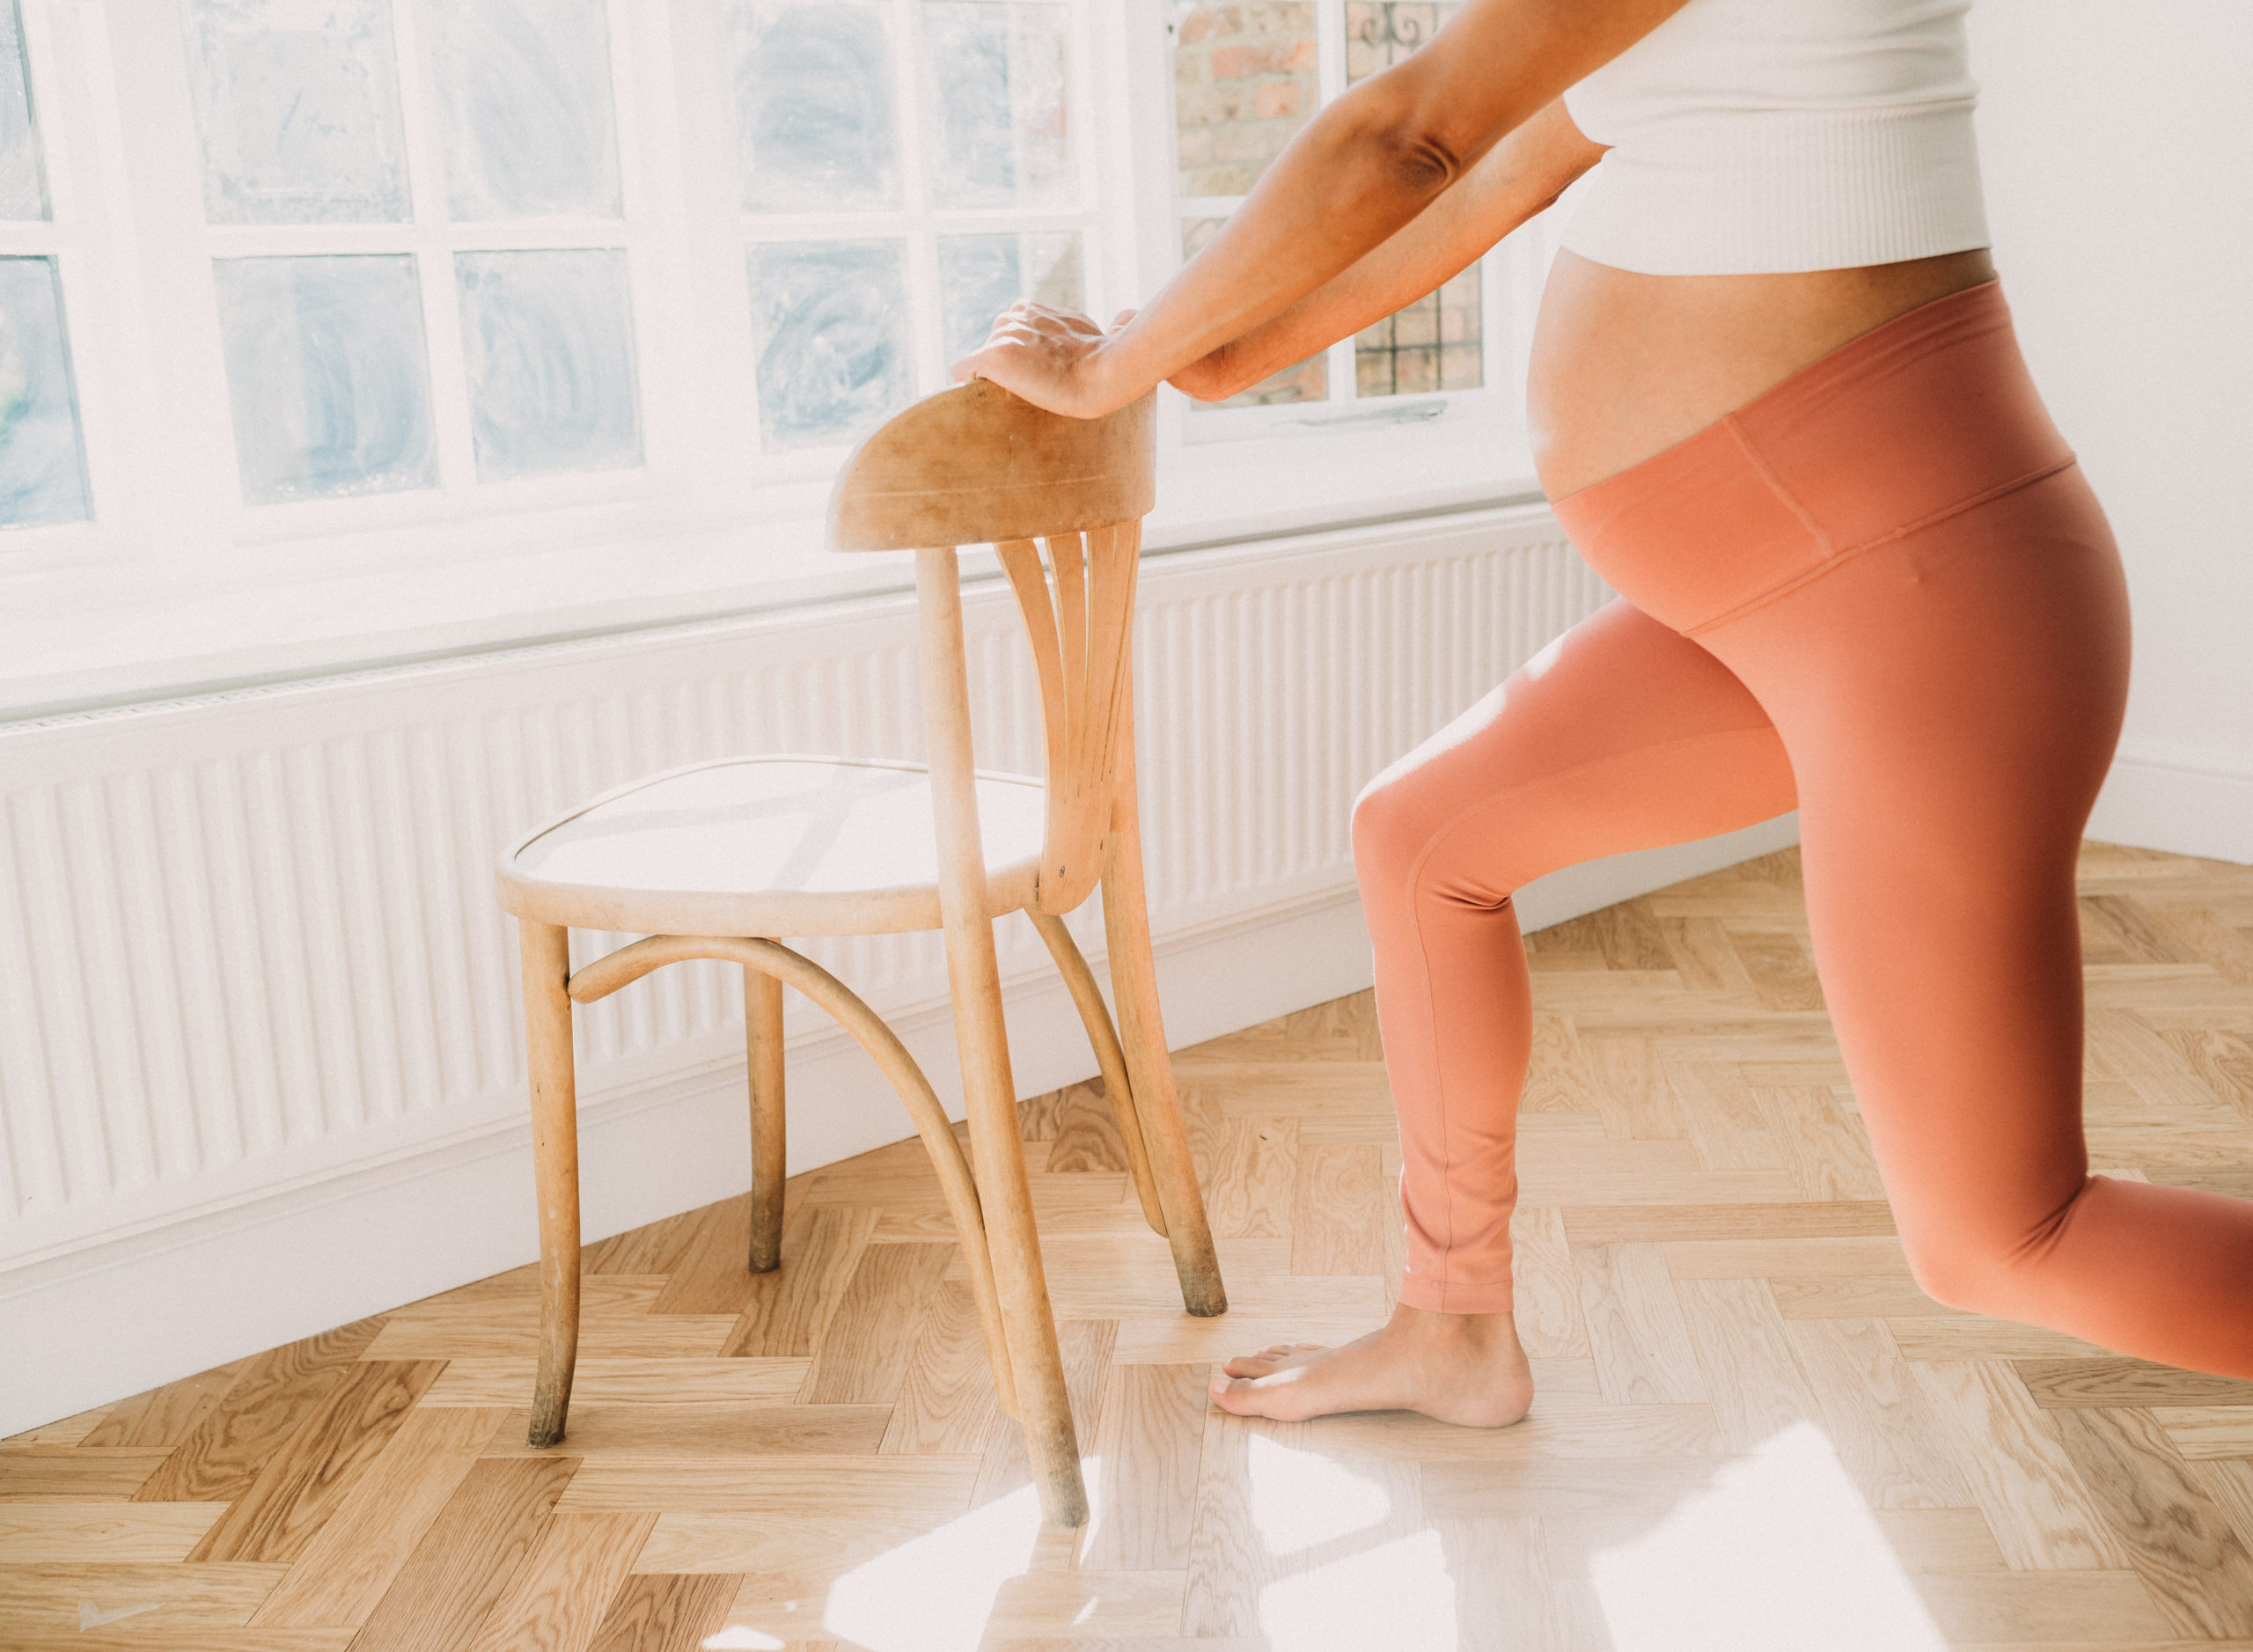

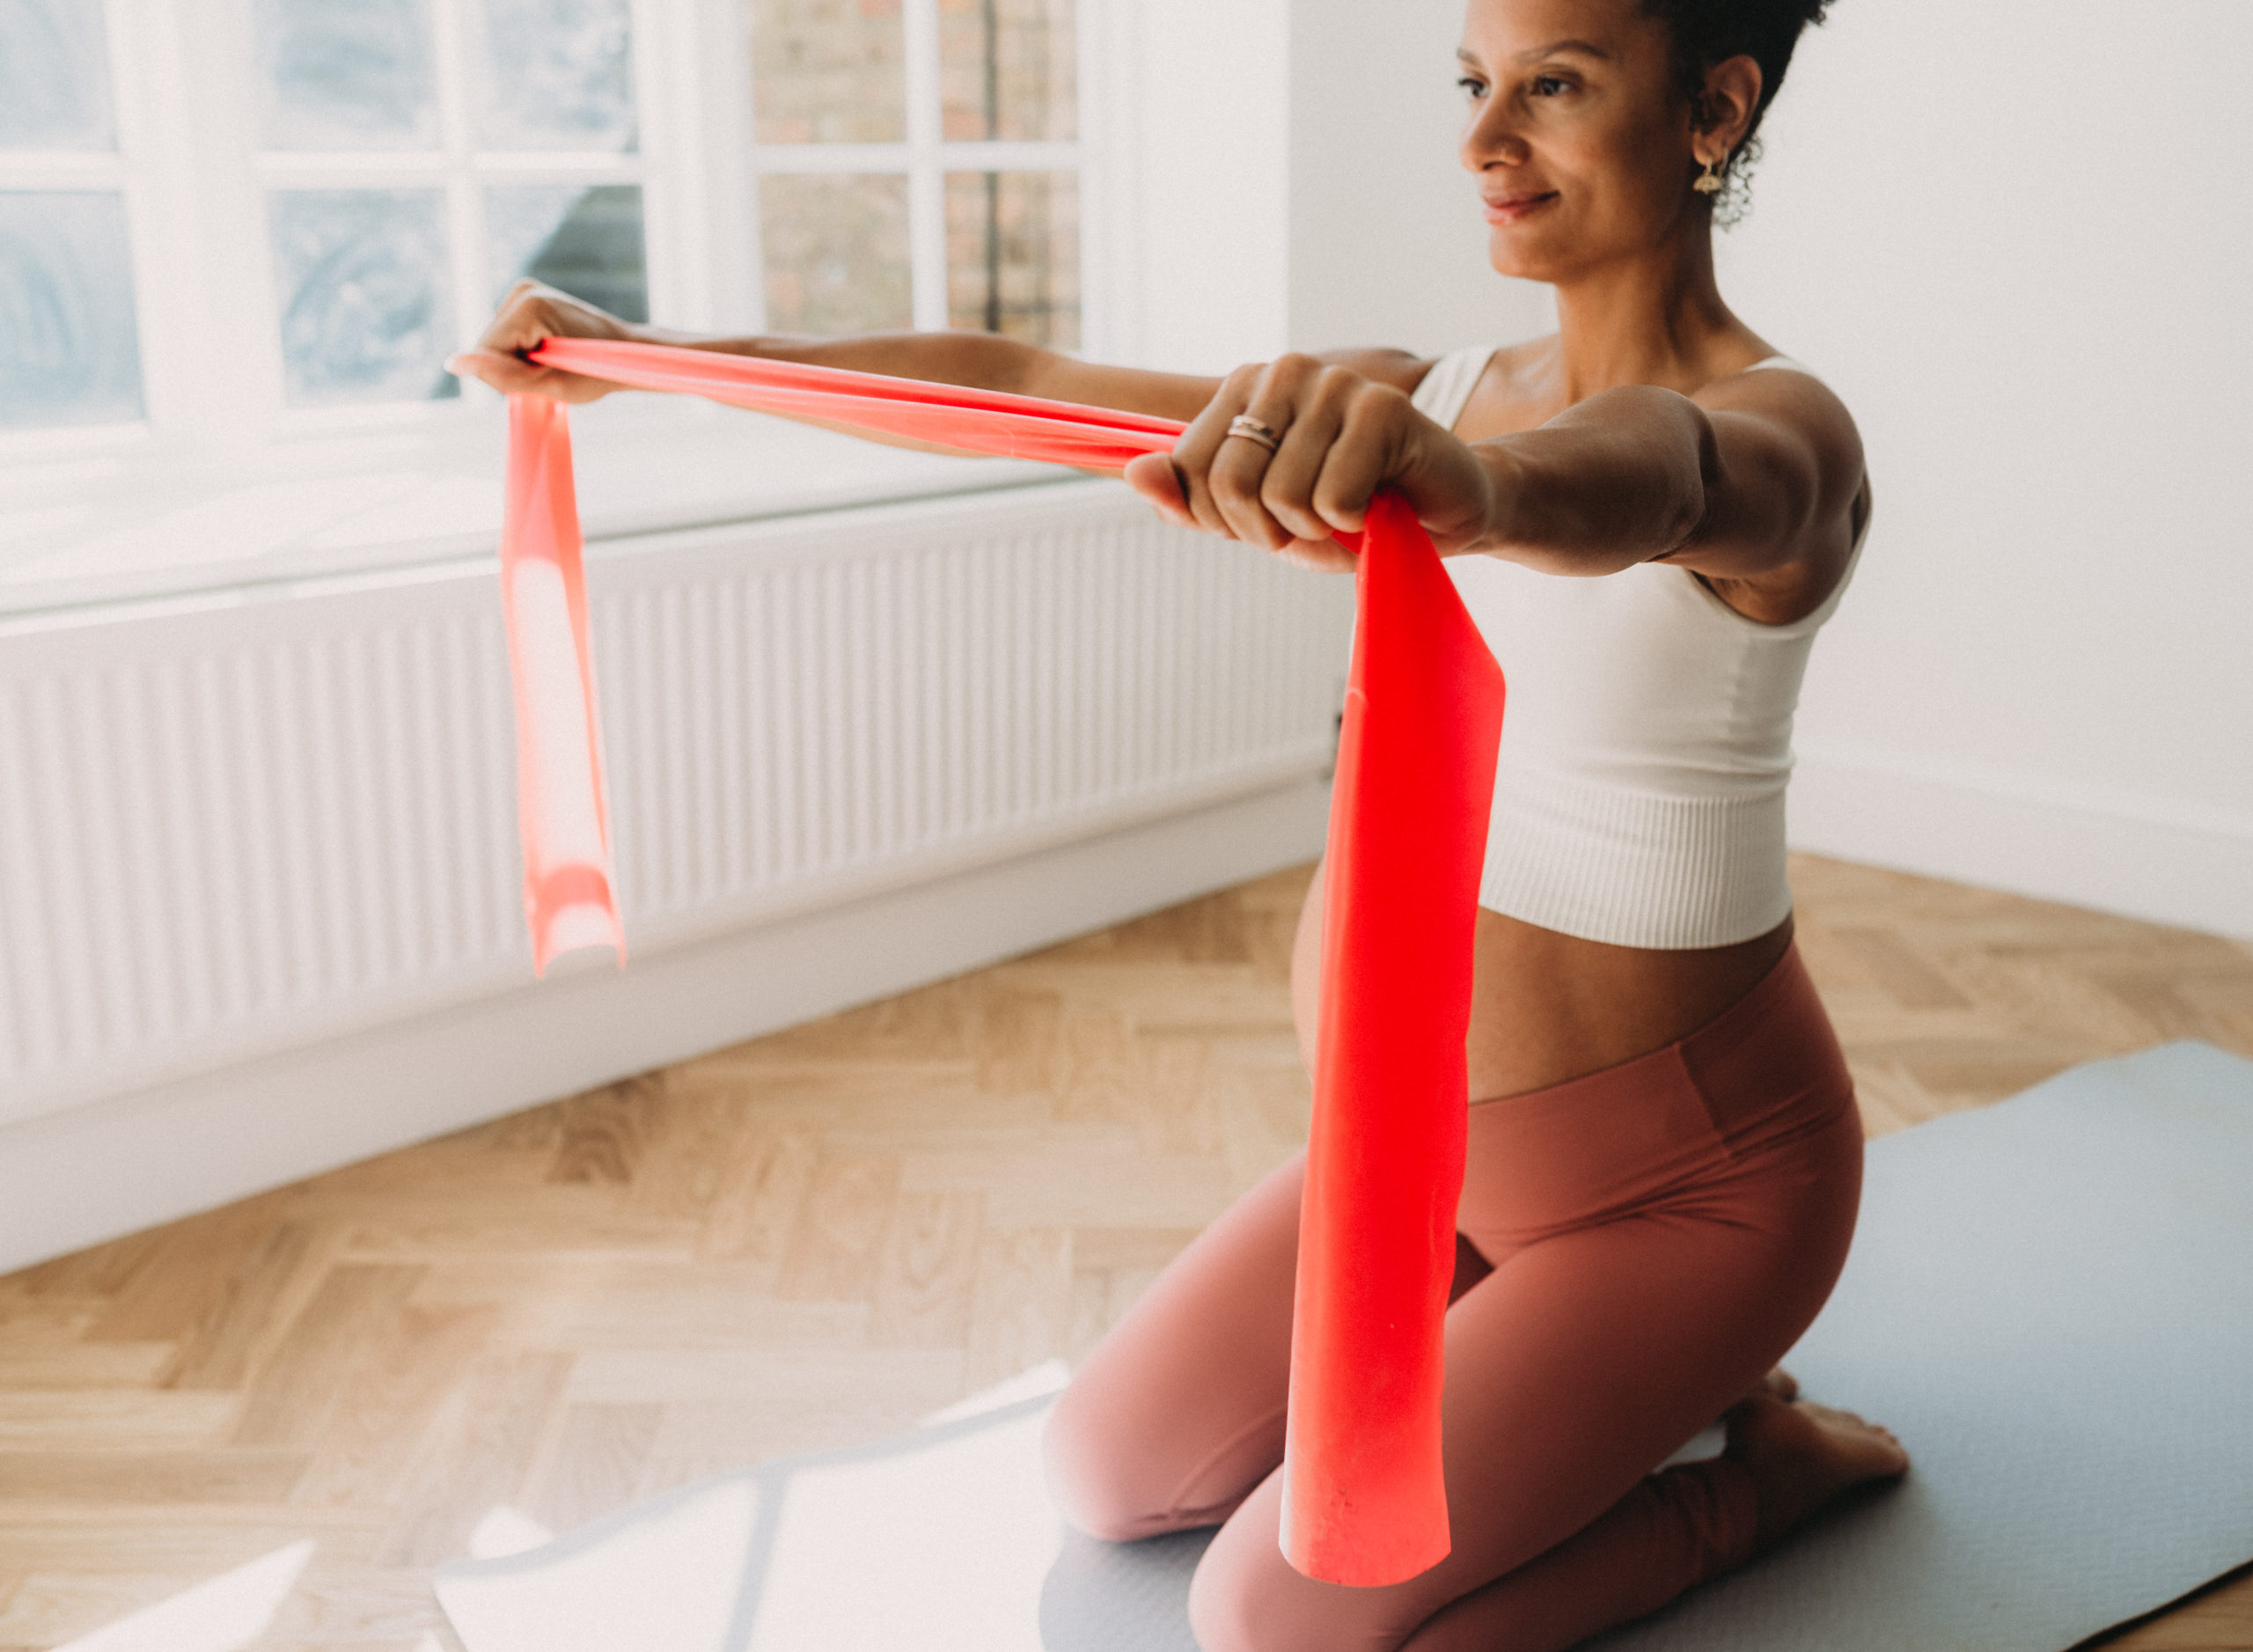
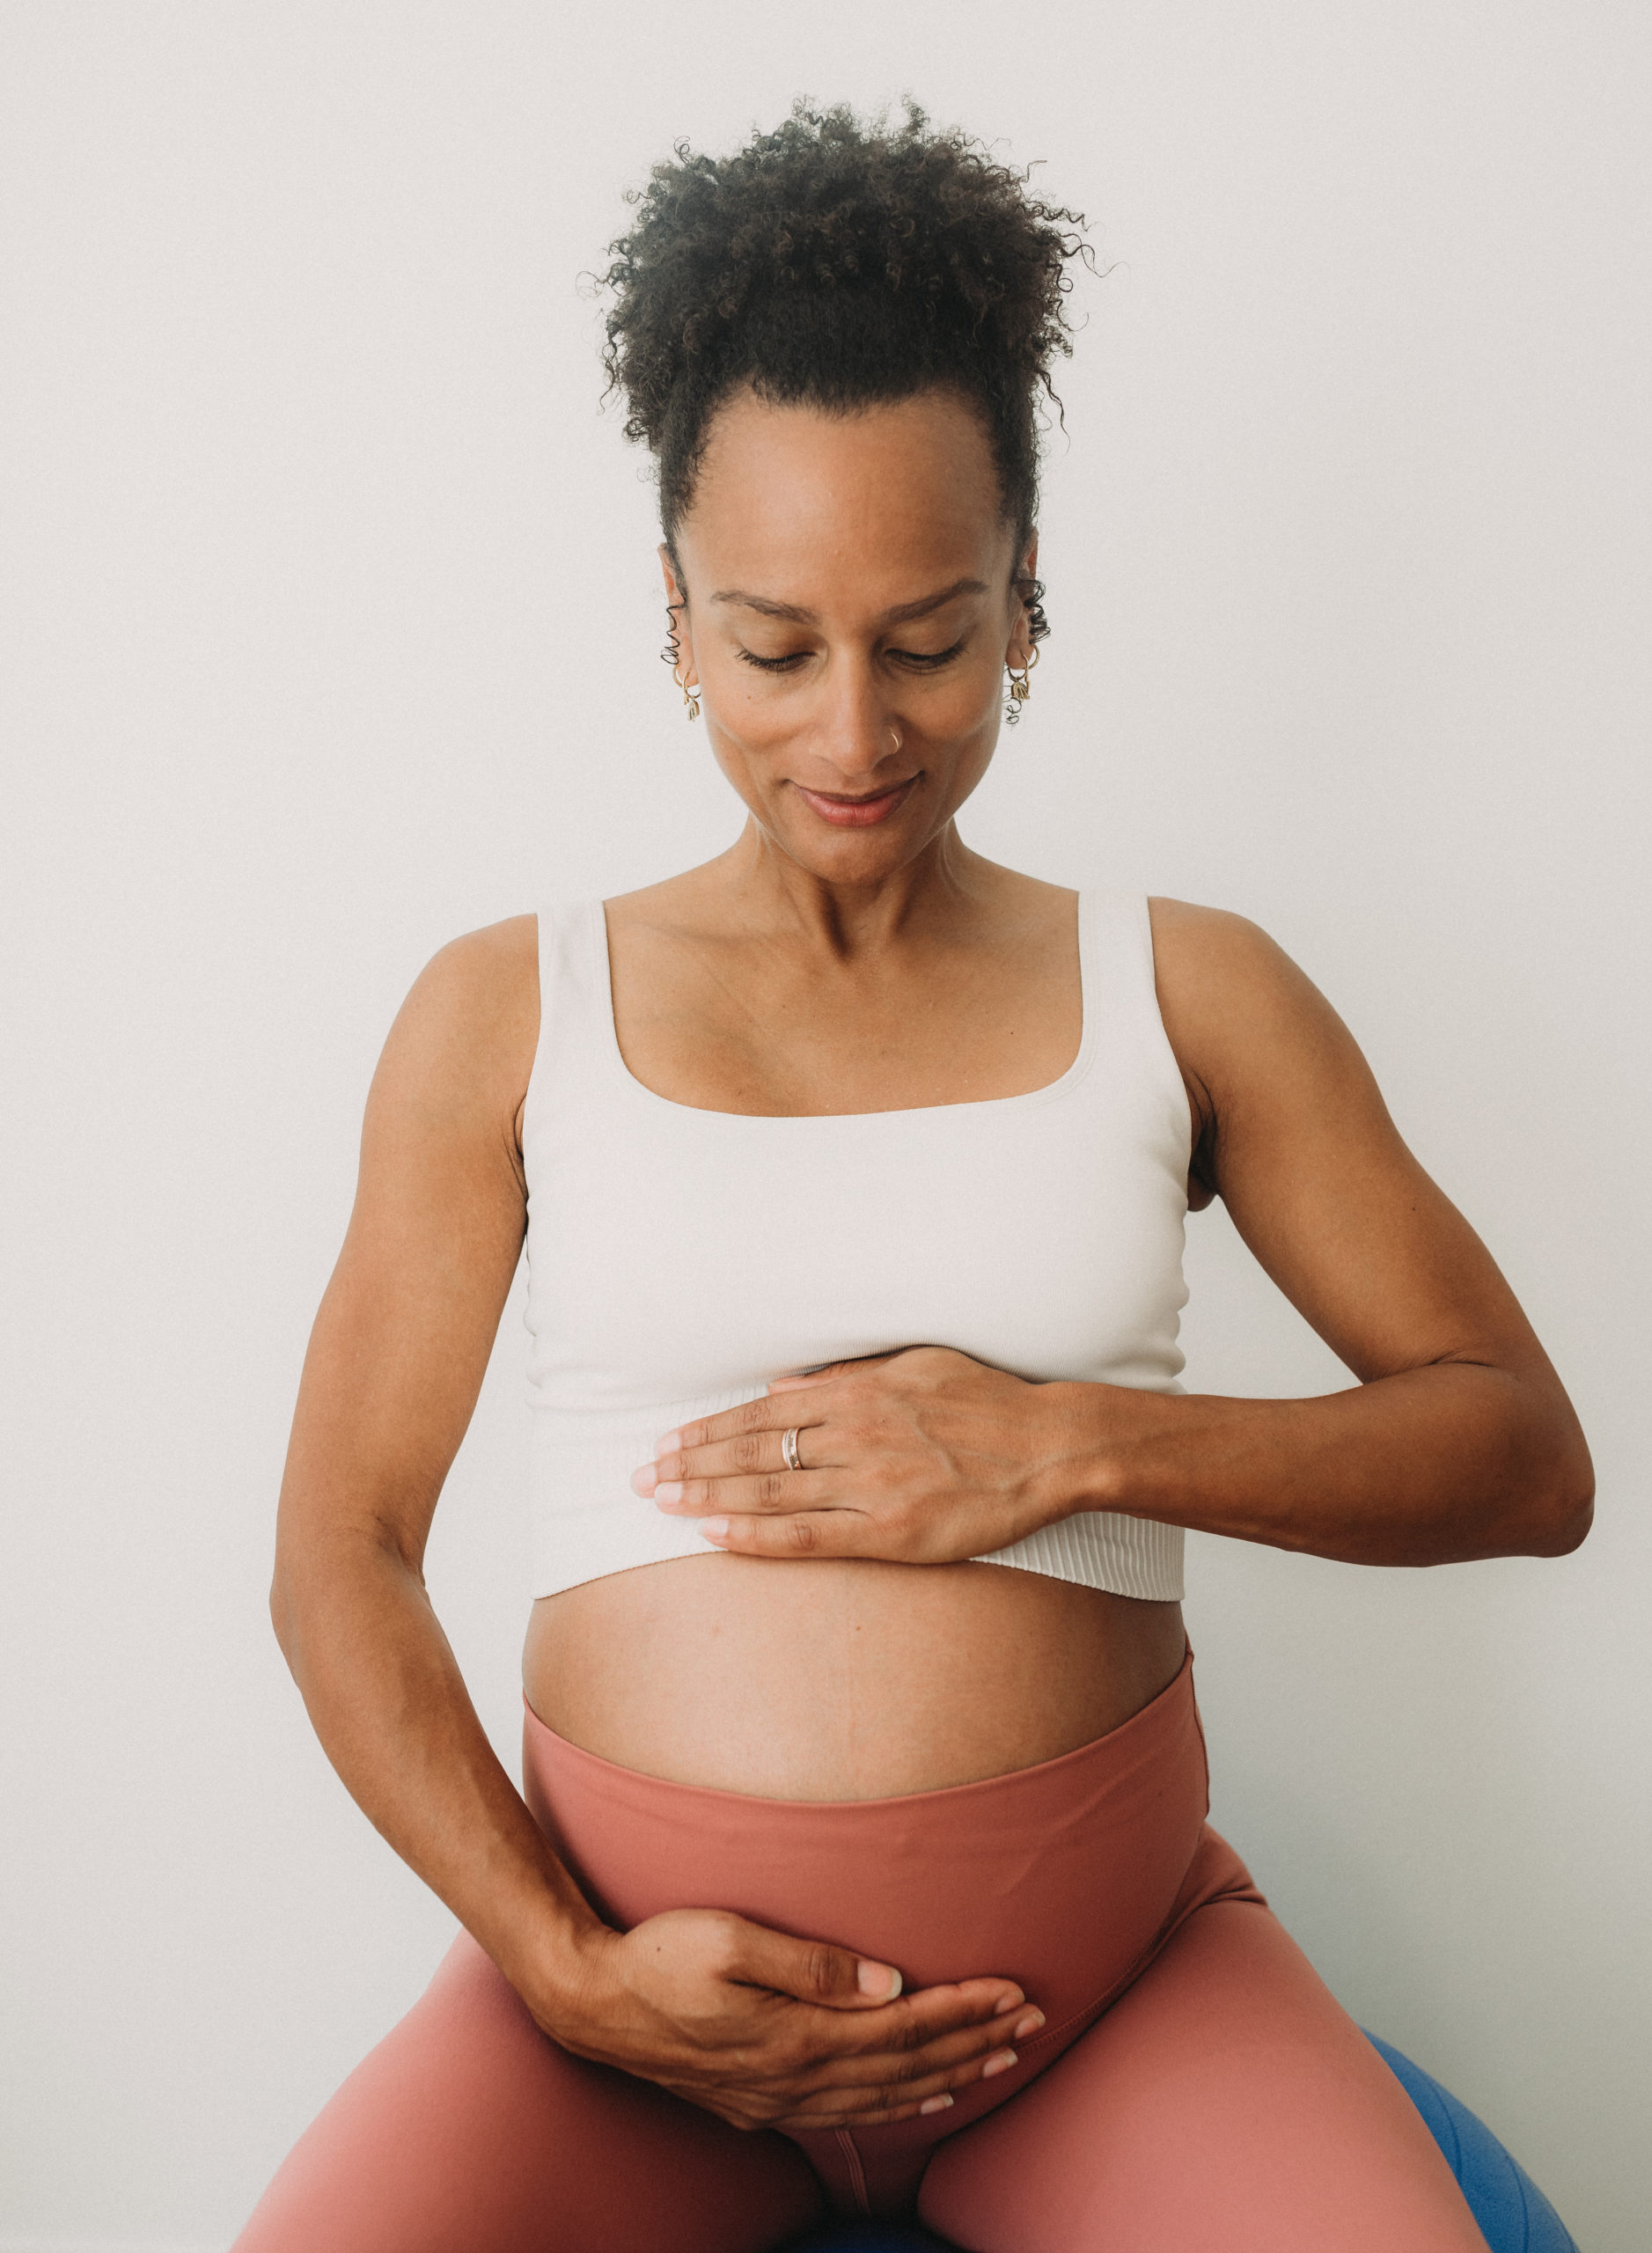
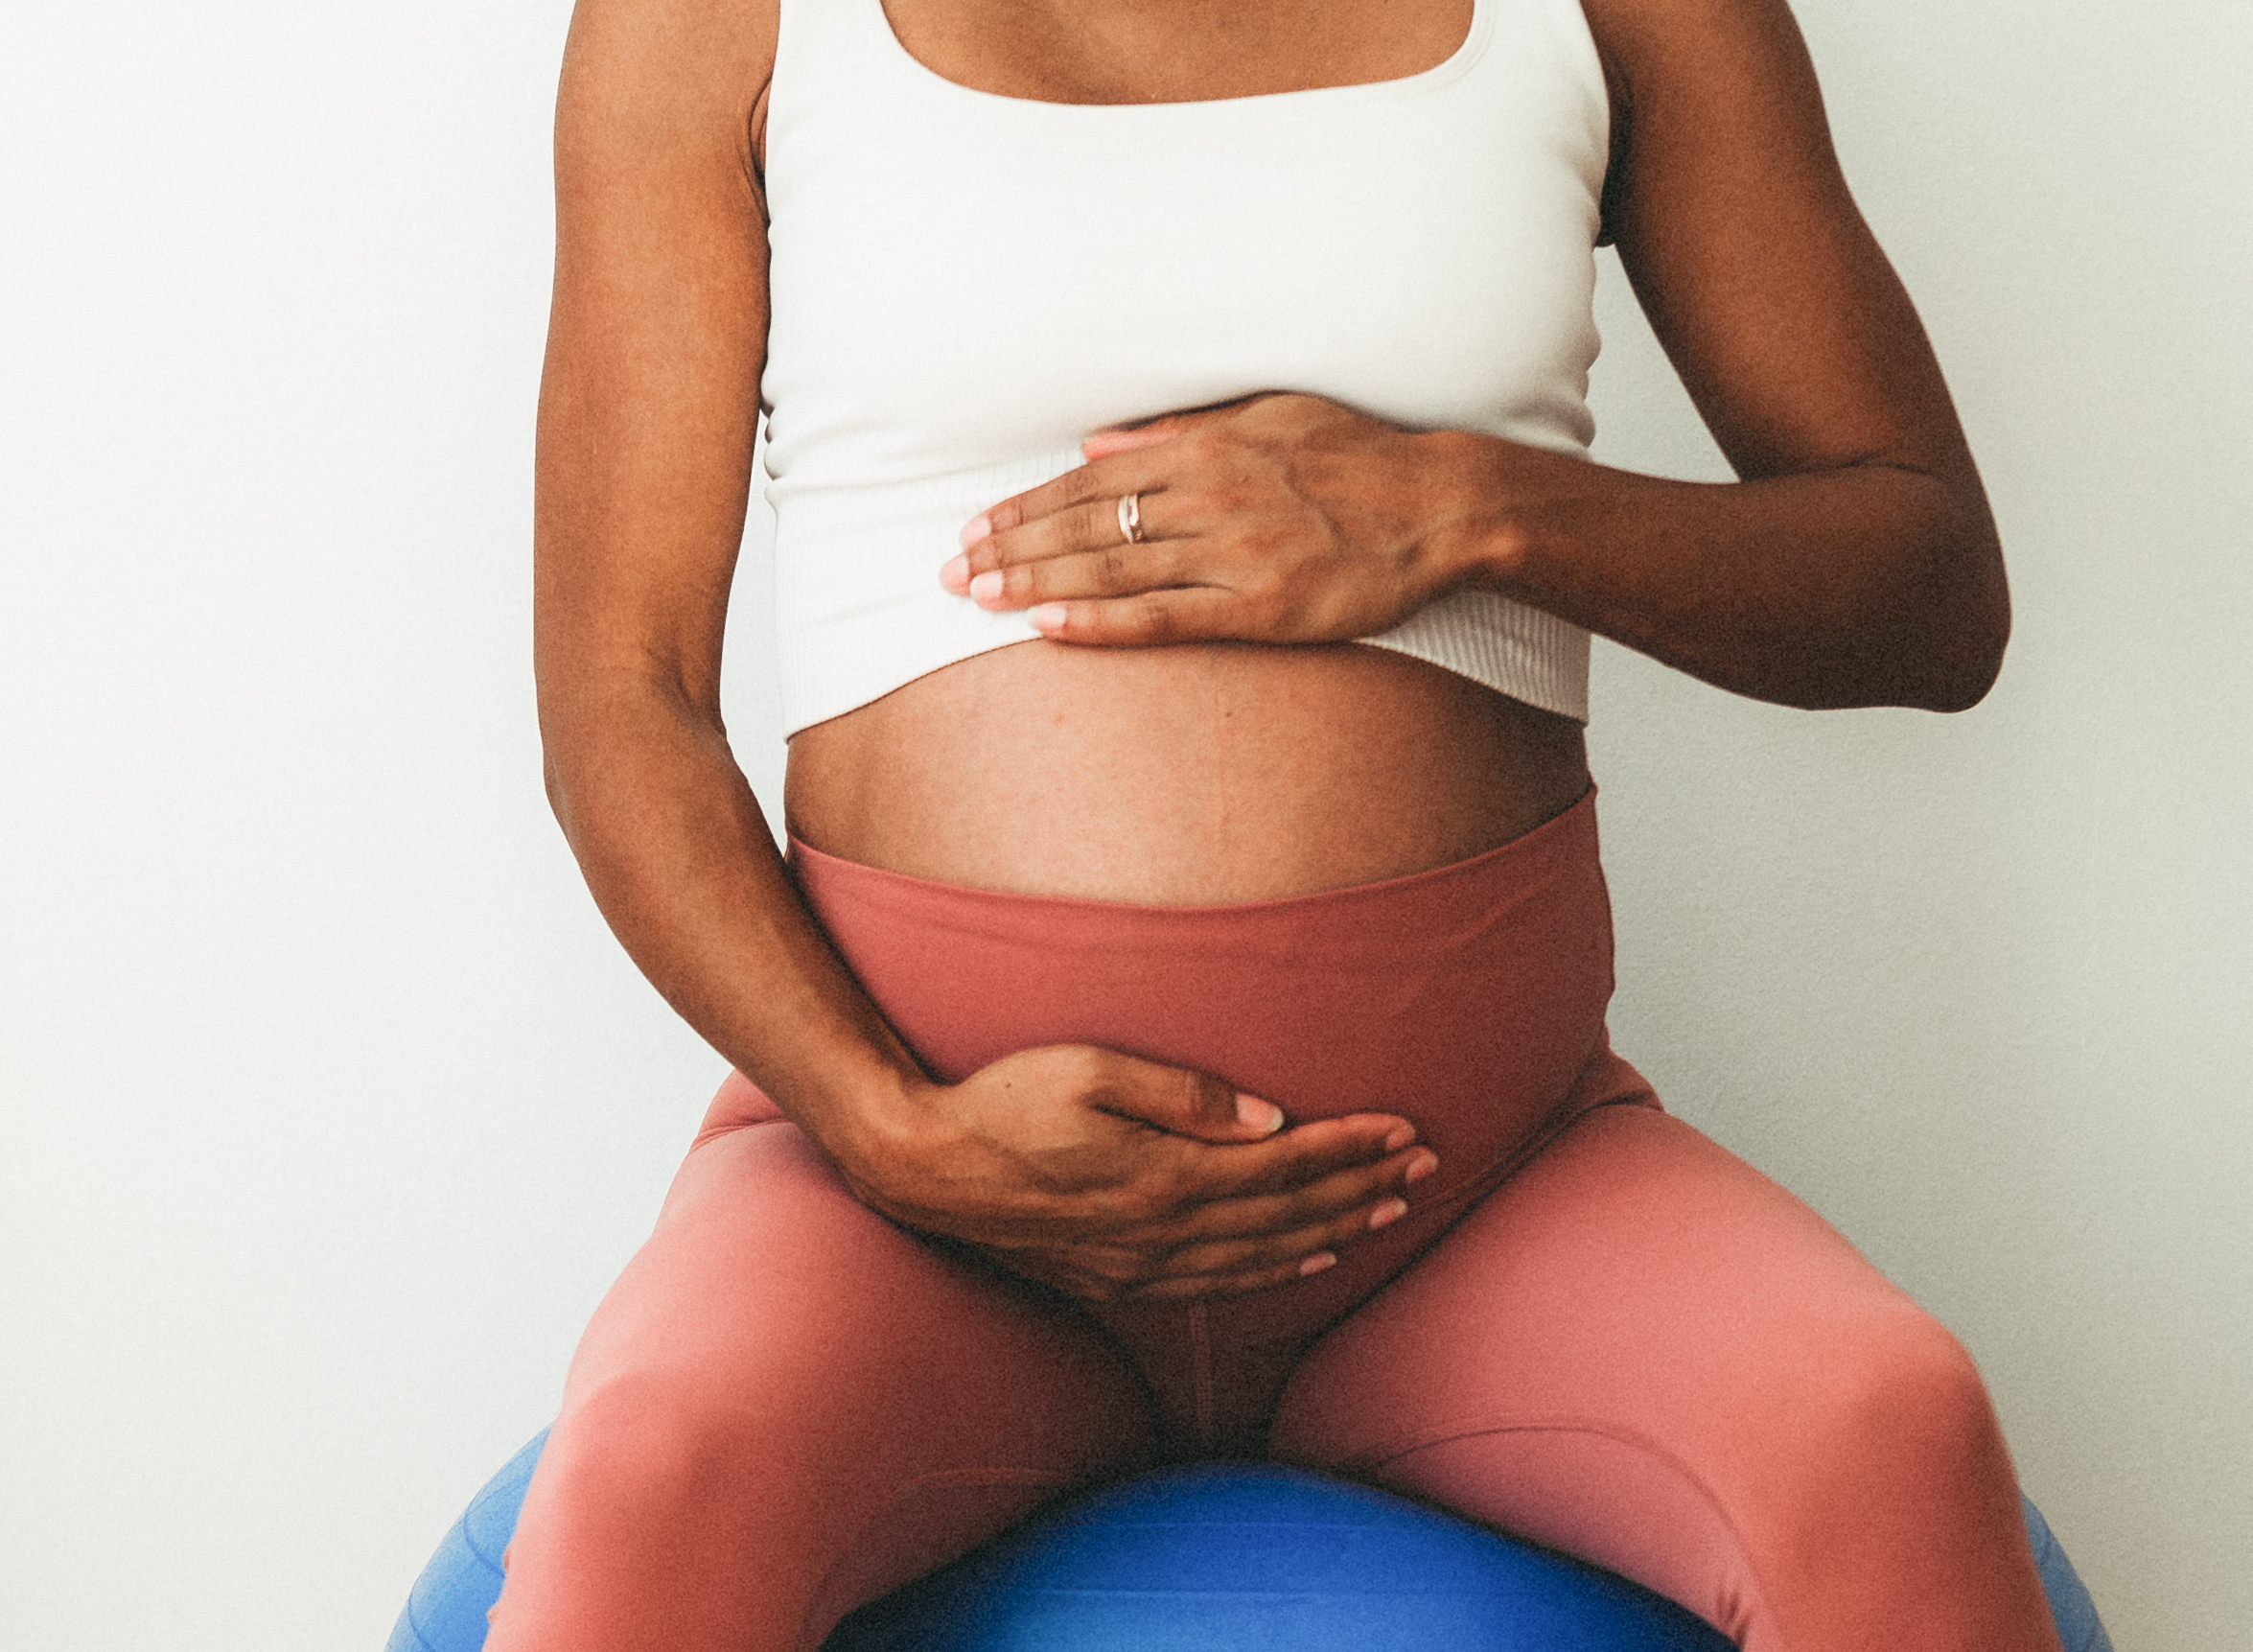
THE LOCATION - Her studio in Gerrards Cross
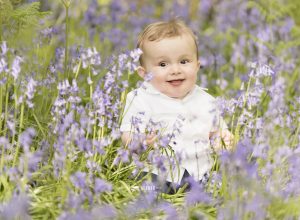
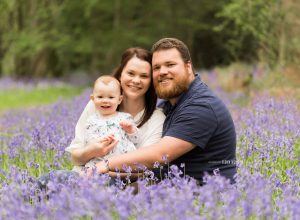

Lapland trip to see Santa with Canterbury Travel
Lapland... the most wonderful holiday ever!
We have just got back from the most amazing trip to Luosto in Lapland. It totally beat every expectation I had! I was going to do a small blog about photography in Lapland for my beginners camera workshops (scroll down), but so many people have asked questions about whether I’d recommend it I thought I’d give a bit of an overview!
We did the Magical Interlude with Canterbury Travel and cannot recommend it enough! More on them later…

What age is best for your children to enjoy Lapland?
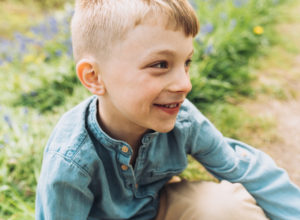
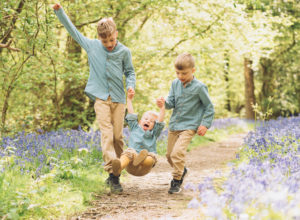
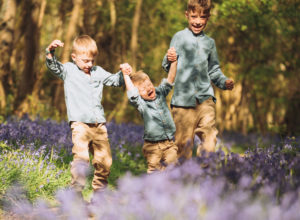
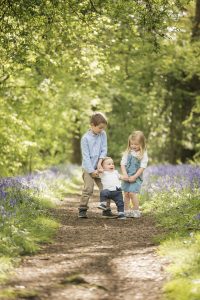
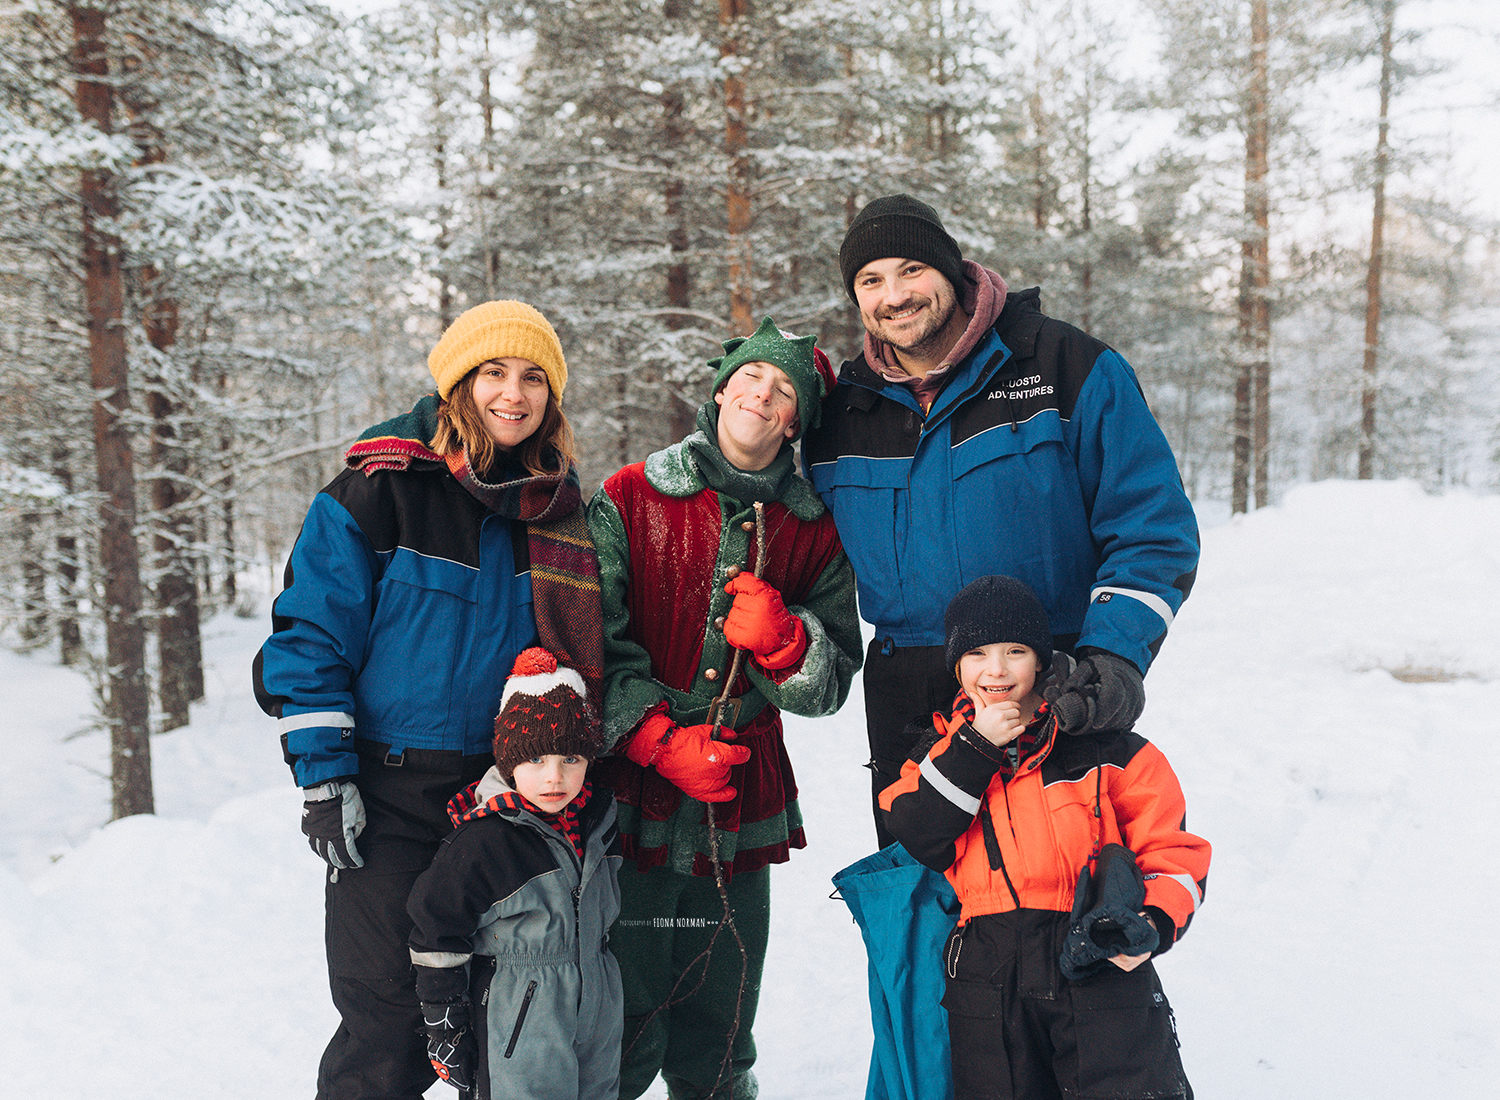
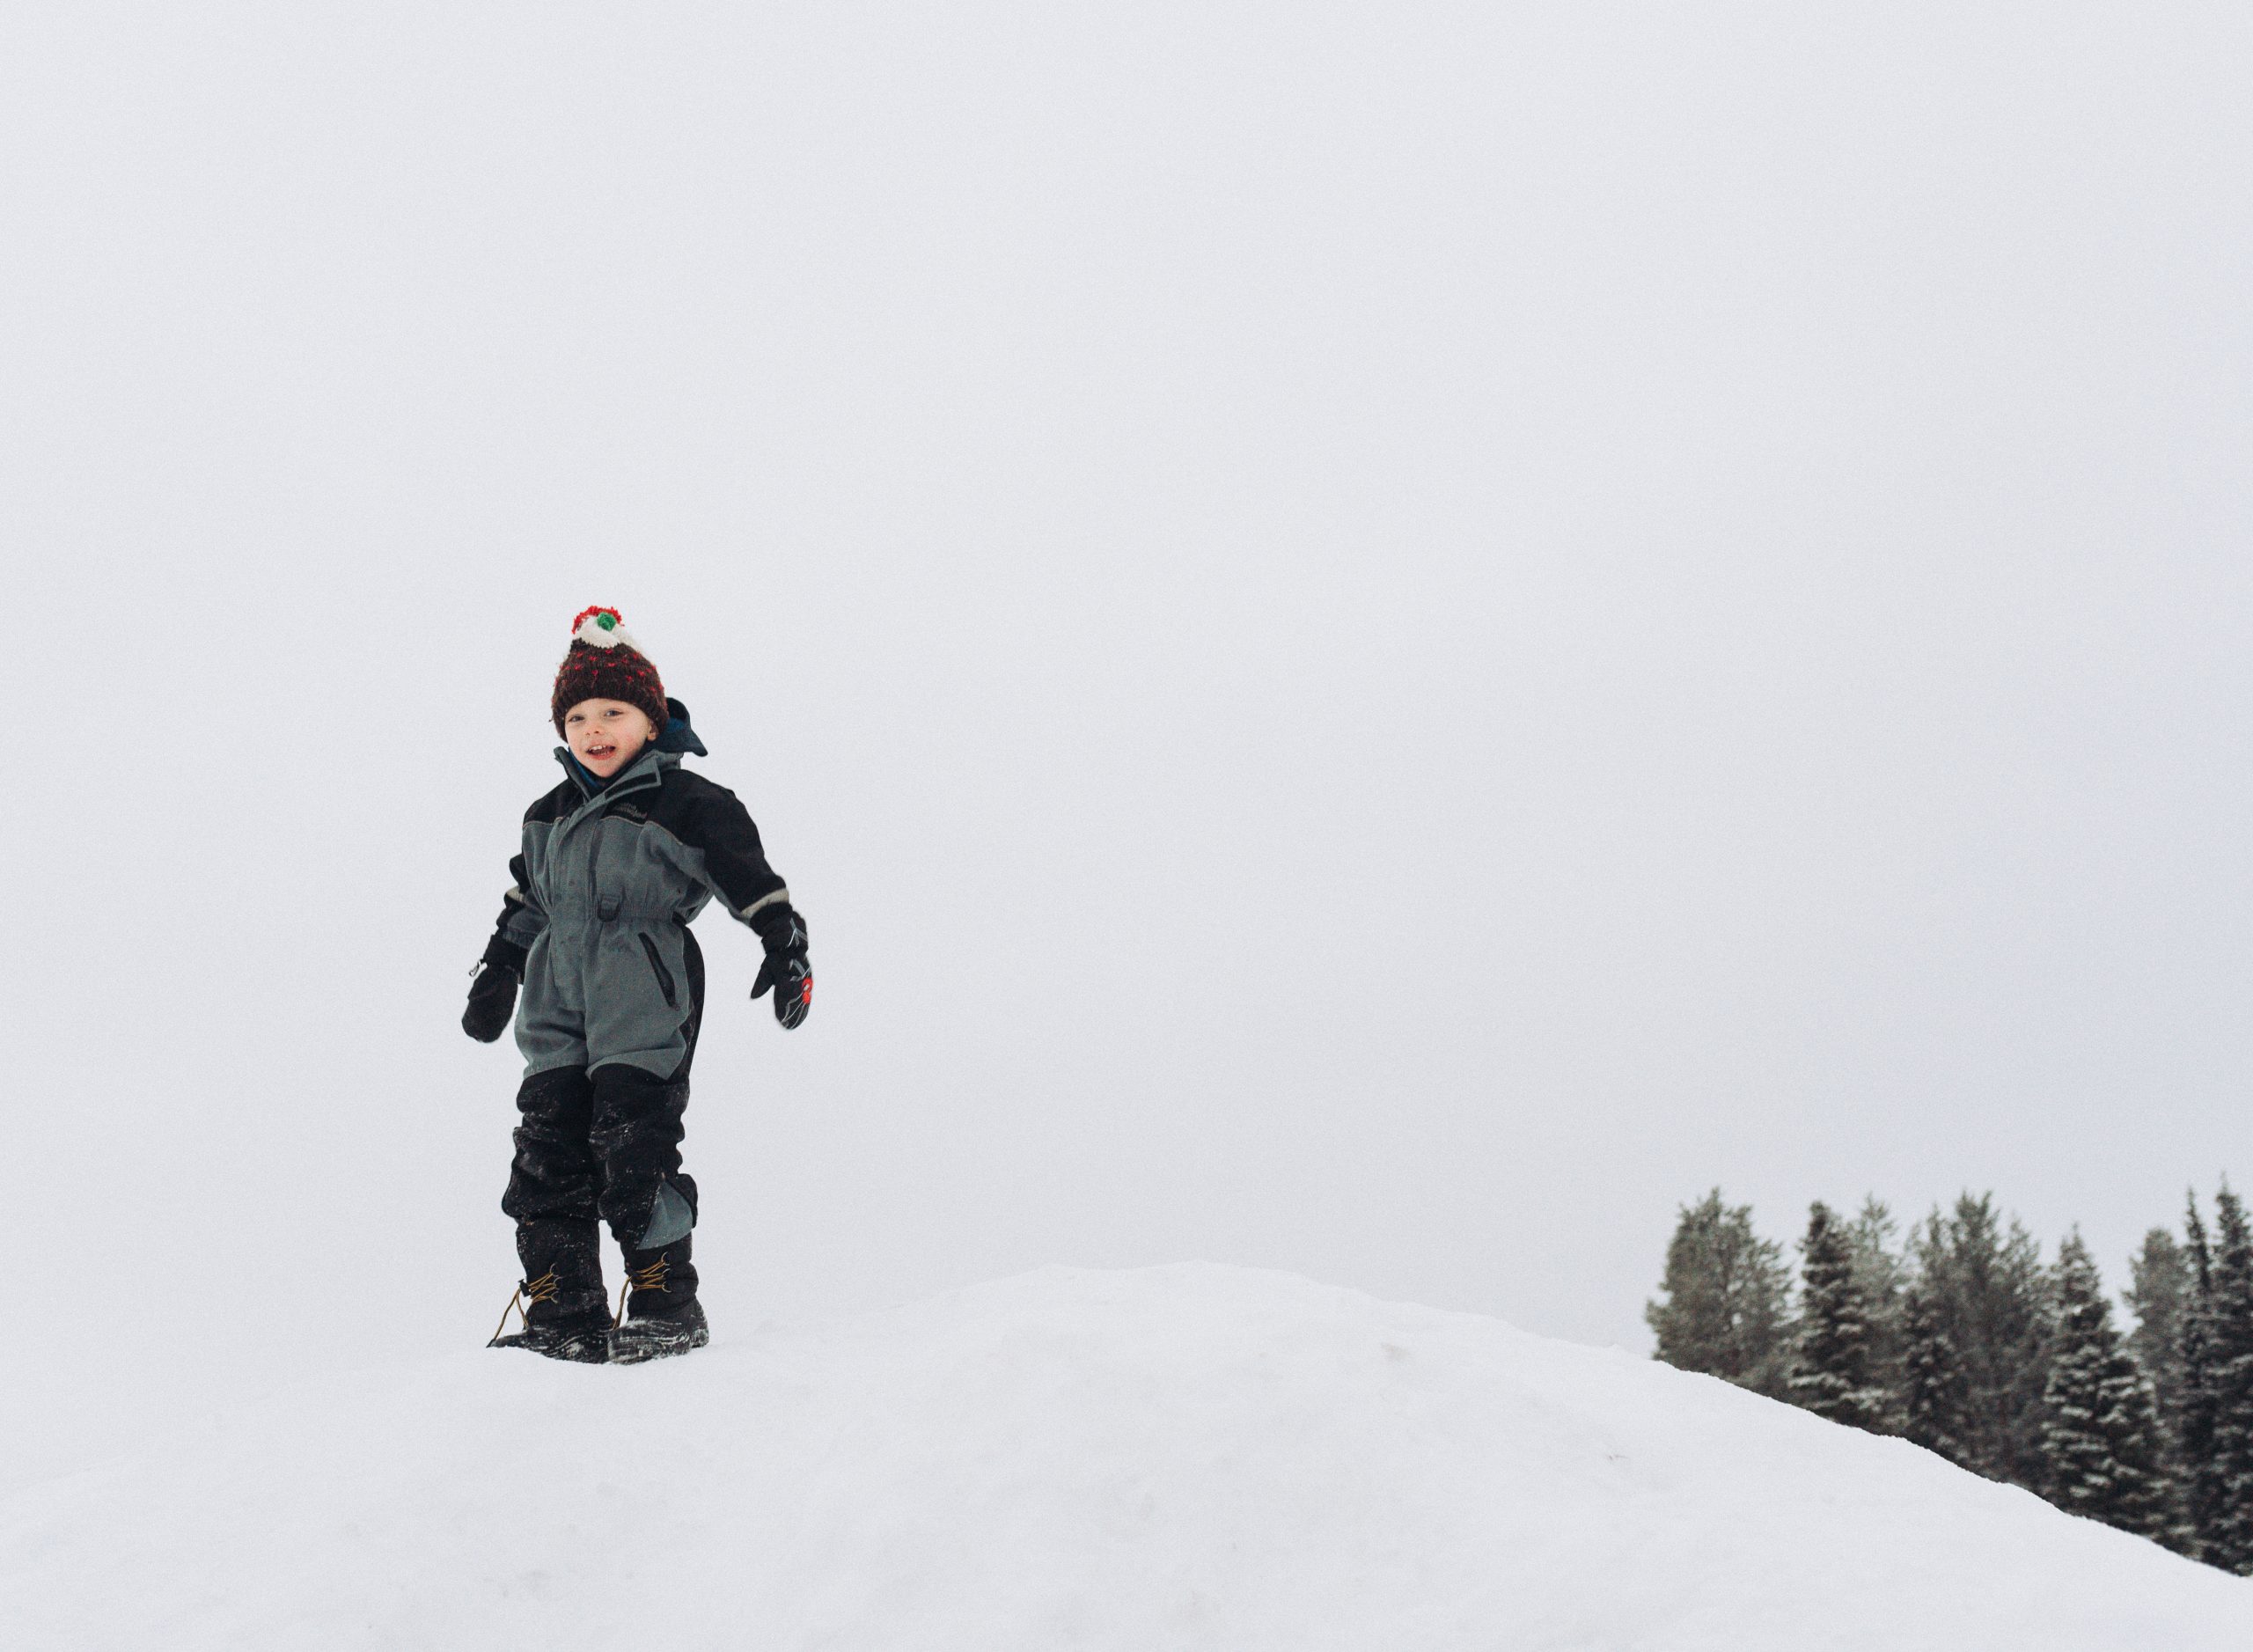
We went with our 6 1/2 year old and our 3, almost 4 year old. They both totally bought into every aspect of what we did. From the elves showing them around their bedrooms, to the wise words Santa gave them. Every part of the trip was magical for them. Both my boys I would say are quite hardy when it comes to being outside, they are happy to get dirty and walk quite far as we go outside a lot as a family. My eldest isn’t keen on the cold but I knew with the layers he would be fine and could decide how many layers etc he would wear. So in terms of the general cold and the logistics of getting snow suits on and off and walking through thick snow, their ages were perfect. We didn’t need buggies and actually even if our youngest had been younger we were given toboggans to get around the resort, so it would have just been on the excursions he’d have needed carrying.

What I would say, is that with our youngest you could notice that the tiredness and weather took its toll slightly more than it did the eldest. He is still at that age where moods are dictated by food/sleep/routine etc and although he would go outside in shorts at home come December, in the more tired hours he was partial to the odd meltdown if his face felt too cold – fair enough, but we think that maybe a year older would have been the more perfect time for him perhaps. This is hard though, as unless you have one child, you will never have a time that is perfect for all of them; I wanted them both to believe and as we have a baby on the way I didn’t want to wait another 3-4 years, so this was our perfect time and I am quite happy to sacrifice a few meltdowns for that (he was also more than ok on the whole, just not so keen in getting a snowball in the face from his brother when tired – totally fair enough when you’re three!). He understood it all and the questions that came from him were amazing (wow how does Santa know my name?)! but there was also one moment where the cheeky elves raced the kids to the coach and joked they were going to steal our seats. That almost brought out a few tears as being 5 months pregnant I honestly didn’t have the energy to run and beat them. They beat us and he thought the elves were replacing mummy and daddy and he was a bit worried I’d disappeared (but after a quick explanation he was fine)! My 6 year old thought it was the best, funniest thing ever, by comparison. Other than that, the trip blew both of them away.
What clothes do you need to pack? Is the cold unbearable?
We were told by Canterbury Travel to wear what you would on a cold winters day, and with the snow suits on over the top, this was perfect! We did, however, over pack, massively! We went for three nights and took two suitcases and we could have easily taken one, I think. However, when we were there (8th-11th December), the majority of the day time was about -6 which wasn’t that cold with snowsuits on. We had one day that started at -11 and went to -20 felt bitterly cold and I wish that day I had worn more. If I had put on two pairs of socks and an extra top underneath I would have felt fine. The rest of the time the cold didn’t bother us.
With our trip, we were not outside all day, we would do something outside, then get back on the coach or go inside for lunch or for a talk so you are constantly going from freezing weather to warm environments. So I thought what worked better was wearing thinner clothes but layering up, rather than big thick jumpers, as when you did have a big jumper on, you felt like you were overheating when you got back on the bus or inside. With thick jumpers it’s also harder to partially remove the top half of your snowsuit and sit comfortably. My suggestions based on our trip with Canterbury travel:
- Layers rather than big jumpers – vest tops for the kids, long sleeve tops, thin fleeces or sweatshirts (I got loads from Mountain Warehouse at a great price. I also found hooded tops worked well as extra protection for the ears!
- Thick waterproof gloves
- Under layer gloves (only for the really, really cold days – I didn’t actually use these). Lots of people spoke about silk gloves.
- Thick ski socks, again I bought from mountain warehouse, and on the cold days I wore two pairs.
- Snoods – I wrapped mine around my face/hat when it was snowing as you tend to get colder face then as it’s wet. I could also take it off if my youngest was struggling and give to him.
- Thin scarf – I took a pashmina type one that tucked under my snowsuit nicely and acted as an extra layer around my chest and neck.
- Hats – We had at least two each just incase we lost one.
- Leggins for everyone, so much easier to get snowsuits over and work great on cold days as an extra layer under trousers.
What you are provided with (remember this is based on our magical Interlude trip with Canterbury Travels):
One snow suit (which is an all in one and really lovely and warm and waterproof) and warm snow boots. We wore these everywhere, even to dinner in the evening and then just removed the snowsuit once we got there.
We also had a warming cupboard which meant our hats / gloves etc would be try in half an hour if we needed them to be. Definitely worth checking if you have one in your room.
EXTRA TIP – TAKE SNACKS! With two boys and a 6ft 4 husband I tend to be laden with food most of the time anyway! But snacks came in real handy for when on the coach. I think the kids are so engrossed in what they are doing they don’t notice that are hungry but as soon as we got on the bus we had a lot of ‘I’m thirsty/hungry’ and we had biscuits, apples, water bottles, crisps, fruit bars etc to keep them going. It’s very physical during the day and there are set times for lunch. It also helped if the journey was a bit longer to pass some time.

Would I recommend Canterbury Travel?
100 million percent!
It is such a slick operation. From the moment you are picked up, you are part of the most magical, well thought out secret that ensure the children will believe in Santa for years to come! I don’t want to post too much about how they do things as I actually loved the element of not knowing, but here are a list of some of the things we did:
Husky ride (you drive, the kids are passengers)
Snowmobile rides with the kids and without the kids
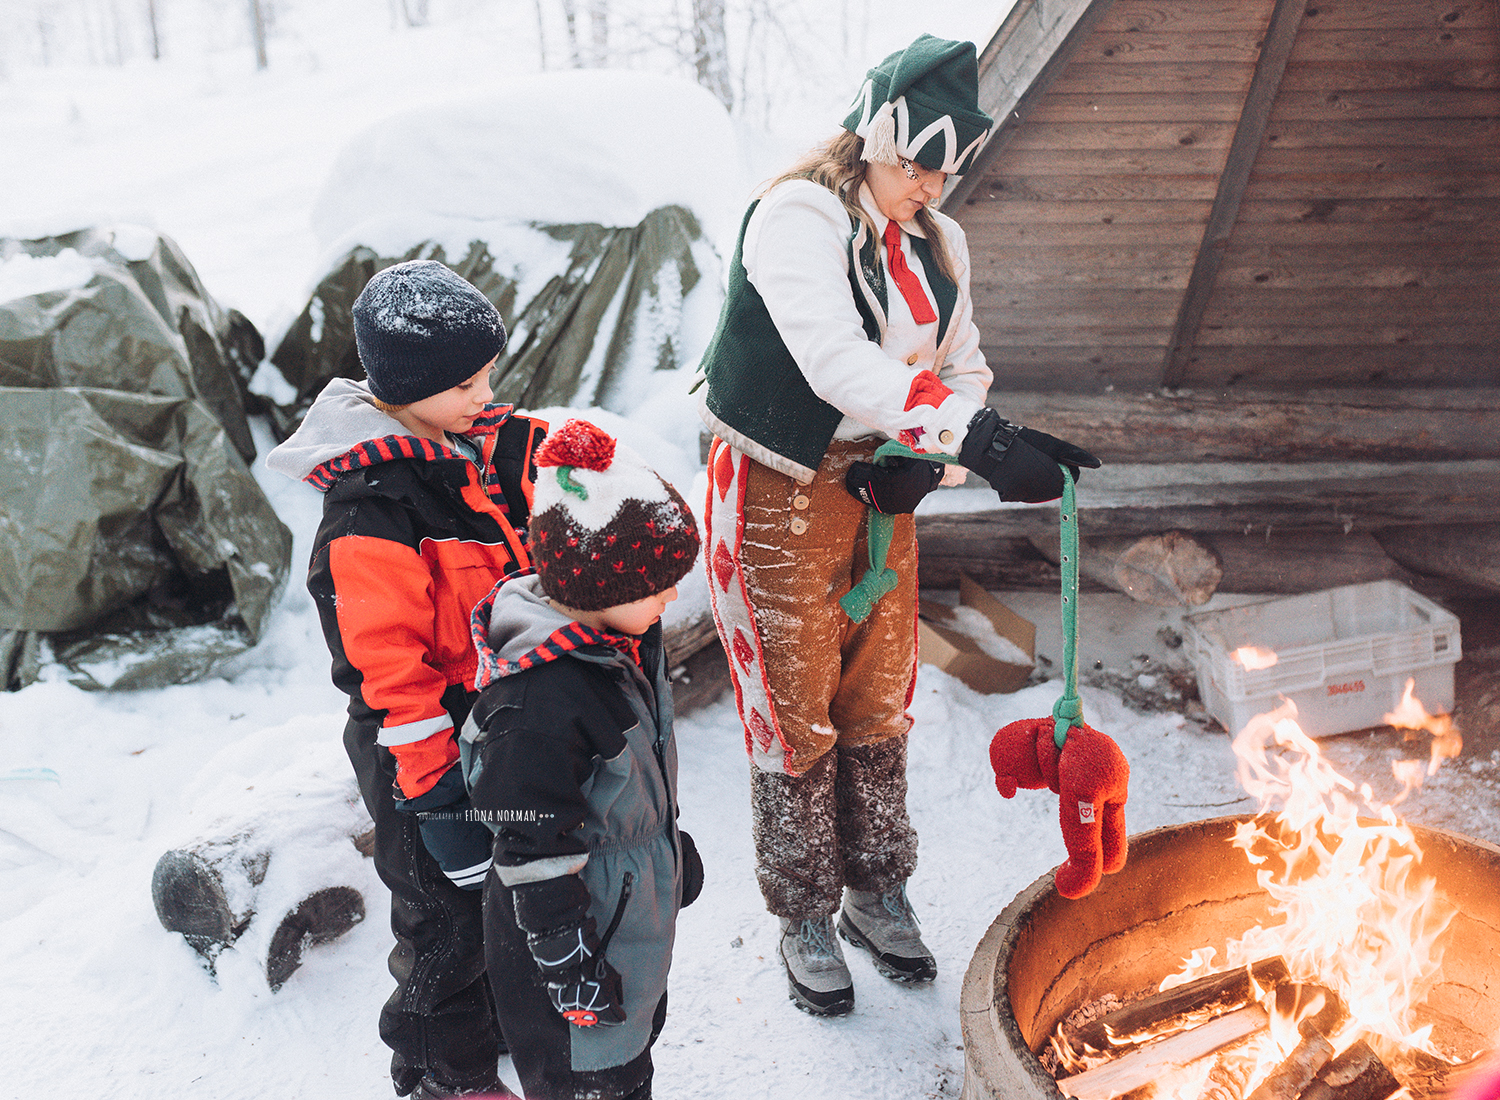
Reindeer safari and talk from family that run the farm
Meet the huskies – we met a puppy!
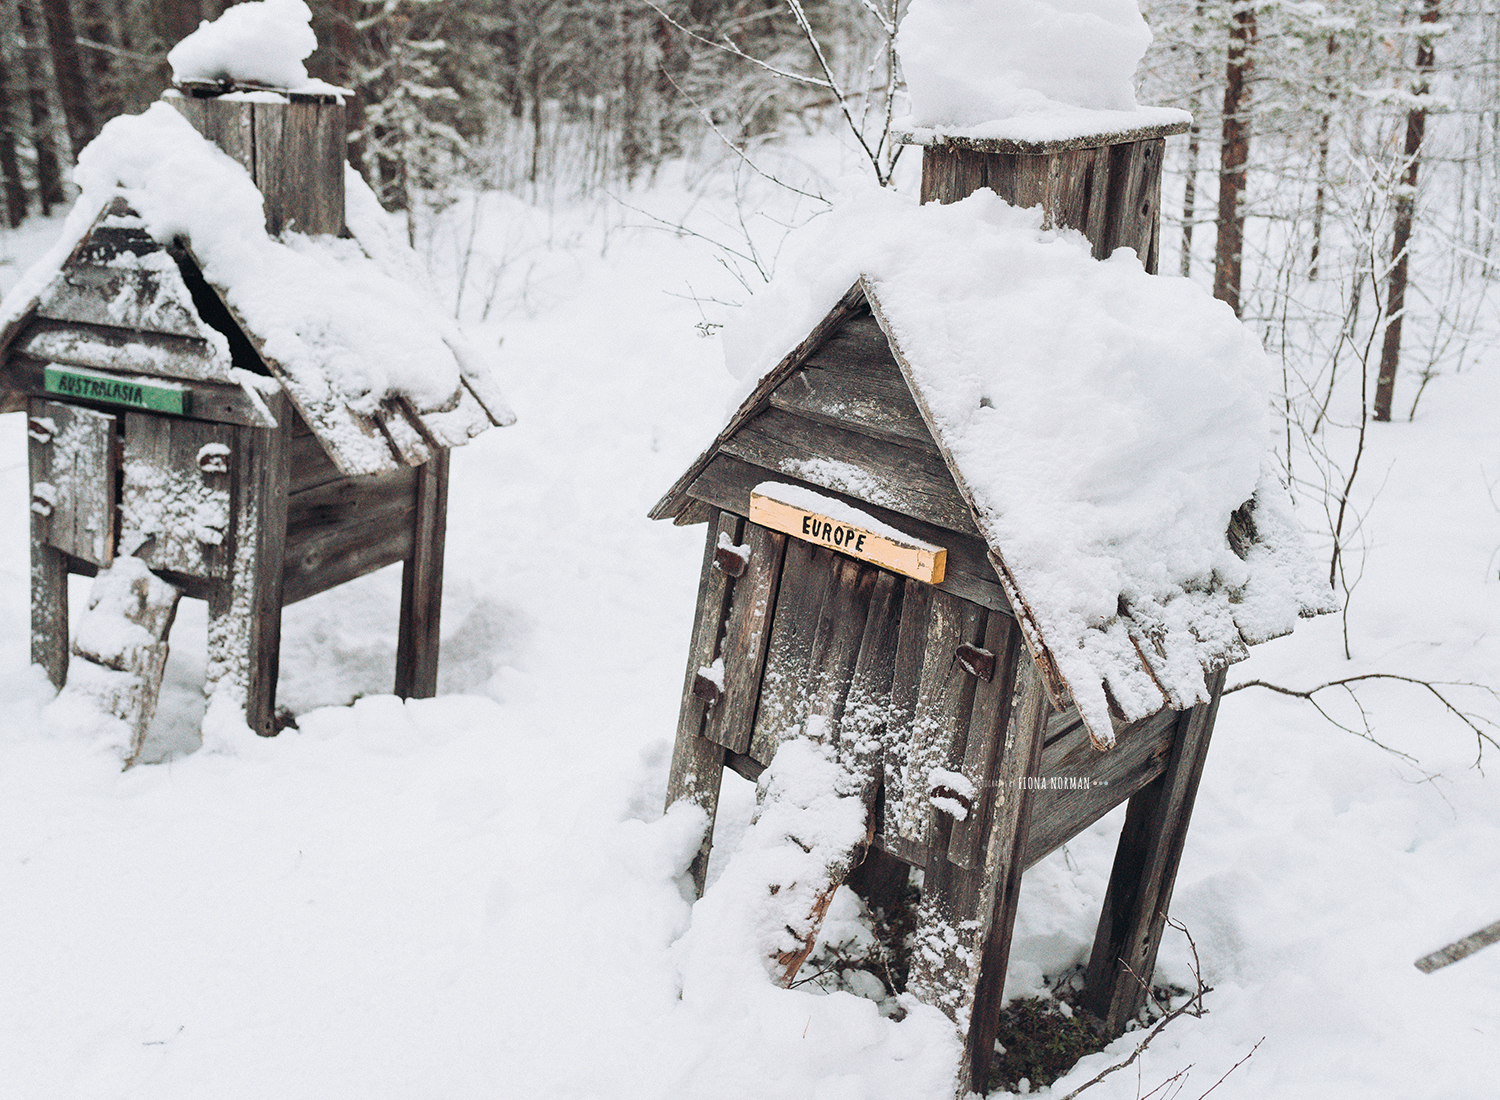
Trip to the elves post office in the forest
Trip to the elves place of sleep
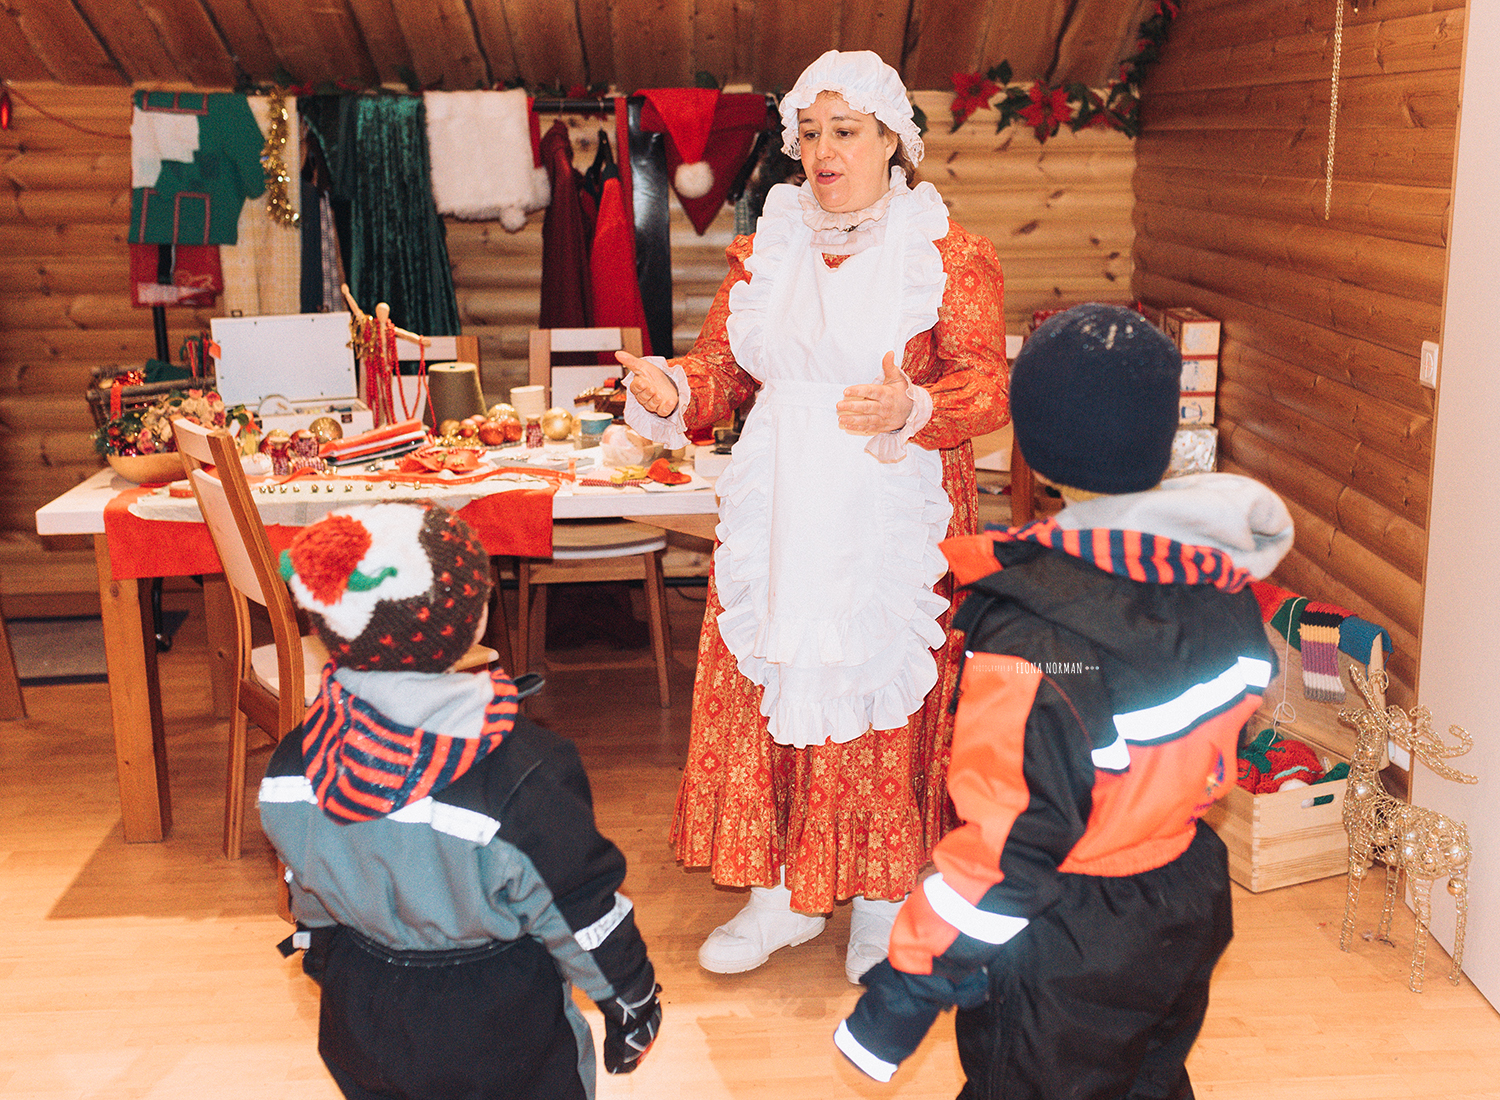
Story with one of the elves in their lounge
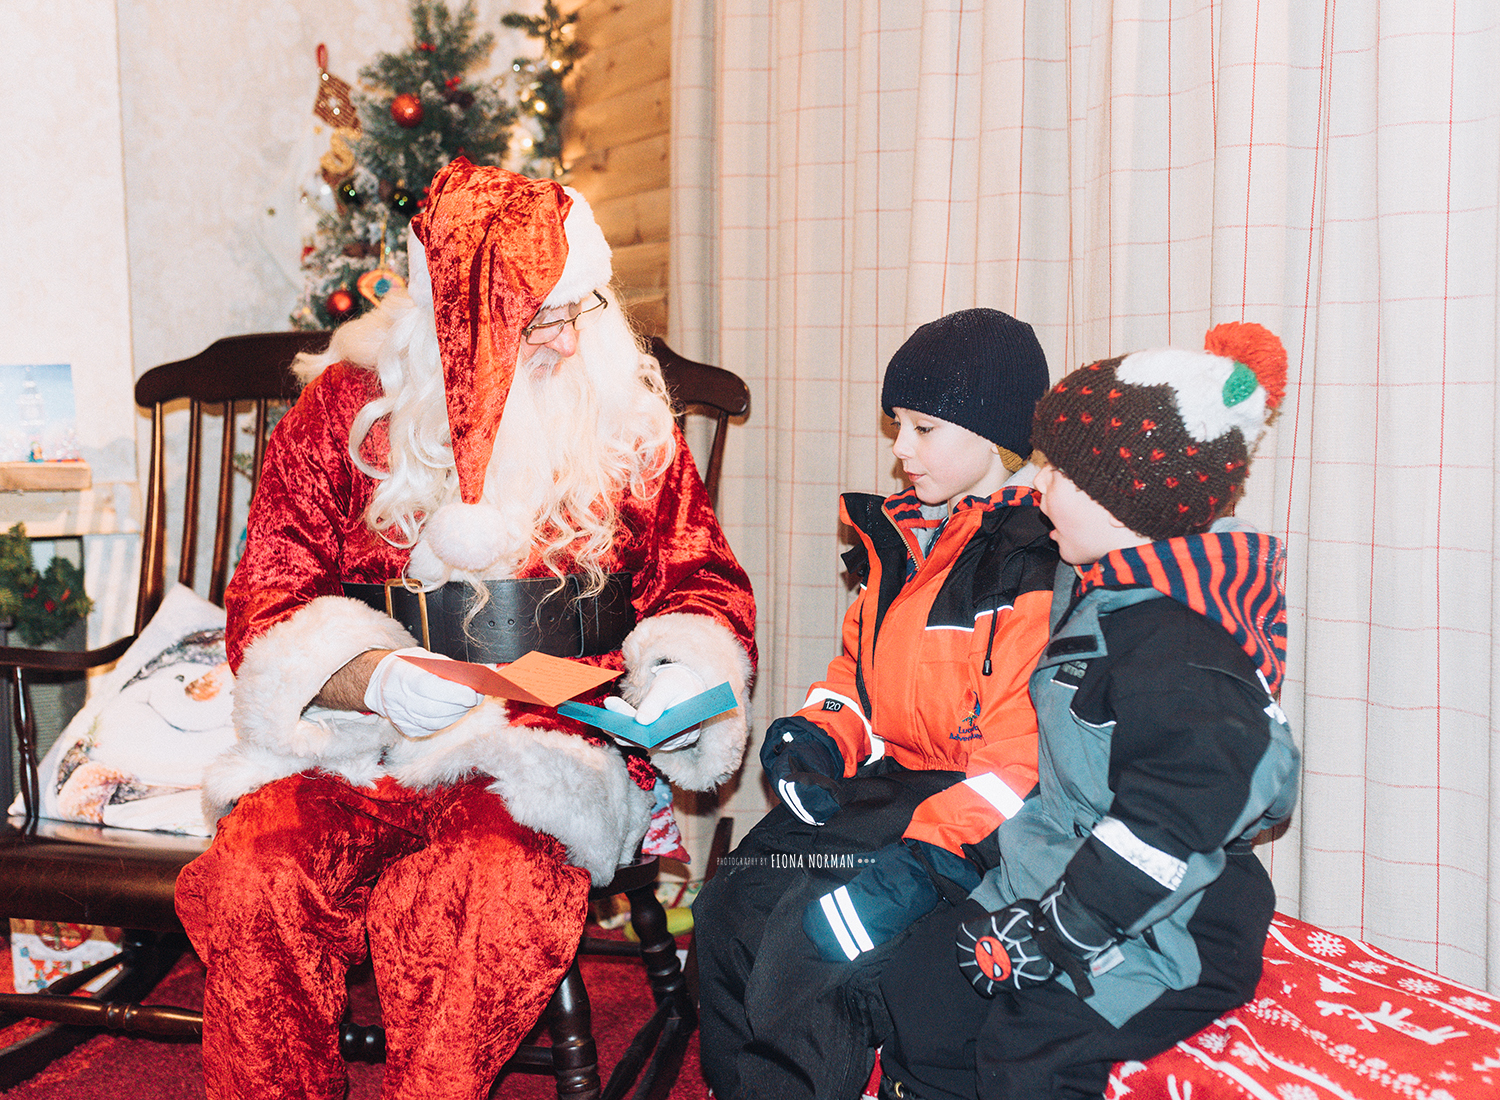
Trip to Wendy Woods house where you meet Mrs Clause and Santa.
We found Santa party (which was epic)
Plus our resort had toboggan runs, which the kids loved. The kids go everywhere in toboggans at the resort as they are outside all of the buildings, it’s a great way to get them around.
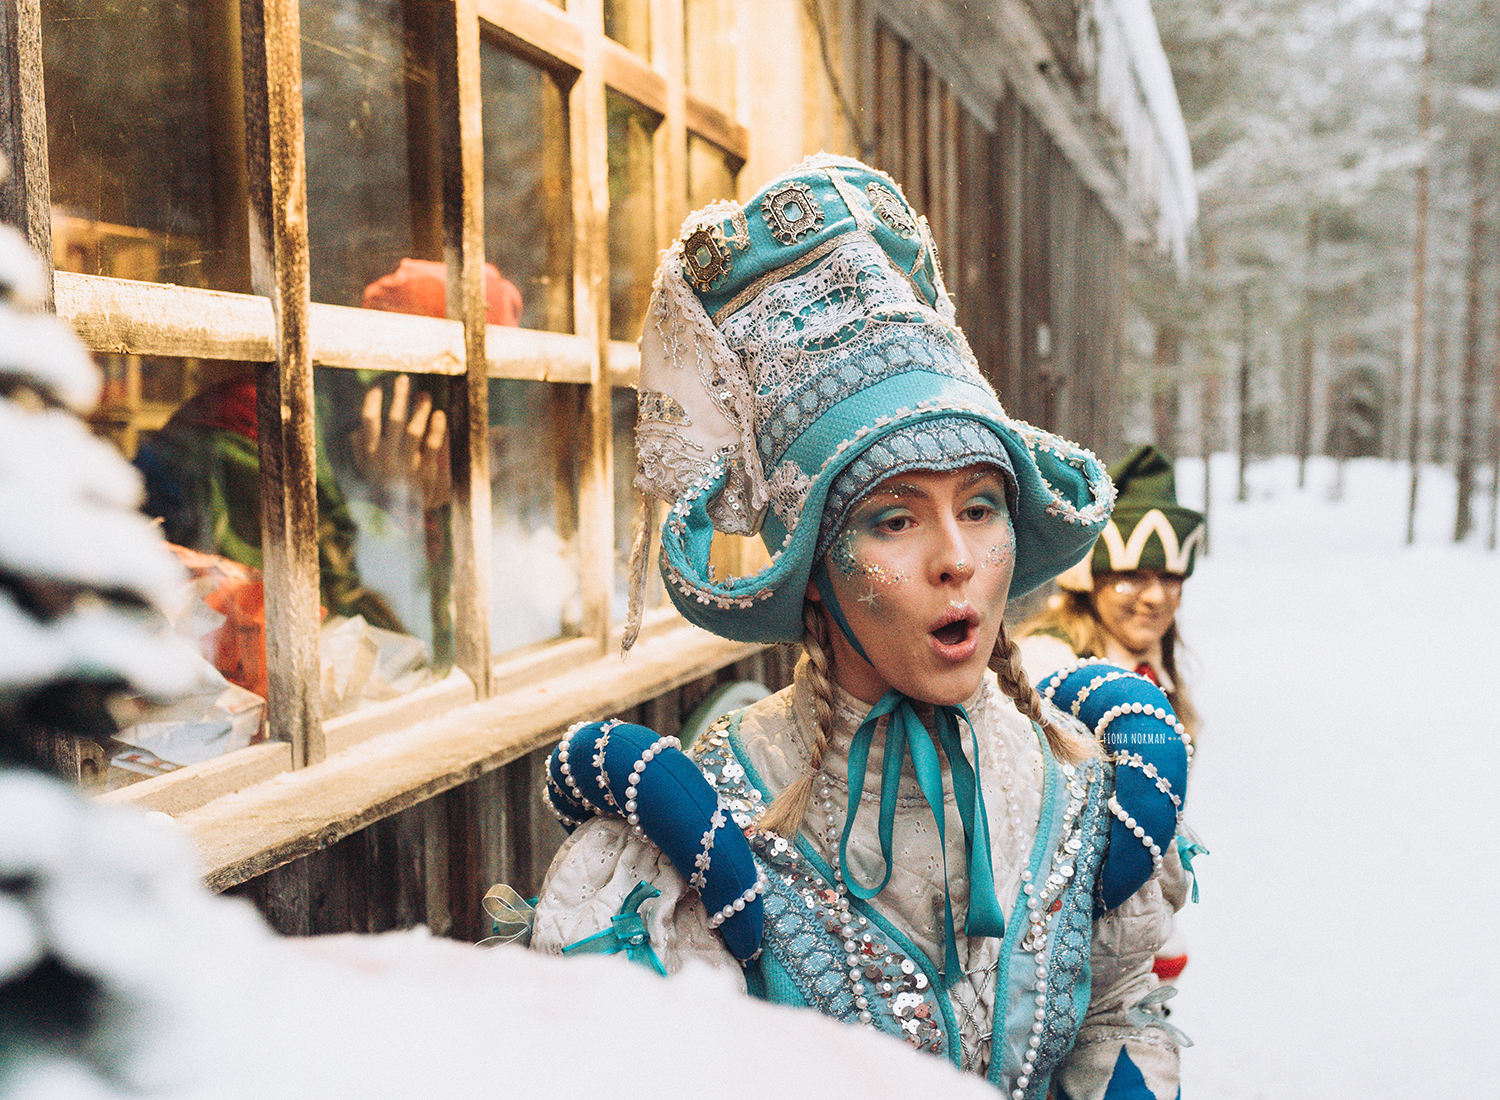
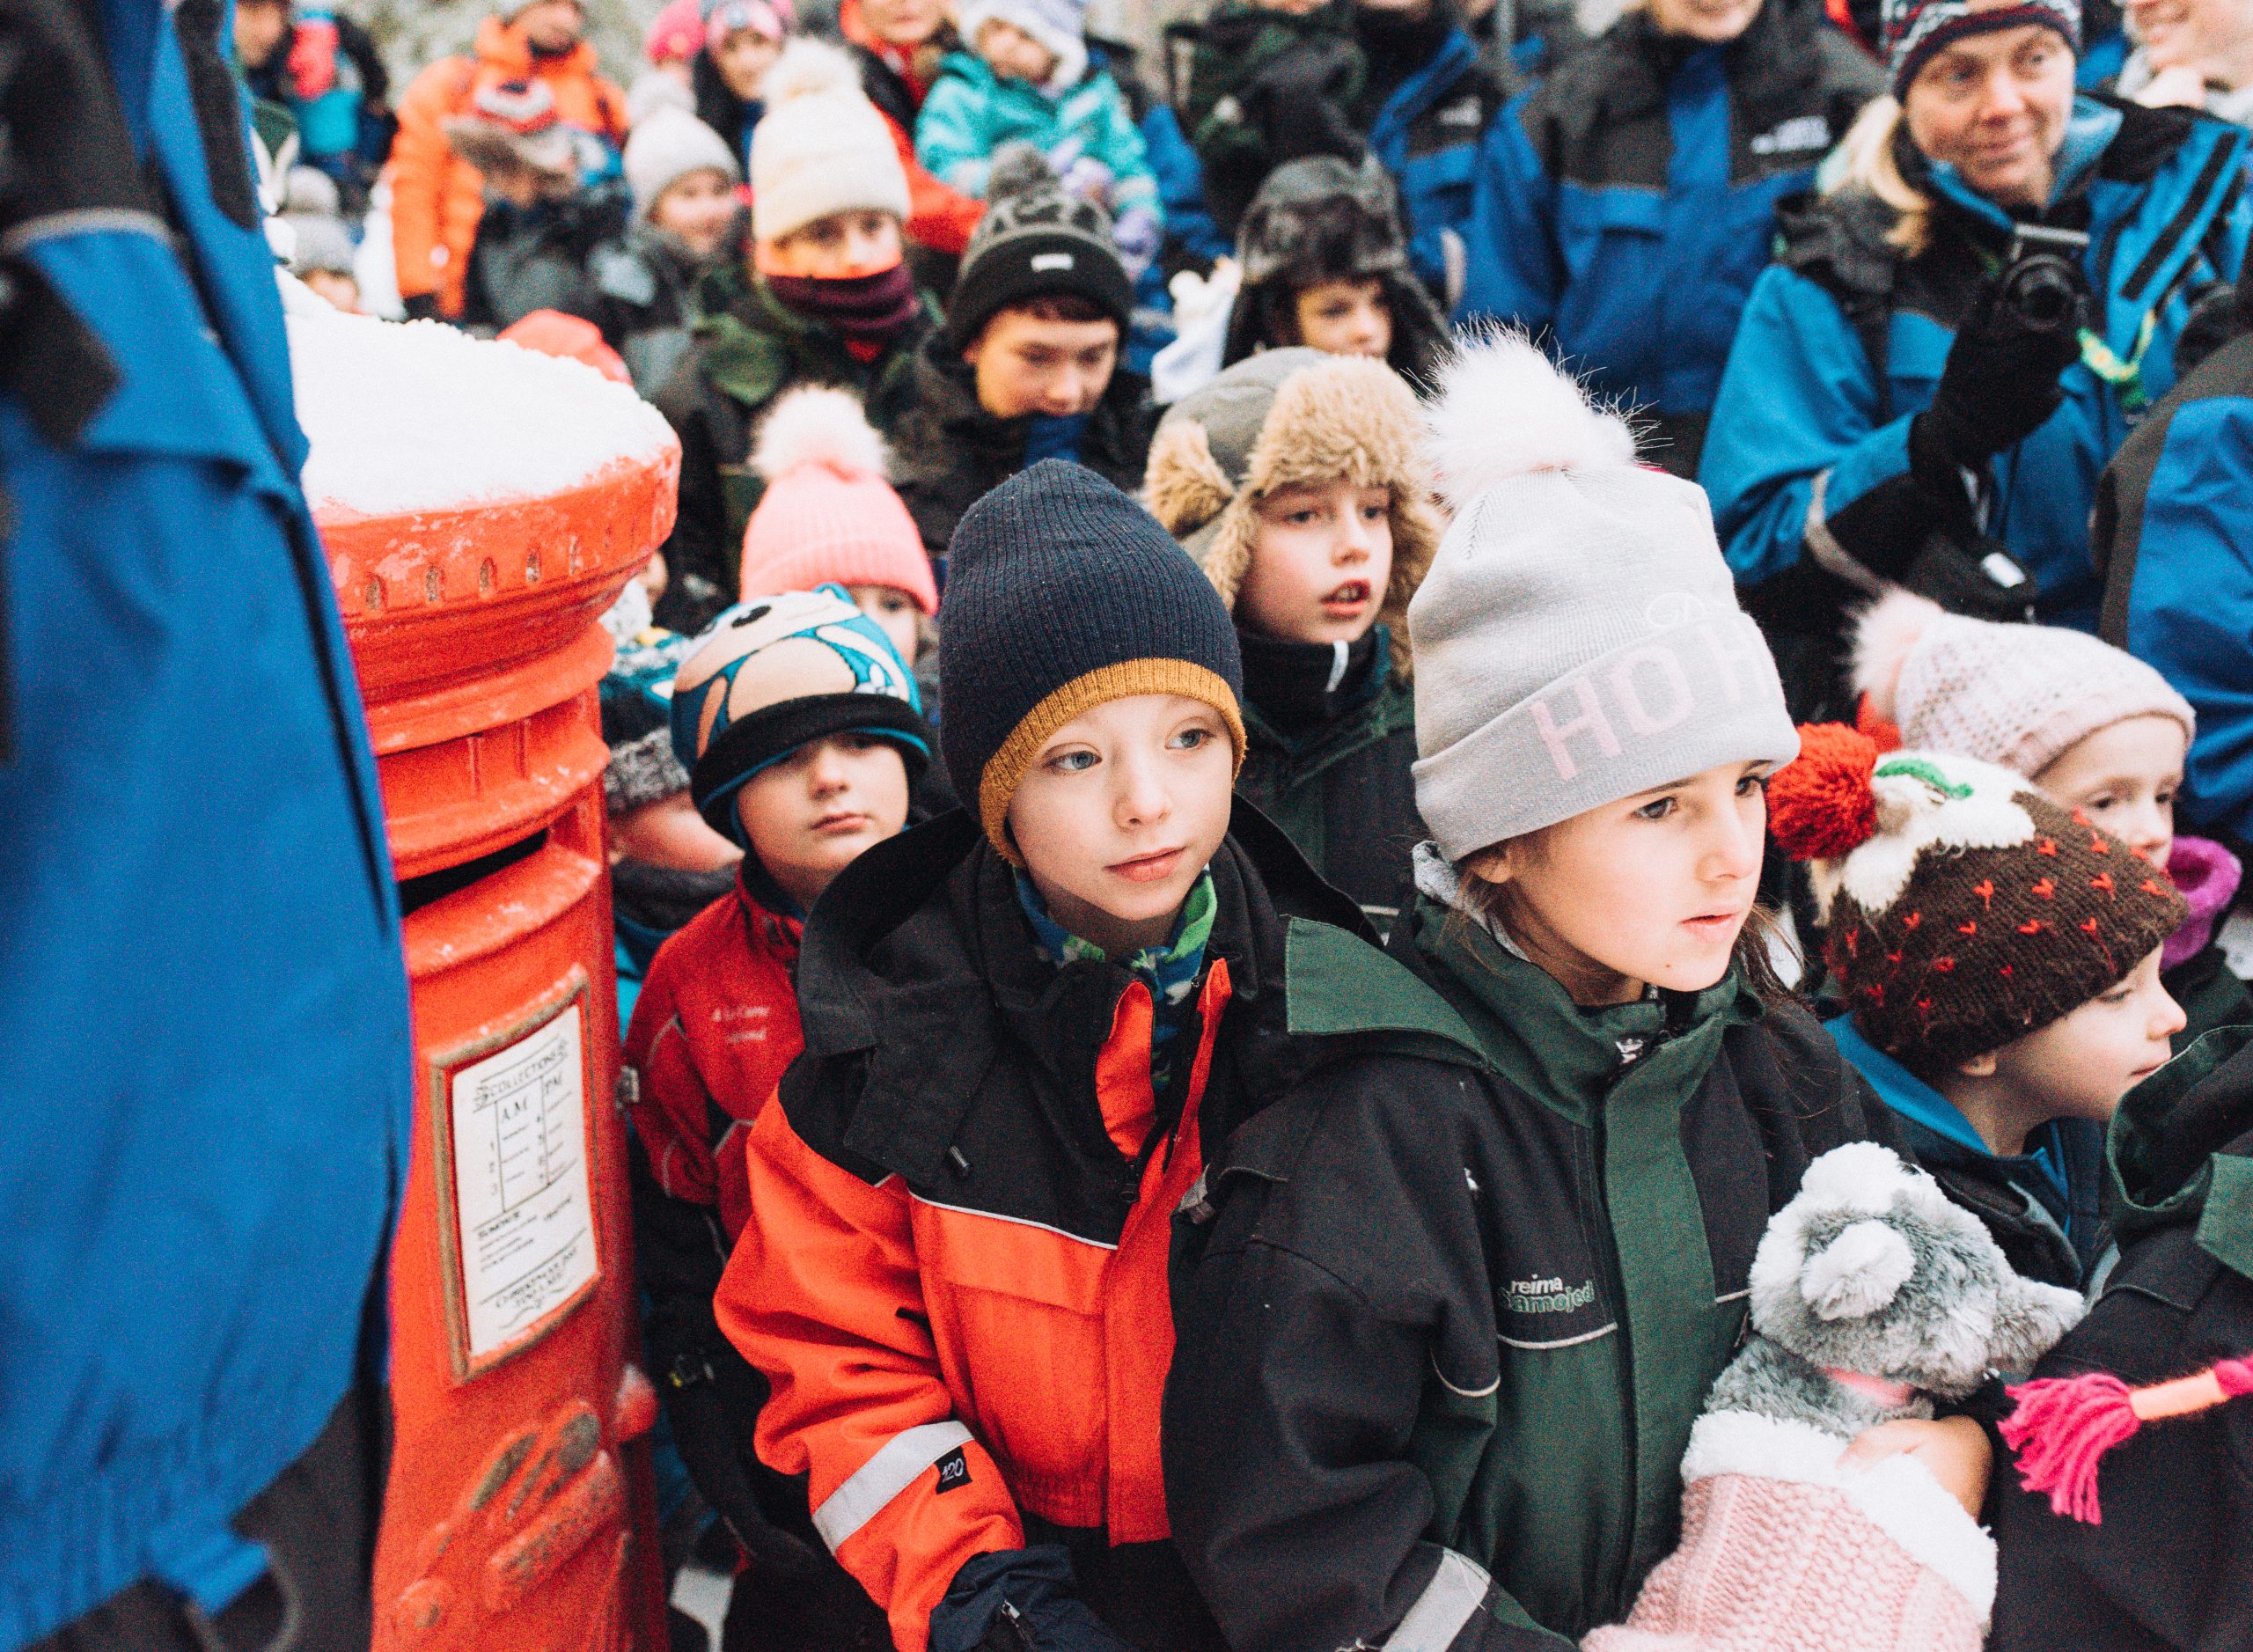
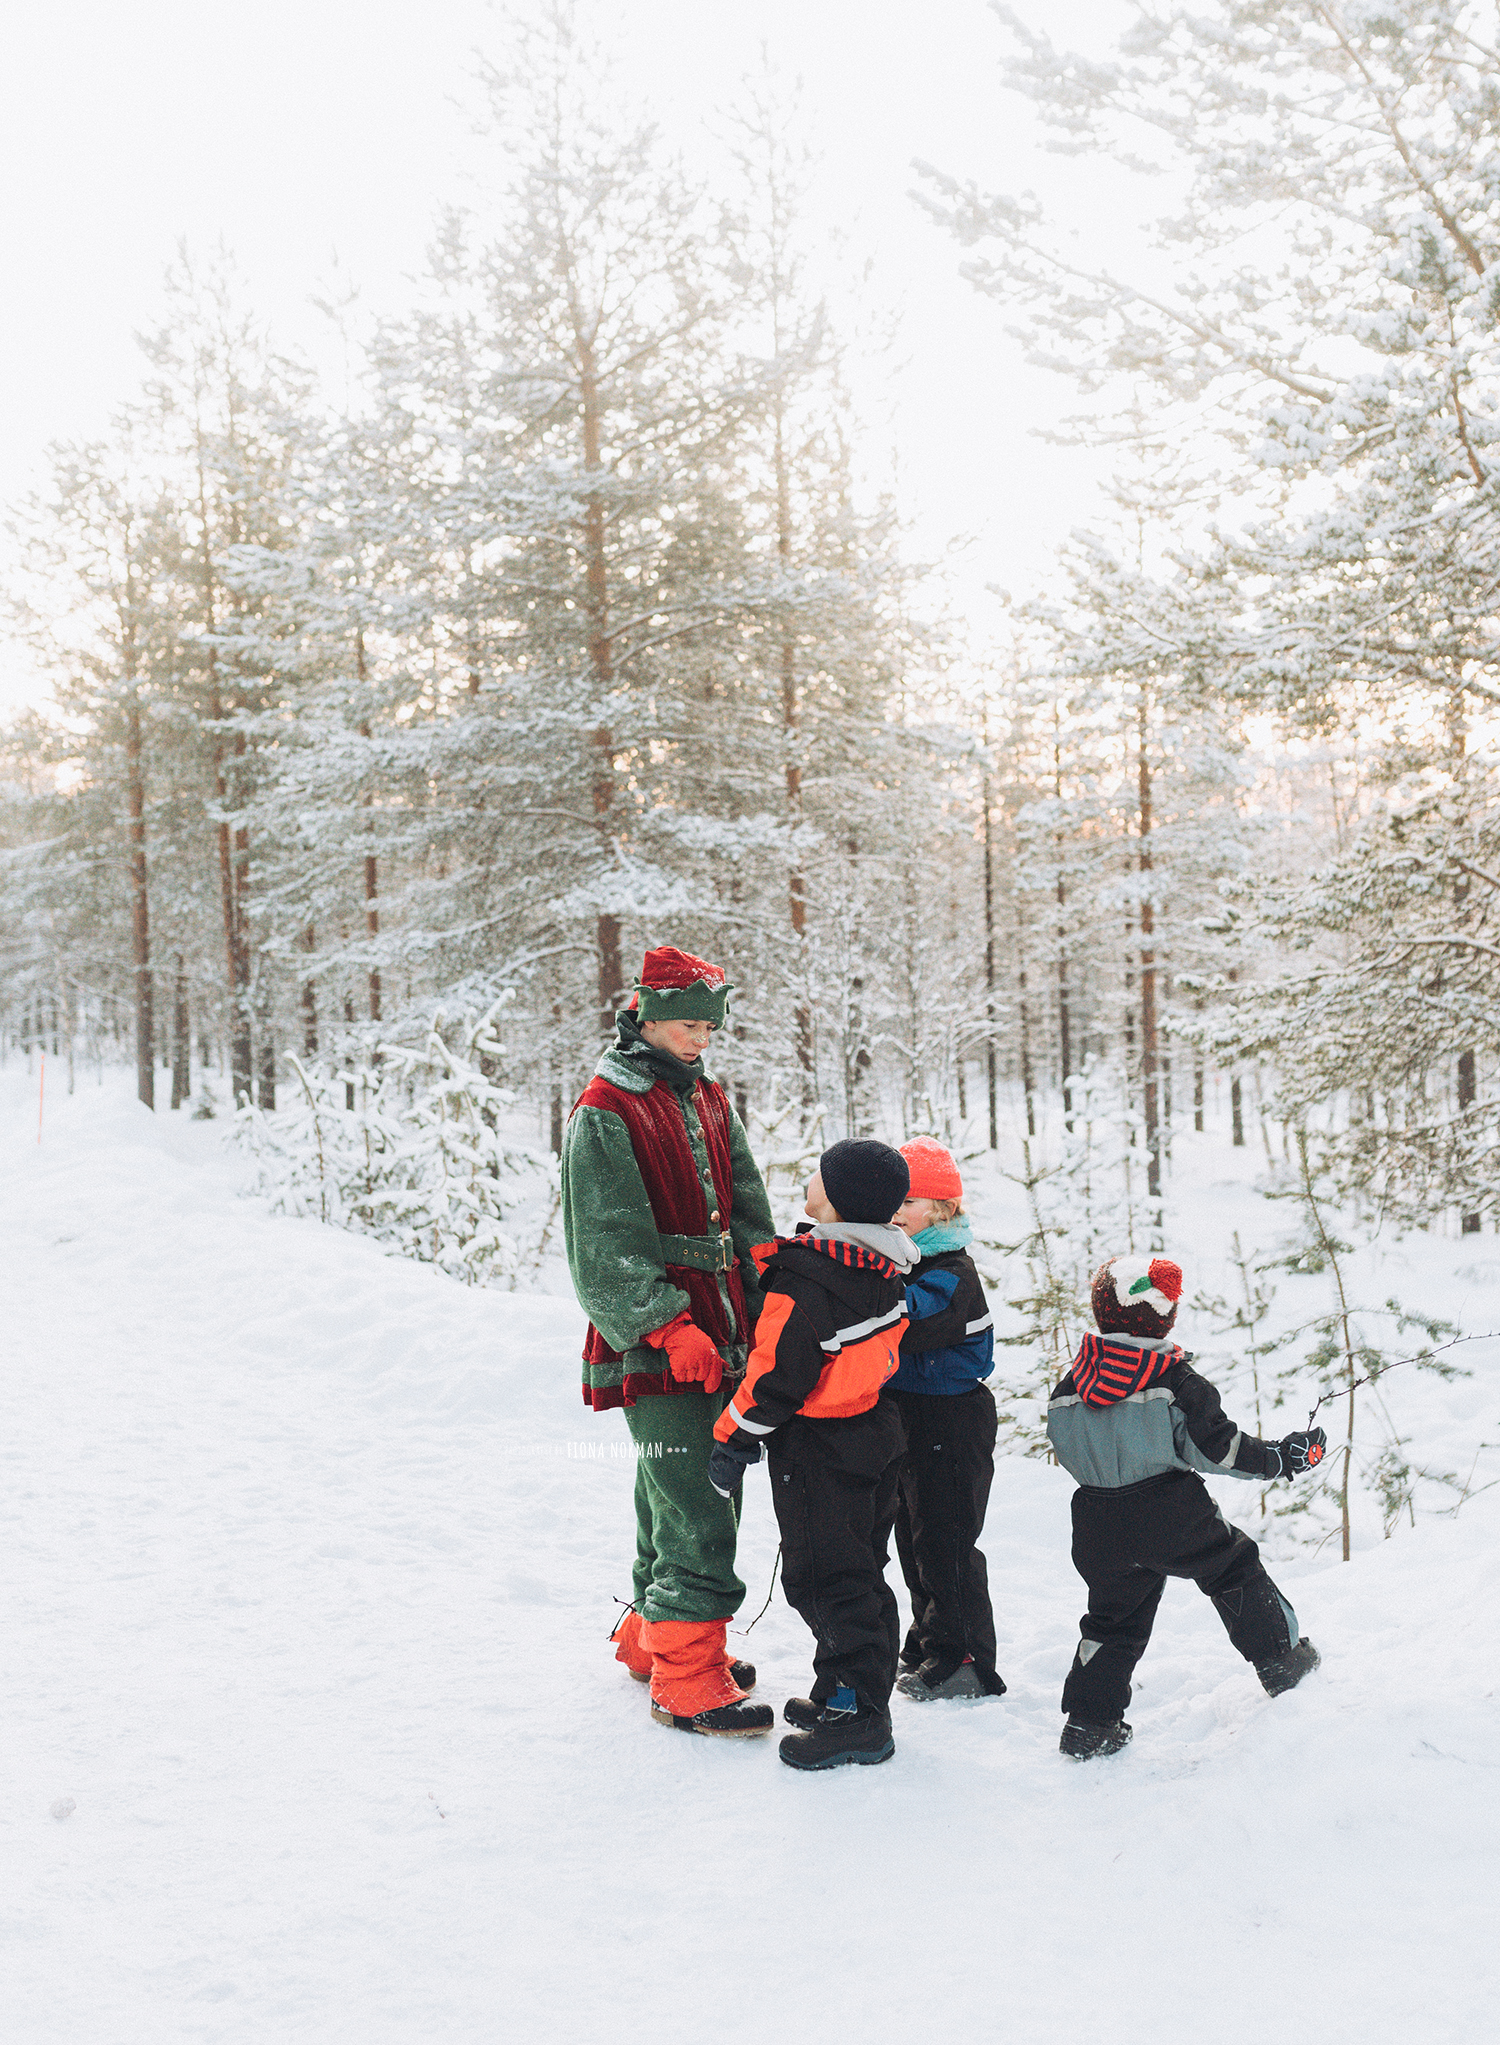

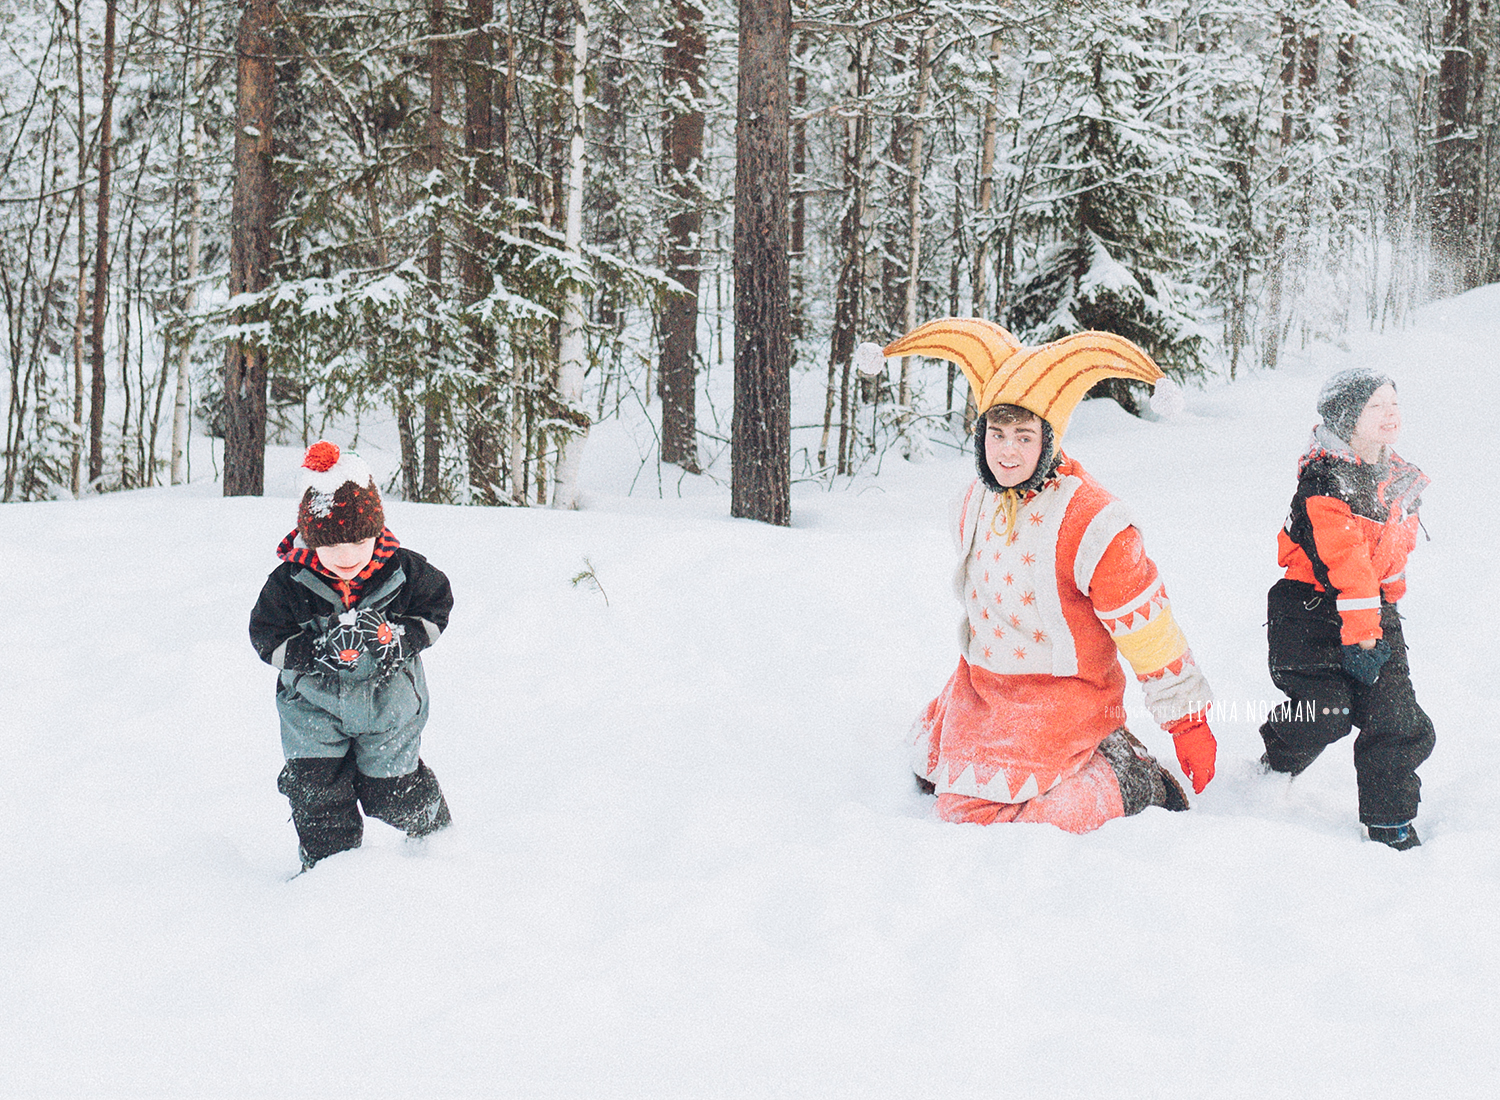
The whole trip is focused on the search for Santa and there are 5 key elves that the kids come to know and love, that help you along the way. There was also a brilliant song that gets repeated throughout your journey and keeps everyone in the Christmas spirit throughout.
The people that work there, are simply fantastic and I would say it’s money well spent to pay a little but extra and know that you are getting a completely hassle free, top of the range Santa experience. After all if you’re going to go all that way you may as well make it a trip to remember!
There wasn’t one thing I would say was a disappointment. We stayed in a log cabin with bunk beds and a sauna in the bathroom! It was amazing and really added to the experience.

What were my favourite things to photograph in Lapland?
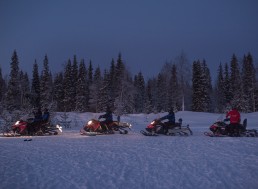
Snowmobile ride - settings: Shutter Speed 1/500th Aperture F2.2 ISO 1250
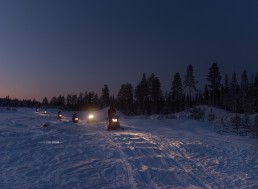
Lots of the activities happen in darkness or at dusk as we only had around 4-5 hours of light a day. This makes for amazing photo opportunities when you have lights on snowmobiles or torches illuminating the paths! In order to freeze the motion for this photo I needed a fast enough shutter speed – so I always had it at at least 1/250th or over. Because it was so dark I bumped the ISO up a bit but you can see not a huge amount considering how dark it was, this is because of the lights from the snowmobile giving me more flexibility. I wanted to keep it dark enough that you could see the pink colours too. If I had made this photo much lighter I would have lost them.
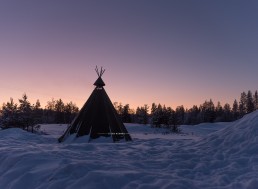
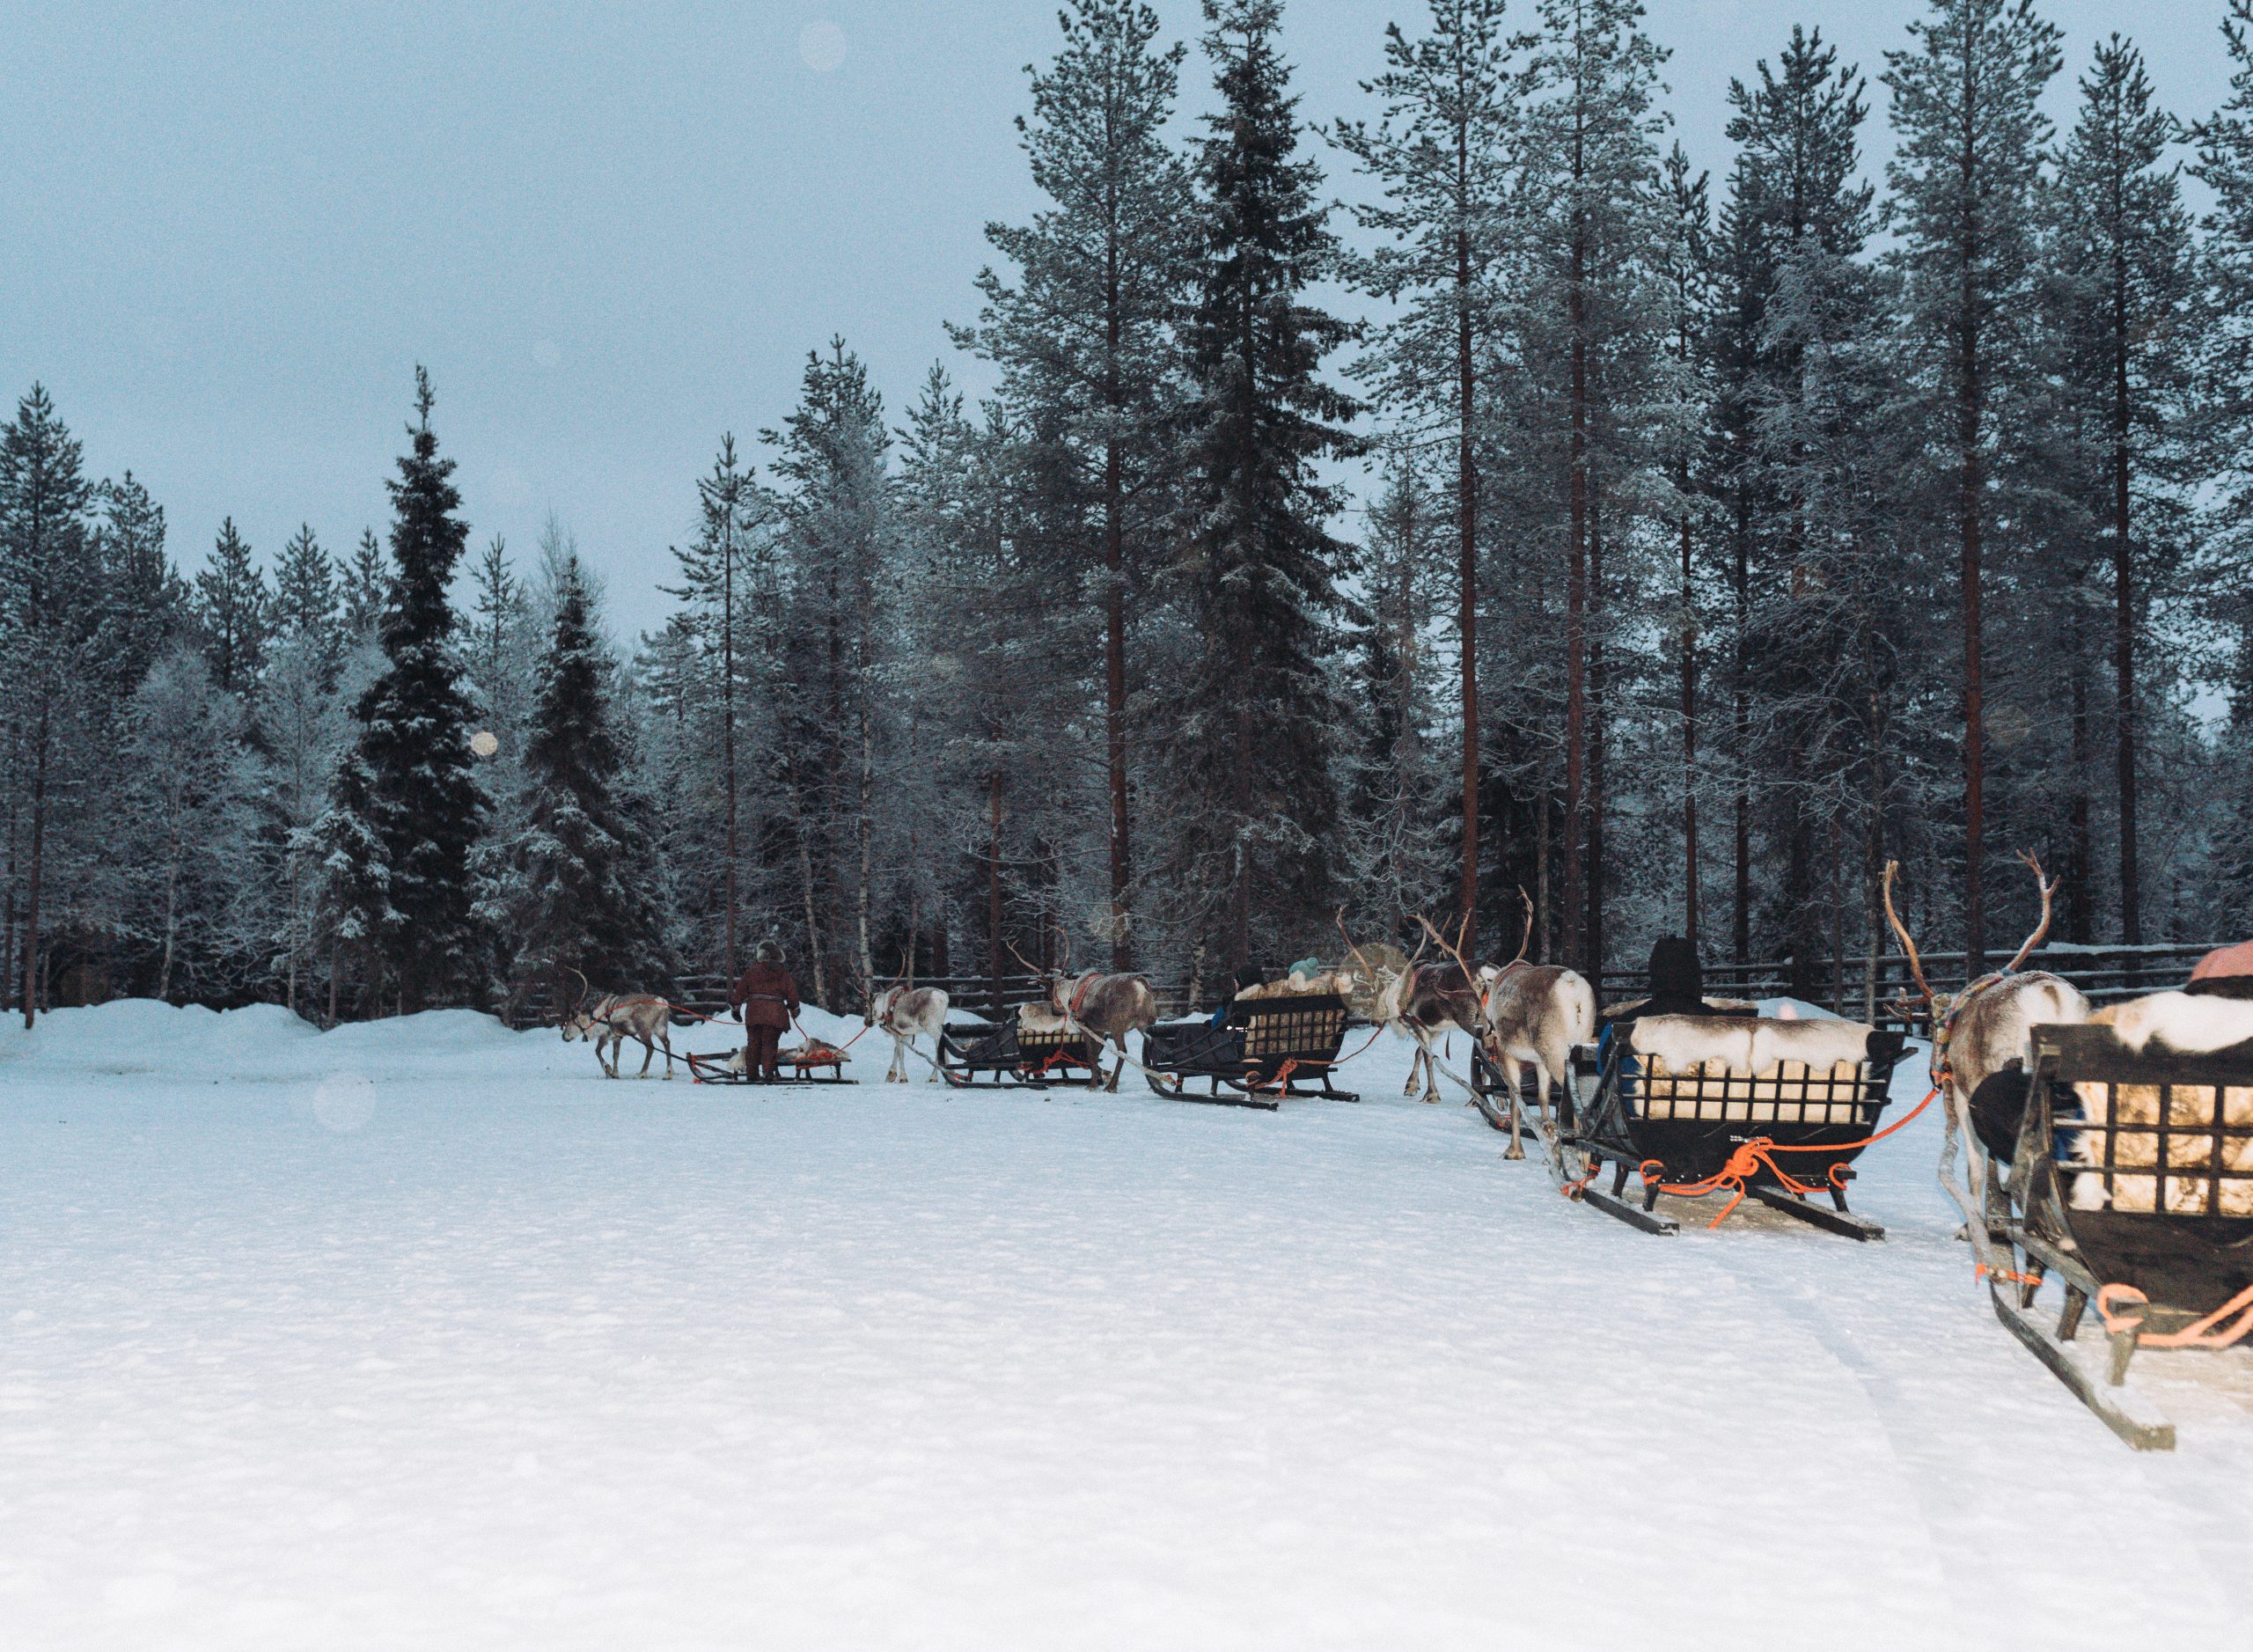
Silhouettes in the sunset - Settings :Shutter Speed 1/800th Aperture f2.2 ISO 1250
Silhouettes against the sunset. This can be trees, reindeers, your kids doing star jumps, elves, santas sleigh you name it! Here I just loved the silhouette of the teepee against the purple/ pink sky (which by the way I have not edited at all).
In order to do this I needed to underexpose slightly as when I brought my exposure up (either by using a wider aperture/ faster shutter speed or bumping the IS0) The sky became lighter and the colour wasn’t as vibrant.
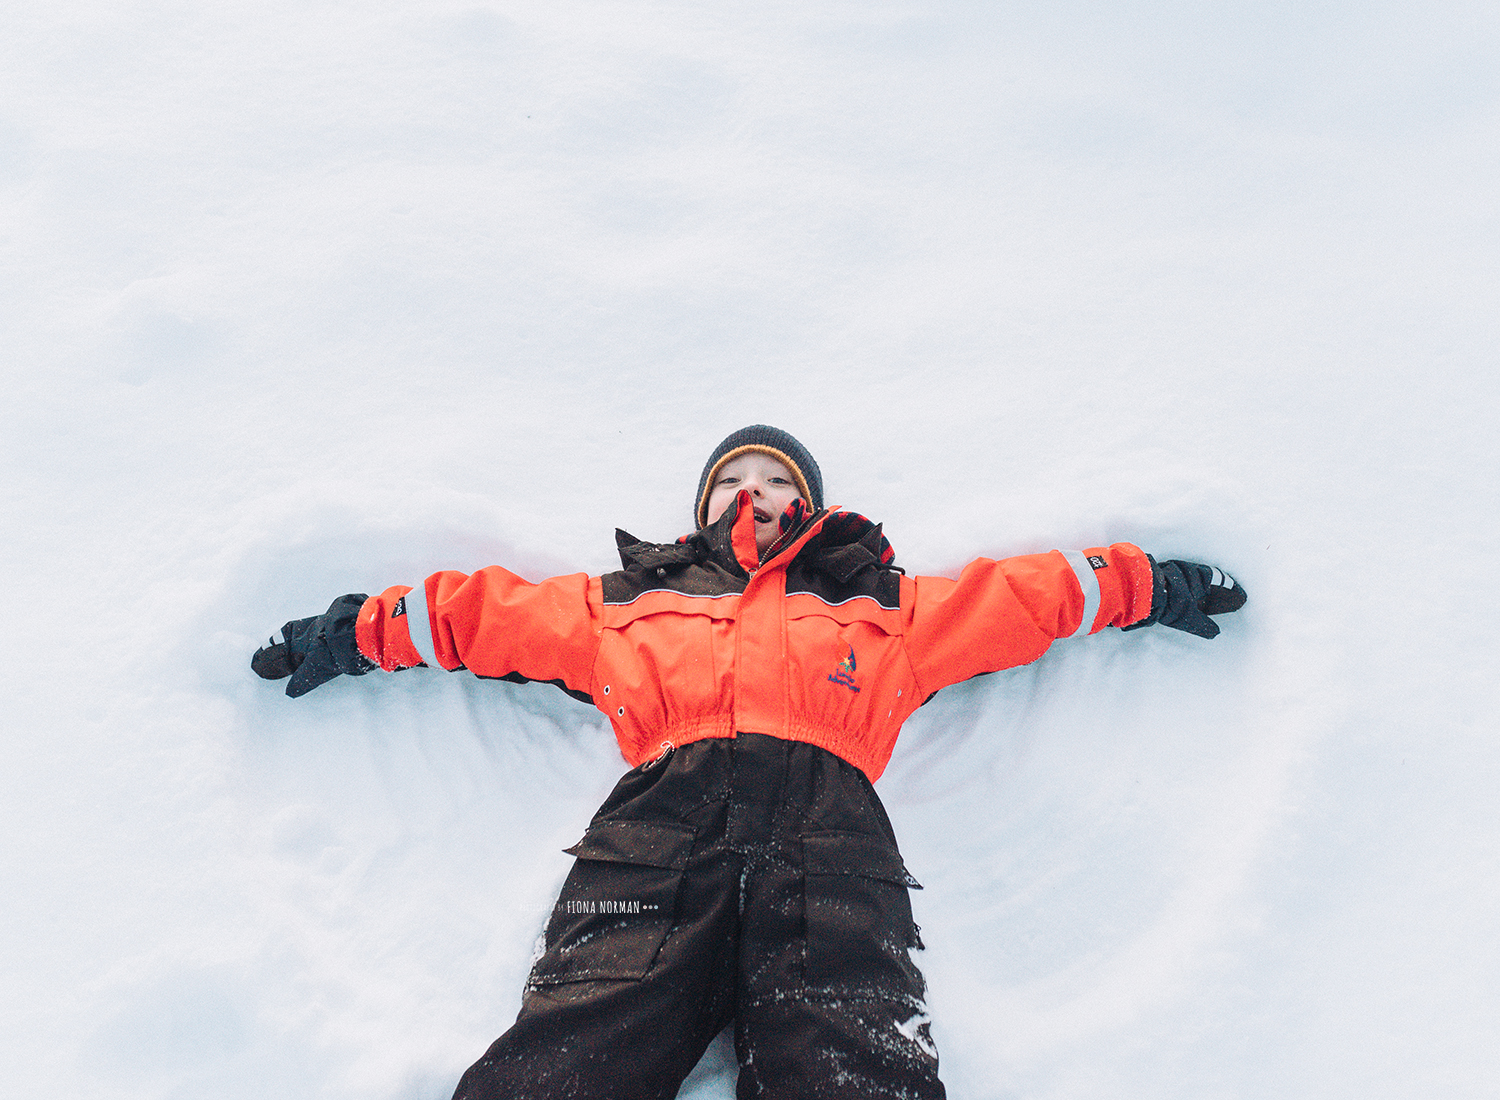
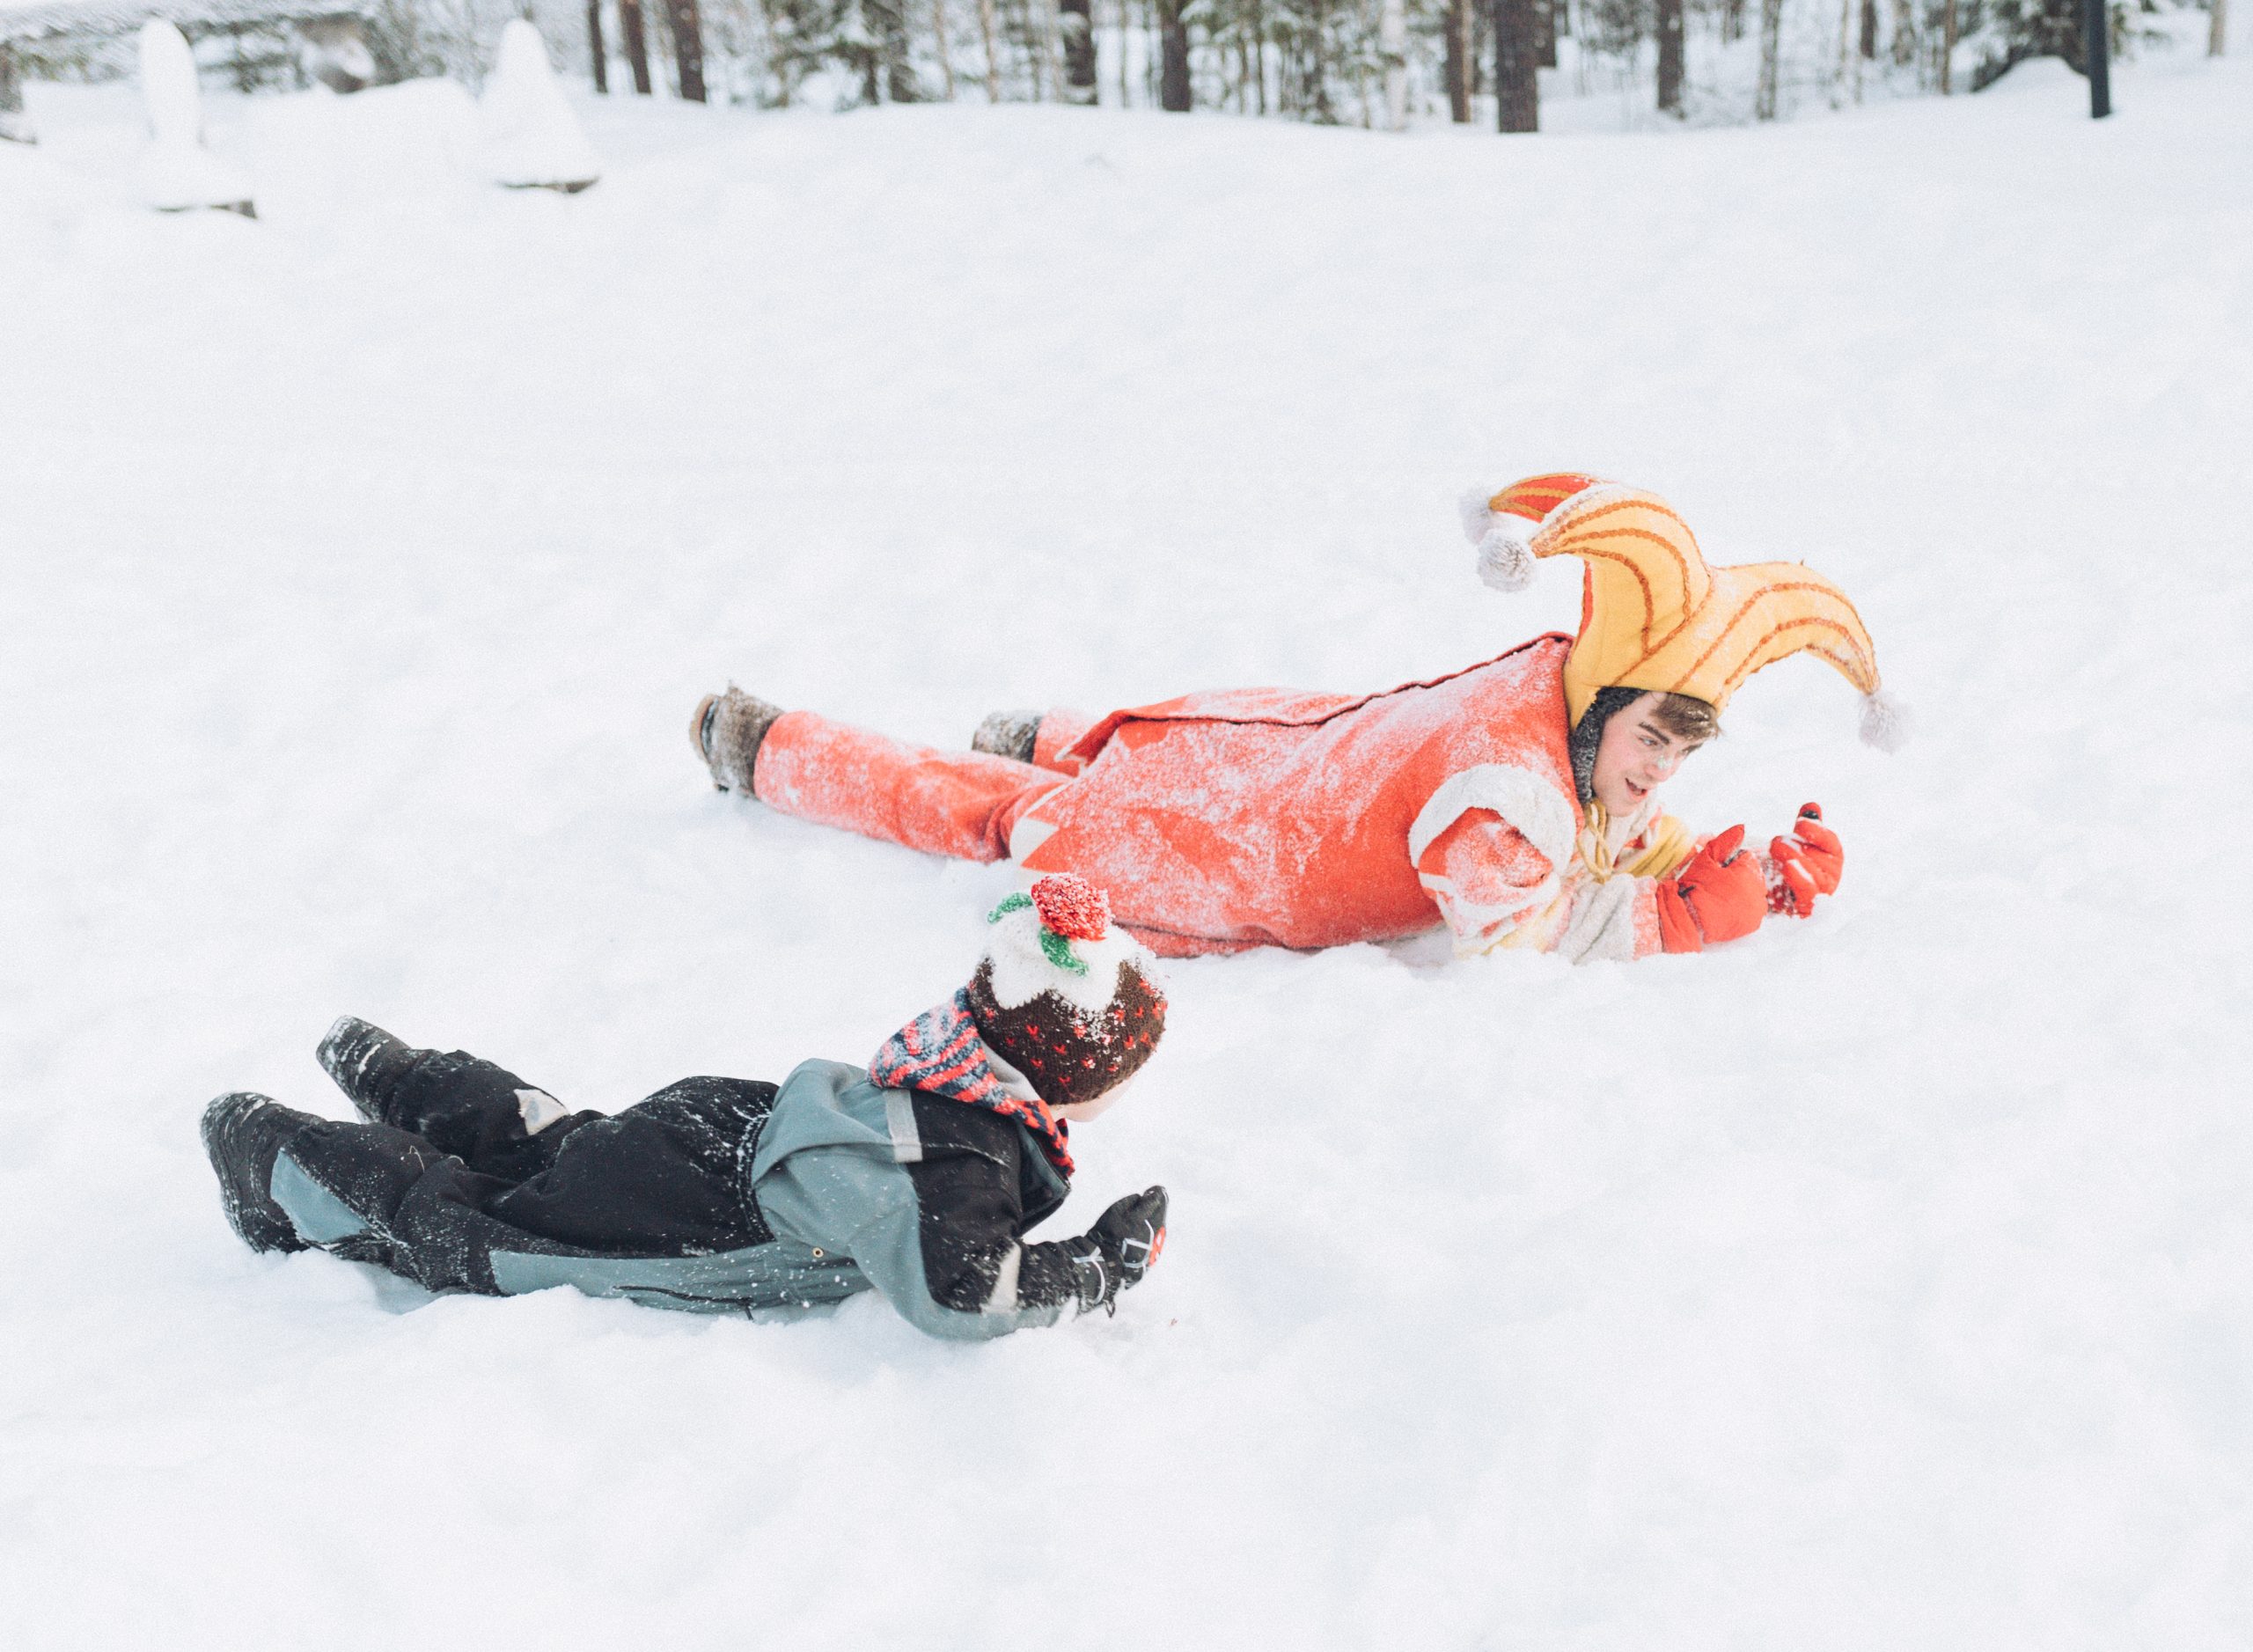
Fun in the snow - Shutter Speed 1/500th Aperture f2.2 ISO 1250
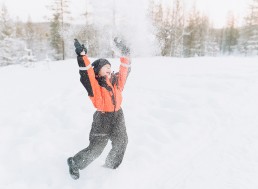
Snowfights and sledging. This is usually an easy shot to get if it’s during daylight as you can freeze motion with a fast shutter speed, whilst having a wide aperture and not needing your ISO up high. For example, here I wanted to get crisp photos rather than capturing the blur of the snow or the movement so I used Shutter speeds of 1/500 and because it was a bright day I didn’t need to compromise the quality of the photo with a high ISO and therefore lots of grain.
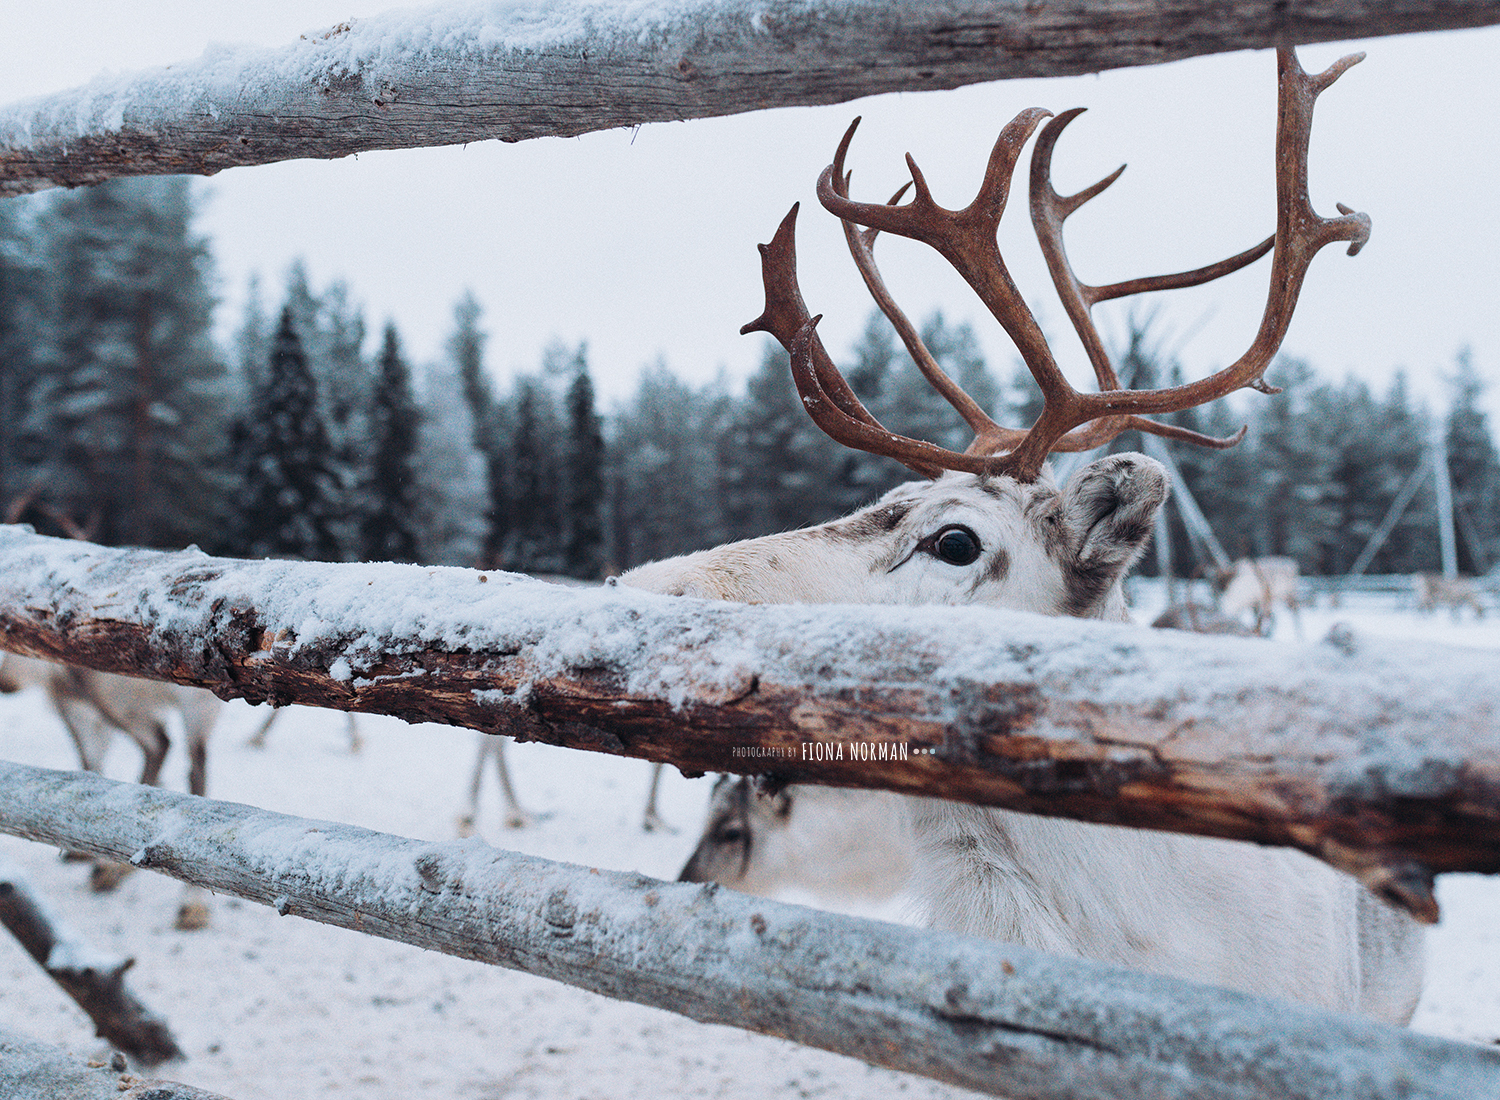
Snow Bokeh - Settings: Shutter speed 1/160th f2.8 ISO 6400
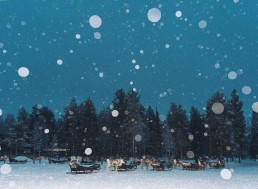
Falling Snowdrops or snow bokeh. I like to shot wide open (a wide aperture) in most of my photography apart from when I have groups of people at different layers within a photograph. So this was a fairly typical shot for me. But in a nutshell, when the snow is falling, if you focus on something in the background (in this case the reindeers) everything in front will be out of focus which means that the snowdrops create this lovely blurry bokeh affect. I also had my shutter speed fairly slow (the reindeer weren’t moving) which helped as it wasn’t snowing that heavily, had it been super fast I might not had got as much snowfall (to the eye, it didn’t look like it was snowing much at this point). And my ISO was fairly high making my camera sensitive to the light it’s taking in.
What camera should I take to Lapland?
I was toying as to whether I should leave my larger camera at home (Nikon D750) and just stick to my Sony A600 which is a lot smaller. However I was really pleased I took both.
The Sony A600 I find struggles in low light, which is most of the day in lapland! I mean it’s fine if your subject is fairly still and of course you can use a flash, but for me I wanted to have the flexibility to photograph us whilst moving during the activities we did, or the boys having snowball fights and just generally feel confident that when I got home I would have some sharp (albeit it quite noisy because I had to use a high ISO at times) photos. I do 90% of my work using my Sigma Art 35mm lens and this worked a treat for me as It’s wide angle and could get some amazing shots when outside, and still get nice close ups of the boys. I just needed to do some cropping when I edited some of the ones from our times inside with Santa or the elves as I couldn’t always move to where I wanted to be and got a lot of other people in some. I could have also taken my 24-70mm which is a great allrounder for the types of photos I wanted but for me I prefer my 35mm. Just personal preference.
I used my Sony A600 to photograph the build up of excitement on the plane and airport and also at home when we gave them the news that they were going. It meant that I could pack my main camera in my case.
Another reason I liked having my larger body, was because I find it easier to hold and control with gloves on! I actually got the hang of rotating the aperture dial with them on and my Sony would have been too small to do that and at times its as far too cold to remove the gloves!
I packed extra batteries but actually didn’t need them as when I was out I kept my body covered in a scarf (not sure if that helped). We didn’t have as cold a days either than some people I had read about whose batteries were draining quickly. And it was always in a rucksack when not being used wrapped in clothes. I did have to watch out for the condensation when going from outside to in but just checked the lens and body before I put the camera away.
5 tips when taking photographs in Lapland
- Get to know your camera, don’t just rely on your phone. Cameras (especially those on the phone) need help working out light situations. They overcompensate by adding more light or less light when you don’t want them to. It’s worth getting to grips with your camera to get some photos you’ll actually print and look back on! Learn what Aperture mode / Shutter mode are, learn about ISO and how to use your flash.
- Don’t be scared to bump up your ISO. ISO is the cameras sensitivity to light and when you’ve got your aperture as wide open as it will go but you need a fast shutter speed – the ISO is your next option to make the photo brighter. You will get grainy photos if it’s very high / especially if it’s high but still a darkish photo. But these will still be fine to print 6 x 4 size or to put in a photobook.
- Don’t be scared to use flash. I used flash a lot, when outside, photographing the kids jumping in the snow and when inside at the party or seeing Santa. It means I’m getting well exposed images every time and I didn’t have to keep adjusting my settings. I chose to use my ISO when I wanted to get the feel that it was dark (more for my landscape shots) and use the flash when I was photographing the kids and wanted their faces exposed correctly or when I was inside.
- Switch to TV or S mode when photographing activities like the kids tobogganing or snowball fights. This gives you complete control over how fast the shutter moves and will mean you can freeze motion when you want to and get nicely sharp, focused shots. The camera will work out what
- Keep your spare batteries and camera equipment warm if you are going when it is very cold. As I said I think part of my luck was that we didn’t have -30 like some! Take cloths to wipe the lenses and to wipe the viewfinder as that also got steamy at times.
I hope you found this interesting! You can book on to one of my latest camera workshops here

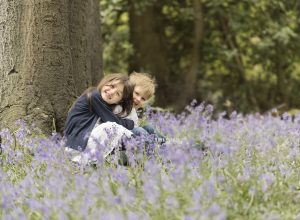
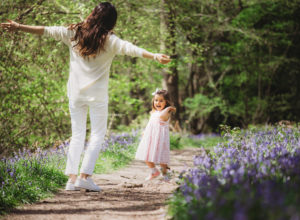
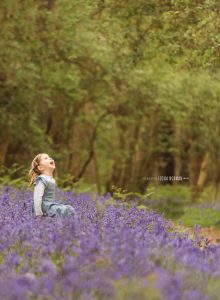
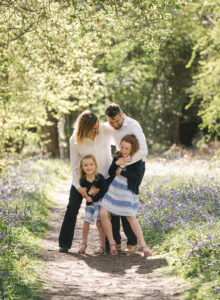
Autumn Photography Tips
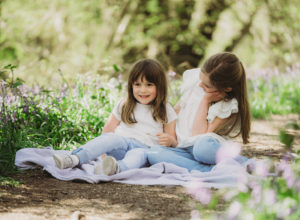
LOVE AUTUMN? THEN READ ON TO SEE MY TOP TIPS WHEN PHOTOGRAPHING YOUR LOVED ONES IN AMONGST THE LEAVES THIS YEAR
FIND A GREAT LOCATION
In Buckinghamshire and Berkshire we are absolutely spoilt for choice when it comes to autumnal spots. There are the obvious places such as Clivedon that are brimming with trees and forest walks for miles.
Larger places like this are amazing to visit particularly if you want to really take in the landscape and how the oranges and reds frame and form the spectacular views.
However, do not discount your local parks, I have found many local recreation grounds or parks are lined at the edges with large trees that change to vibrant colours at this time of year. You normally just have to be careful when positioning yourself and whoever you’re photographing so you avoid the buildings / playgrounds in the background. Or get up to your subjects nice and close.
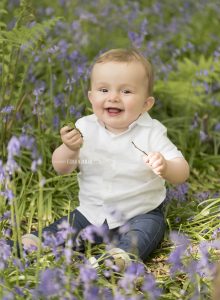
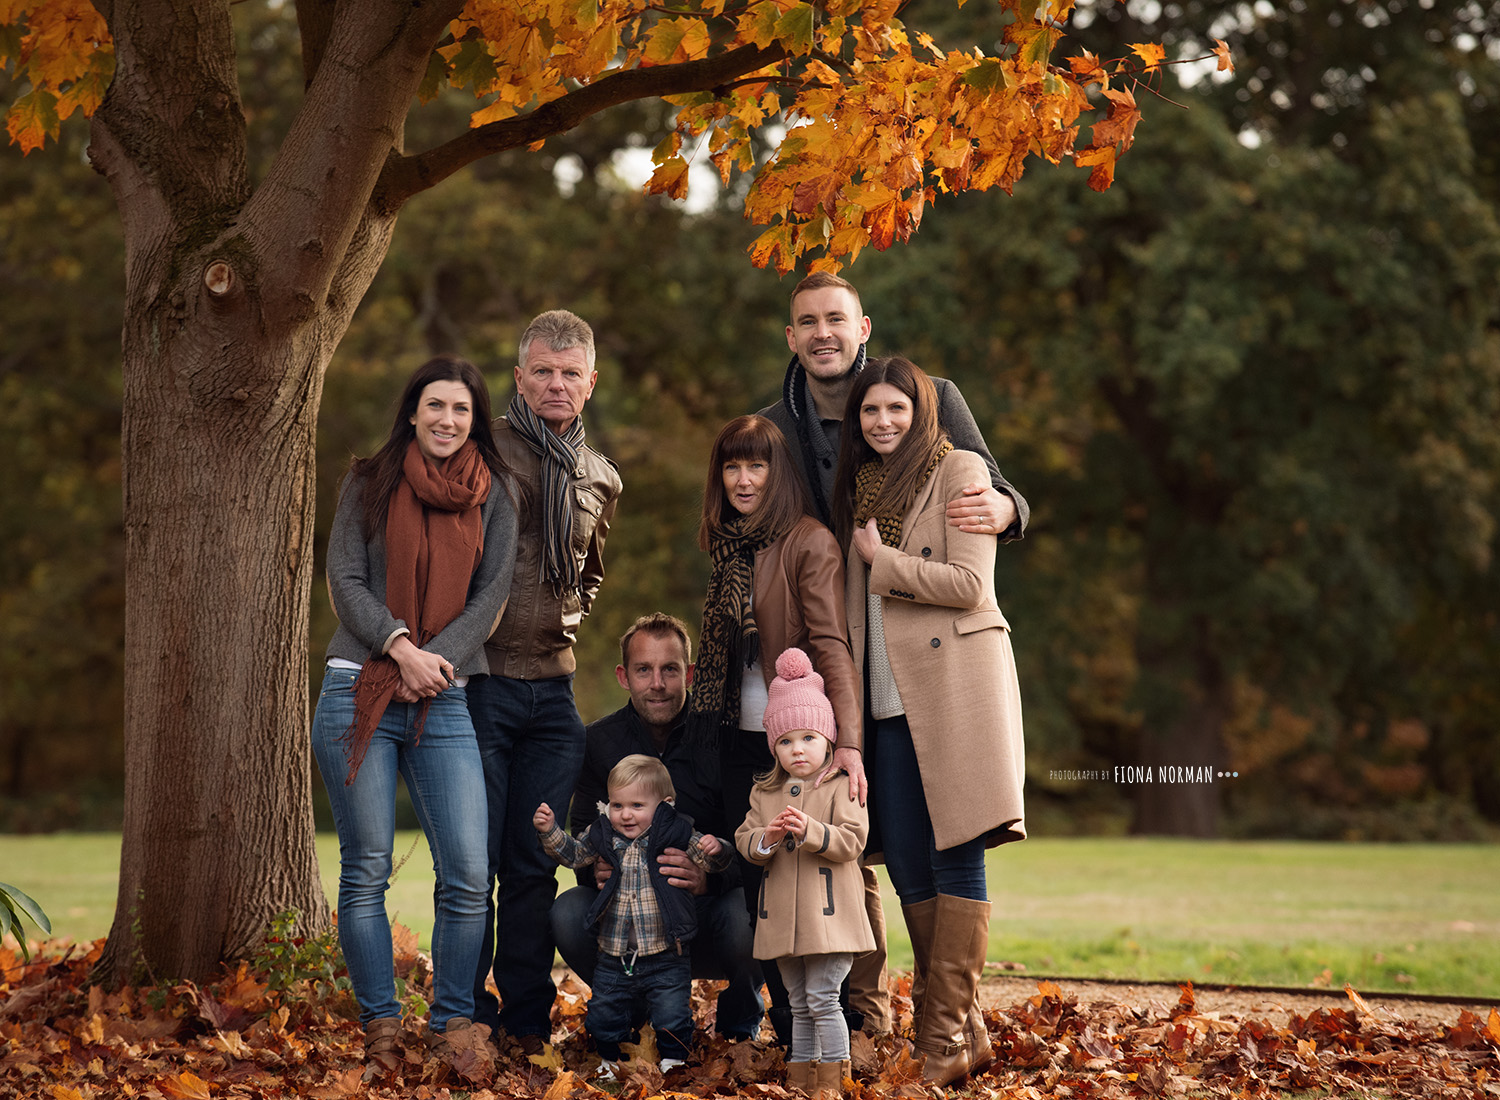
Some of my favourite places to visit at this time of year are, Burnham Beeches, Kidwells Park (pictured below), Langley Park (pictured below), The Look Out
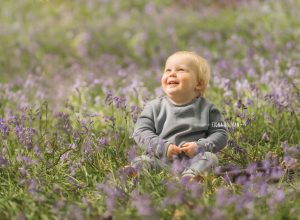
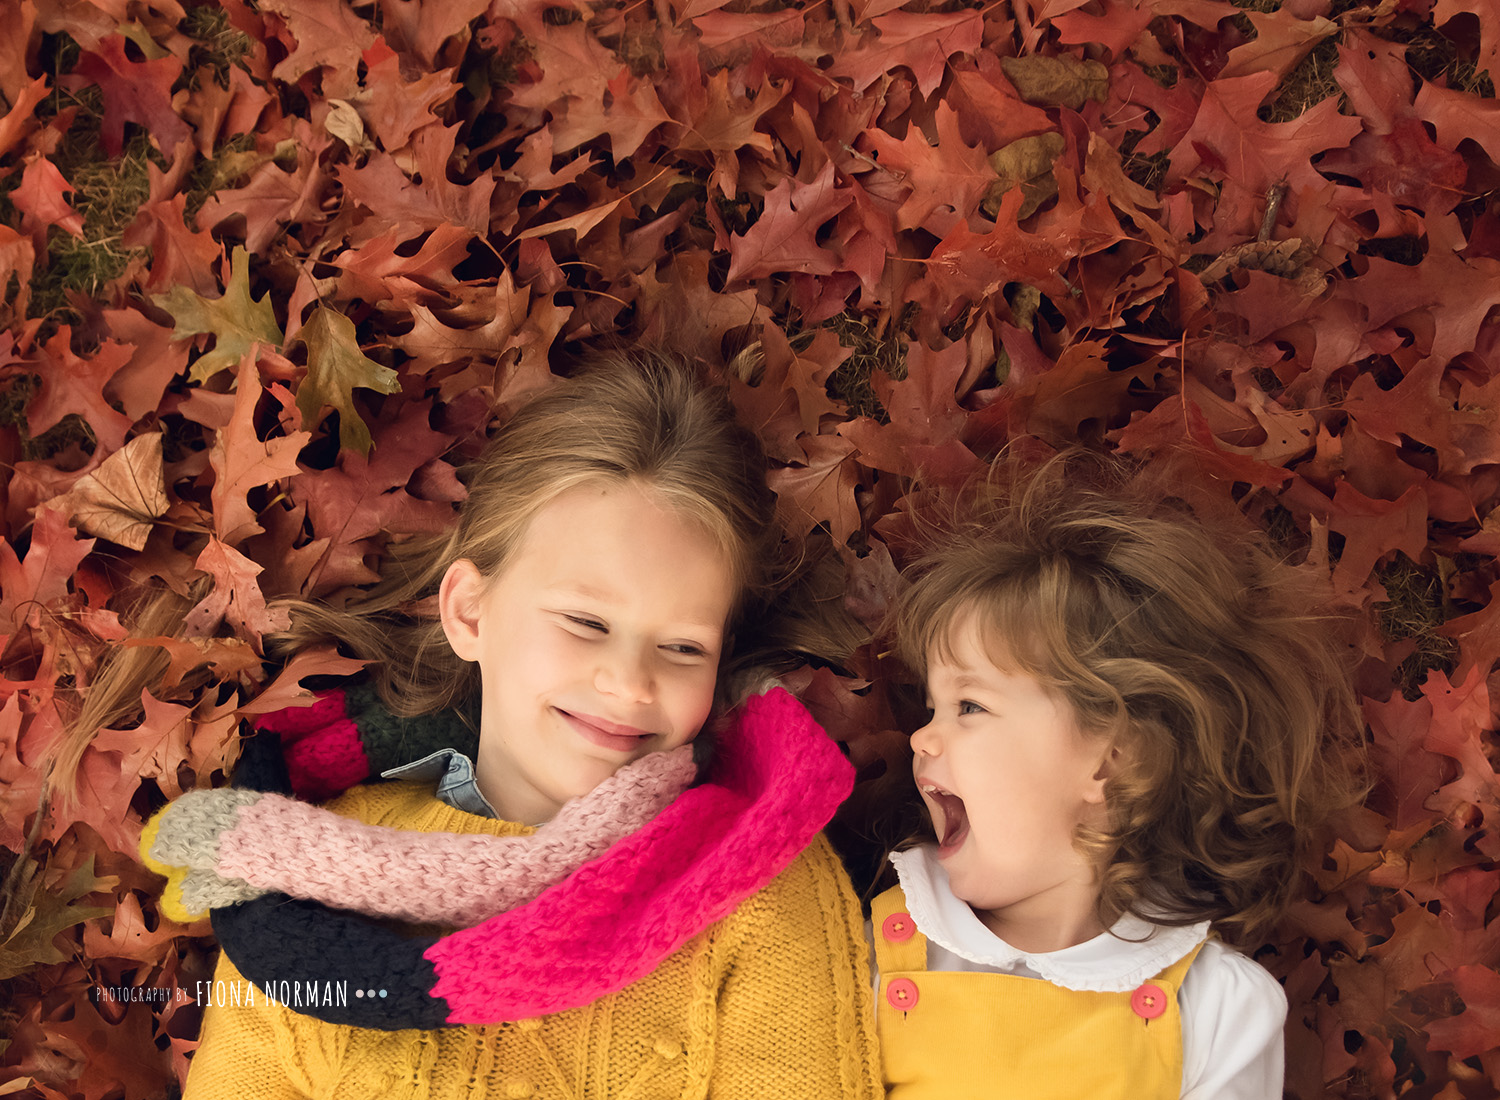
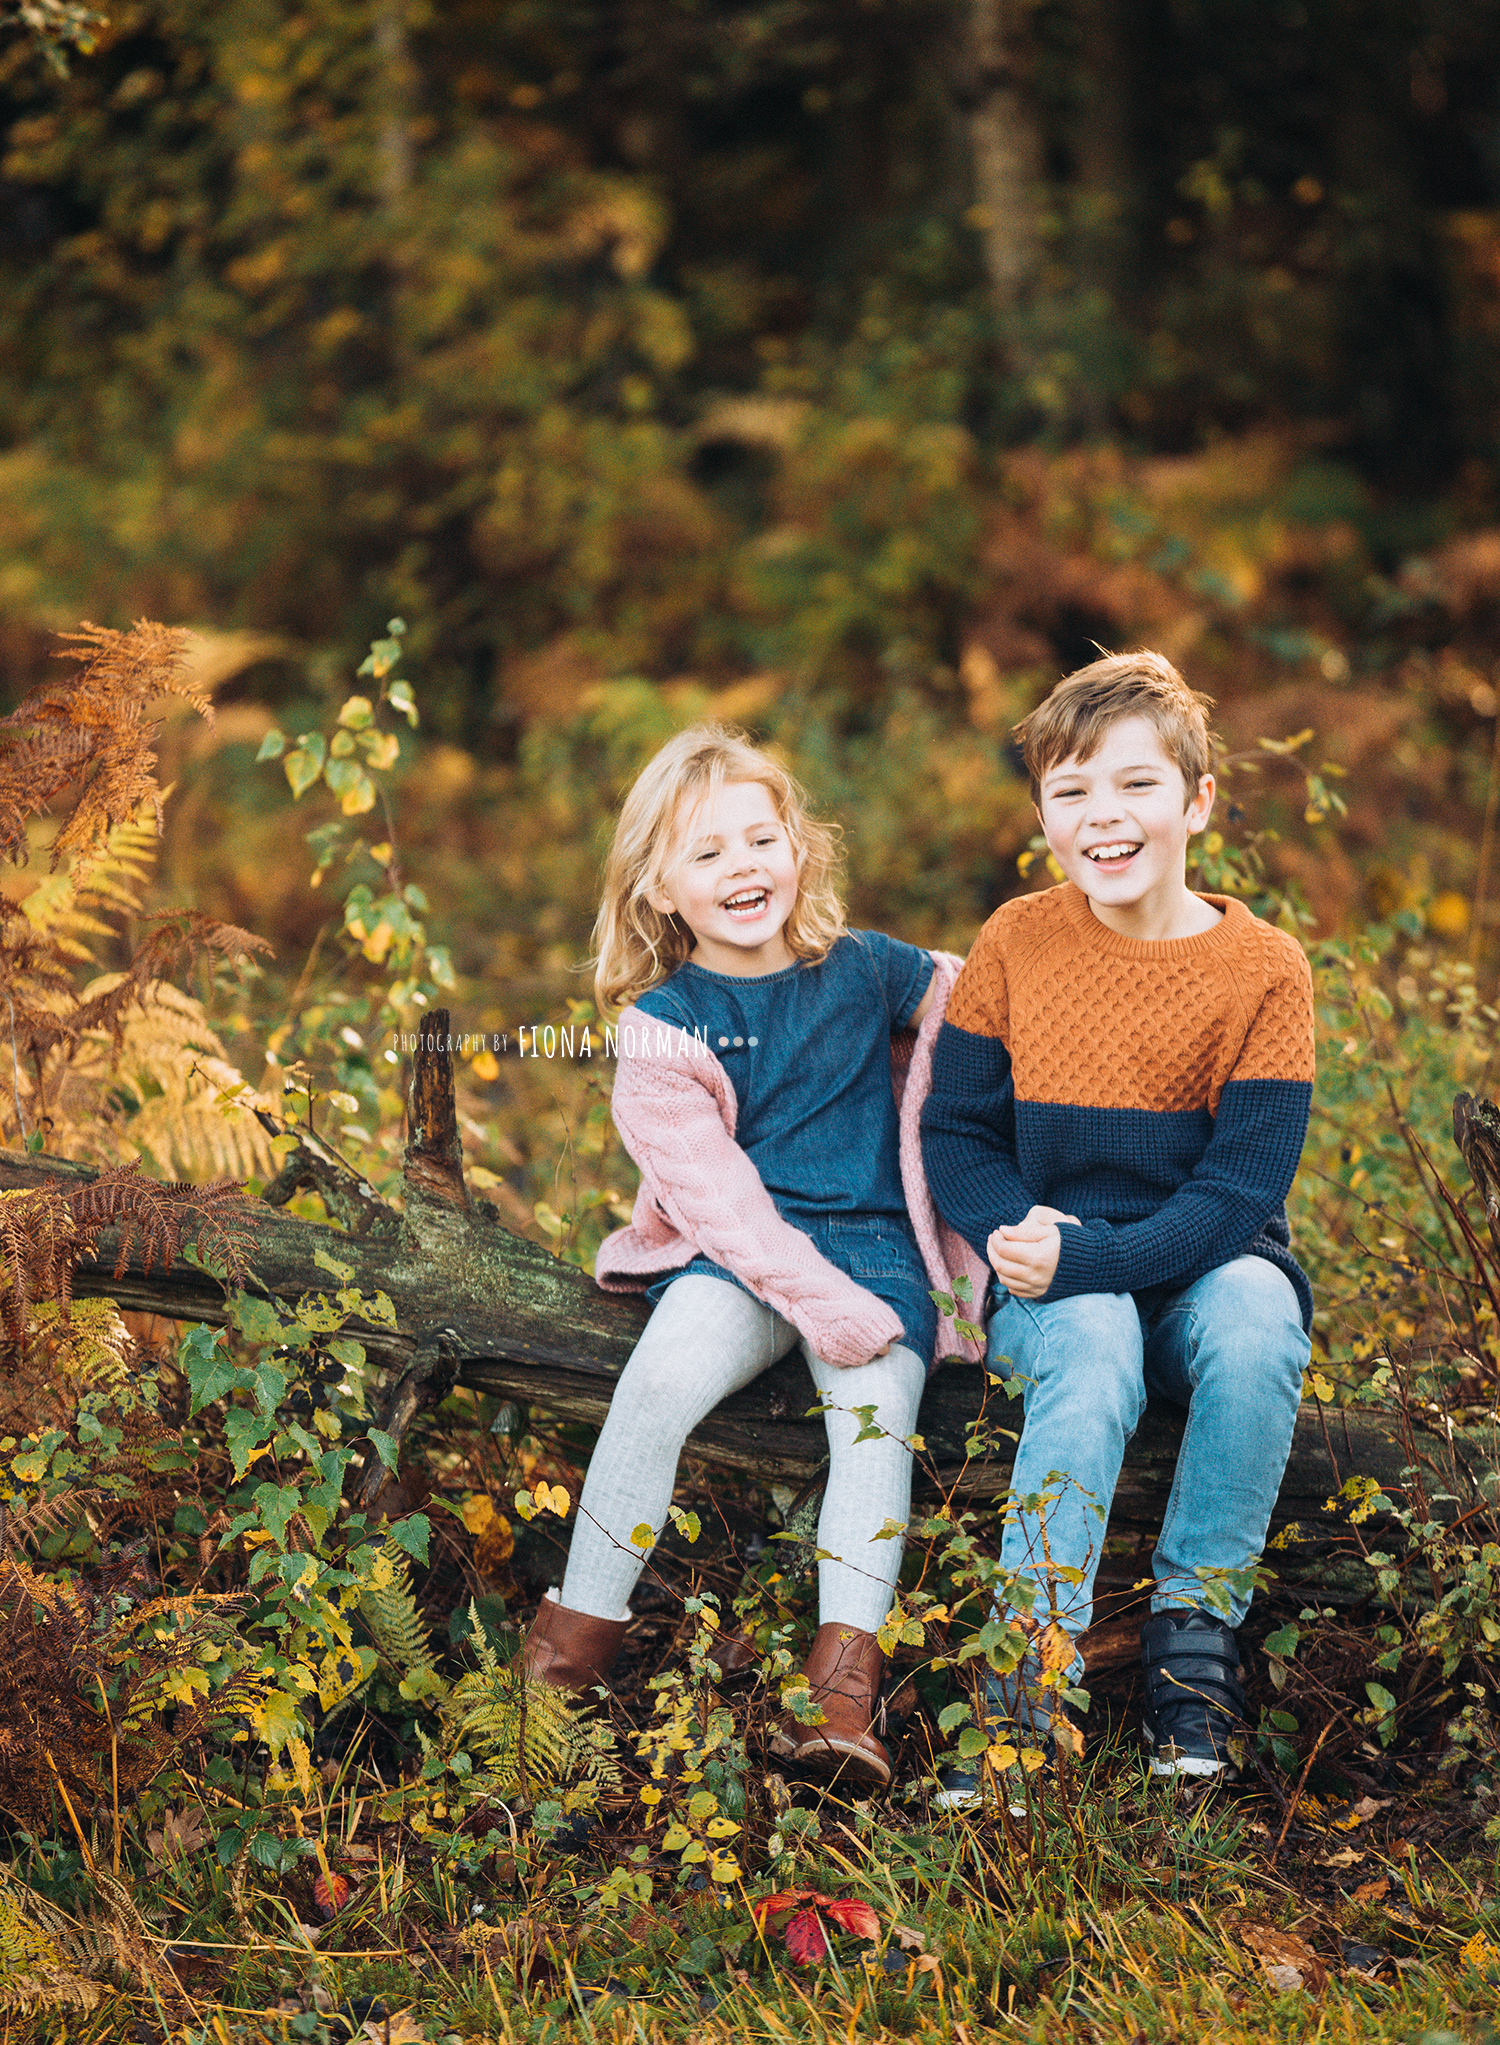
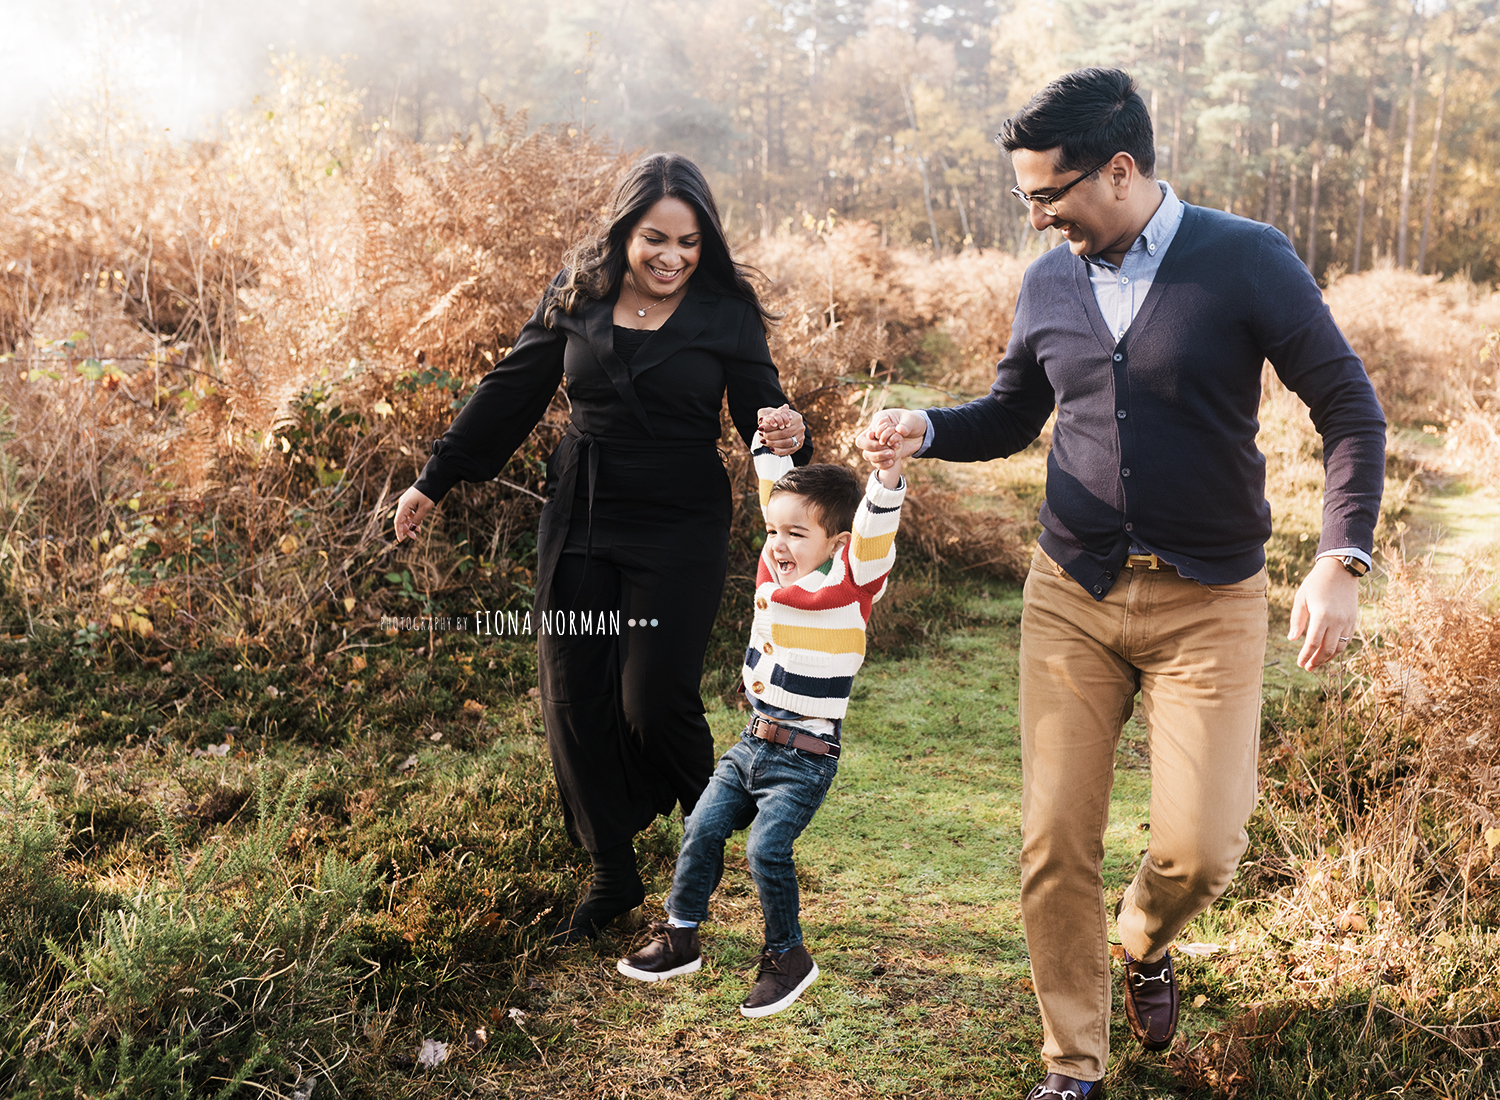
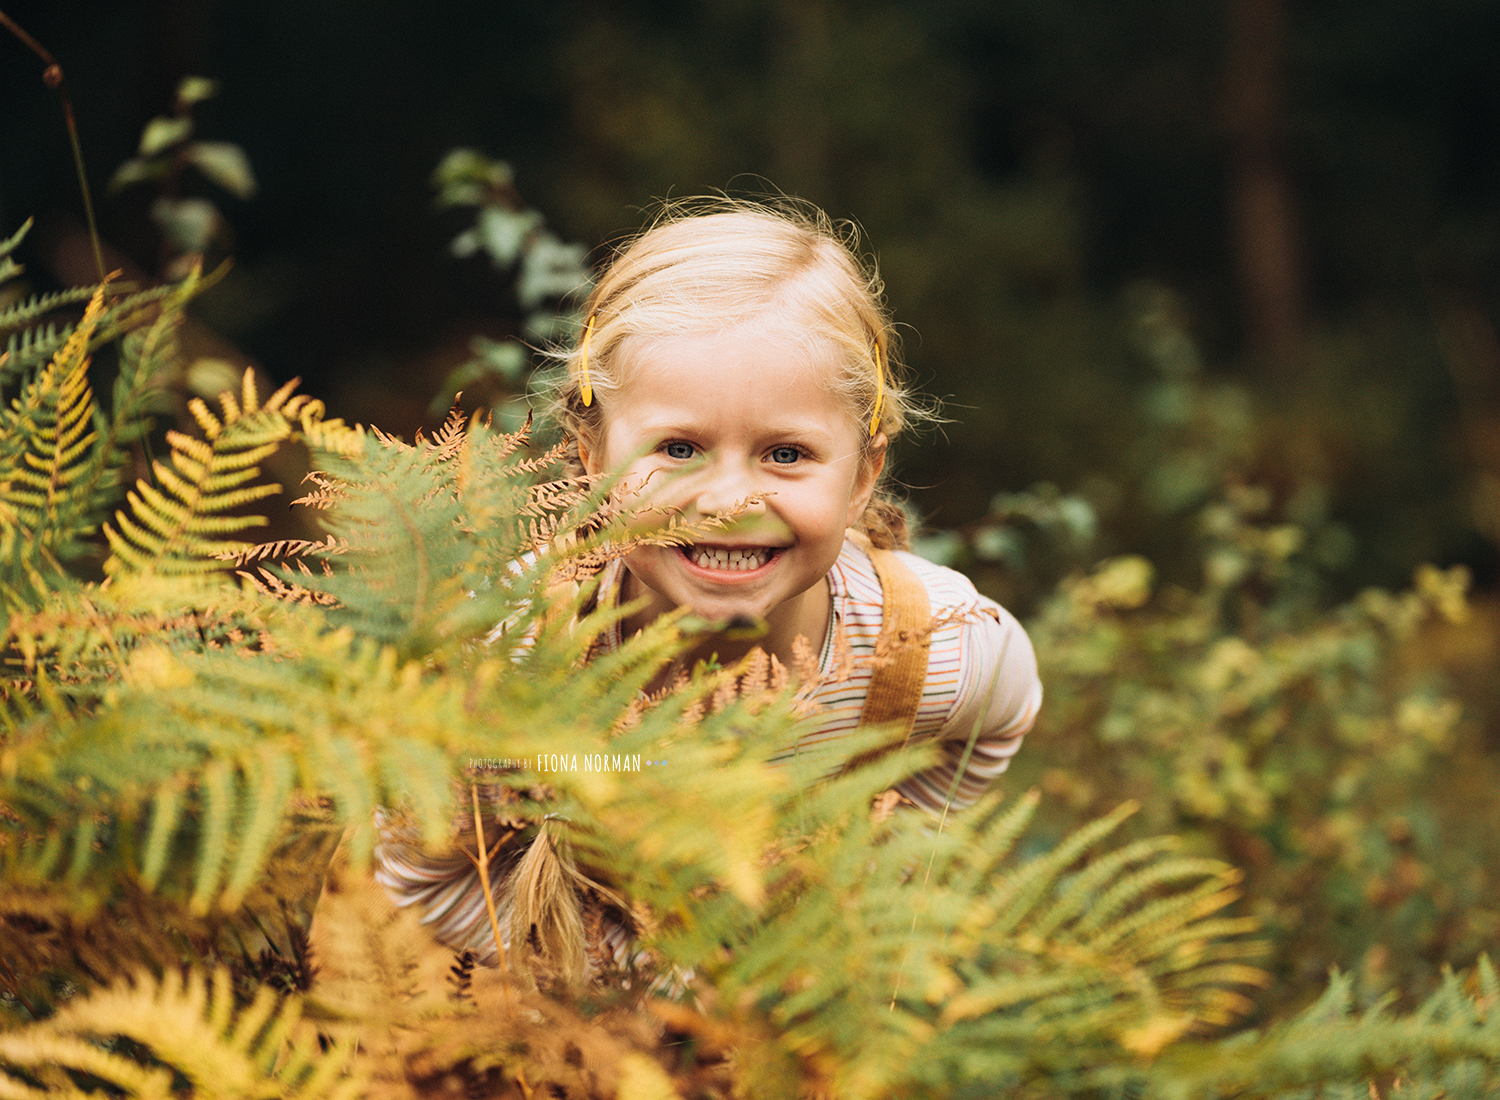
The things I look out for are lots of open space, so that there is enough light to give my subjects bright faces. You also want to include colour in the surrounding areas. I like places with lots of leaves on the floor, rather than a green grass, the leaves add another dimension to the photos. And I also look for trees / branches / logs to create interest in the photos and also to sit young children on, so that I can get lovely portraits with gorgeous blurry yellows and reds behind them.

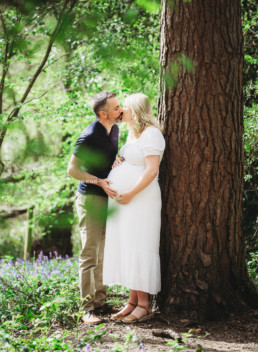
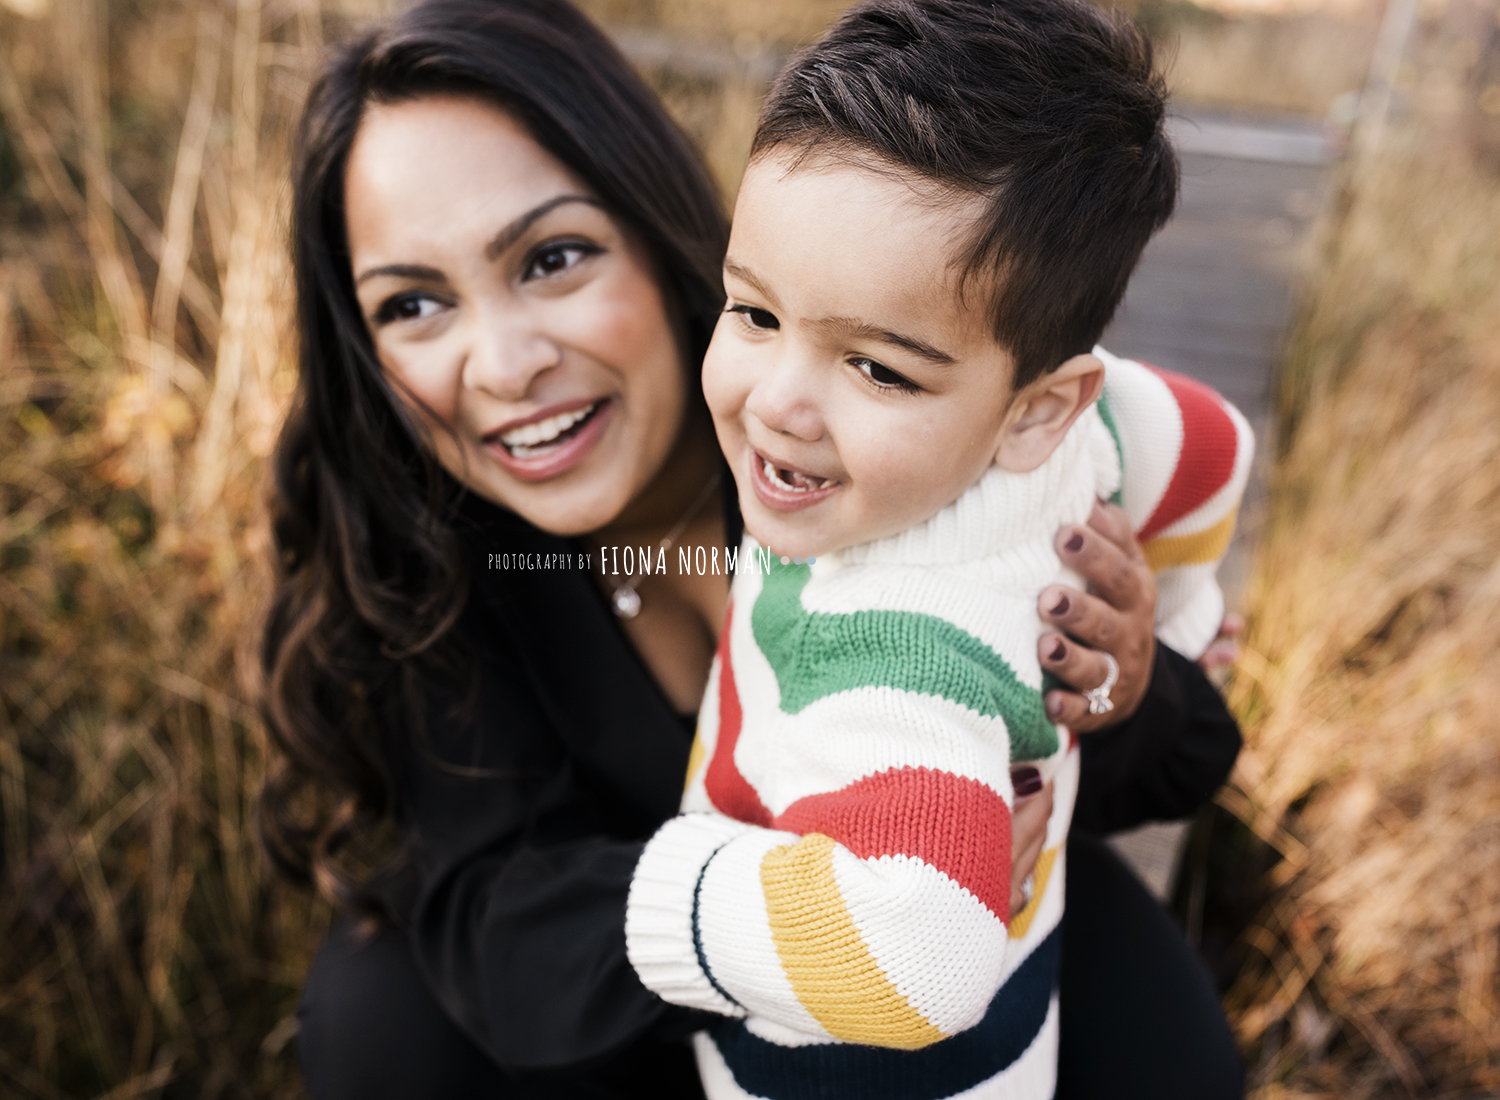
CHOOSE THE RIGHT CLOTHING
Autumn is my favourite season for dressing up! Clothing really can add so much to autumnal pictures. There are a couple of things to consider:
1 – Colour
The main colours within nature at this time, are yellow, brown, red, orange, green. So I suggest that the people I am photographing go for one of two options:
A) wear a combination of those colours and go for what is called analogous styling (colours that sit next to eachother on the colour wheel).
So for example you might go for brown trousers with a mustard yellow top. You don’t have to break the bank, places like Asda are really great at stocking fabulous burgundy jumpers, beige cords, orange pinafores. There is so much choice out there.
B) Alternatively, what also works well, is to look at these colours of nature go for opposite tones on the colour wheel. This is called complimentary colour styling. So burgundy mixed with forest green or mustard yellow mixed with navy blue. Using these colours within your clothing can really make your subject stand out. You don’t even have to mix those colours within your outfit, as you will be photographing within a brown/yellow/green backdrop opposing colours will work well on their own.
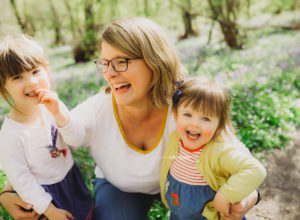
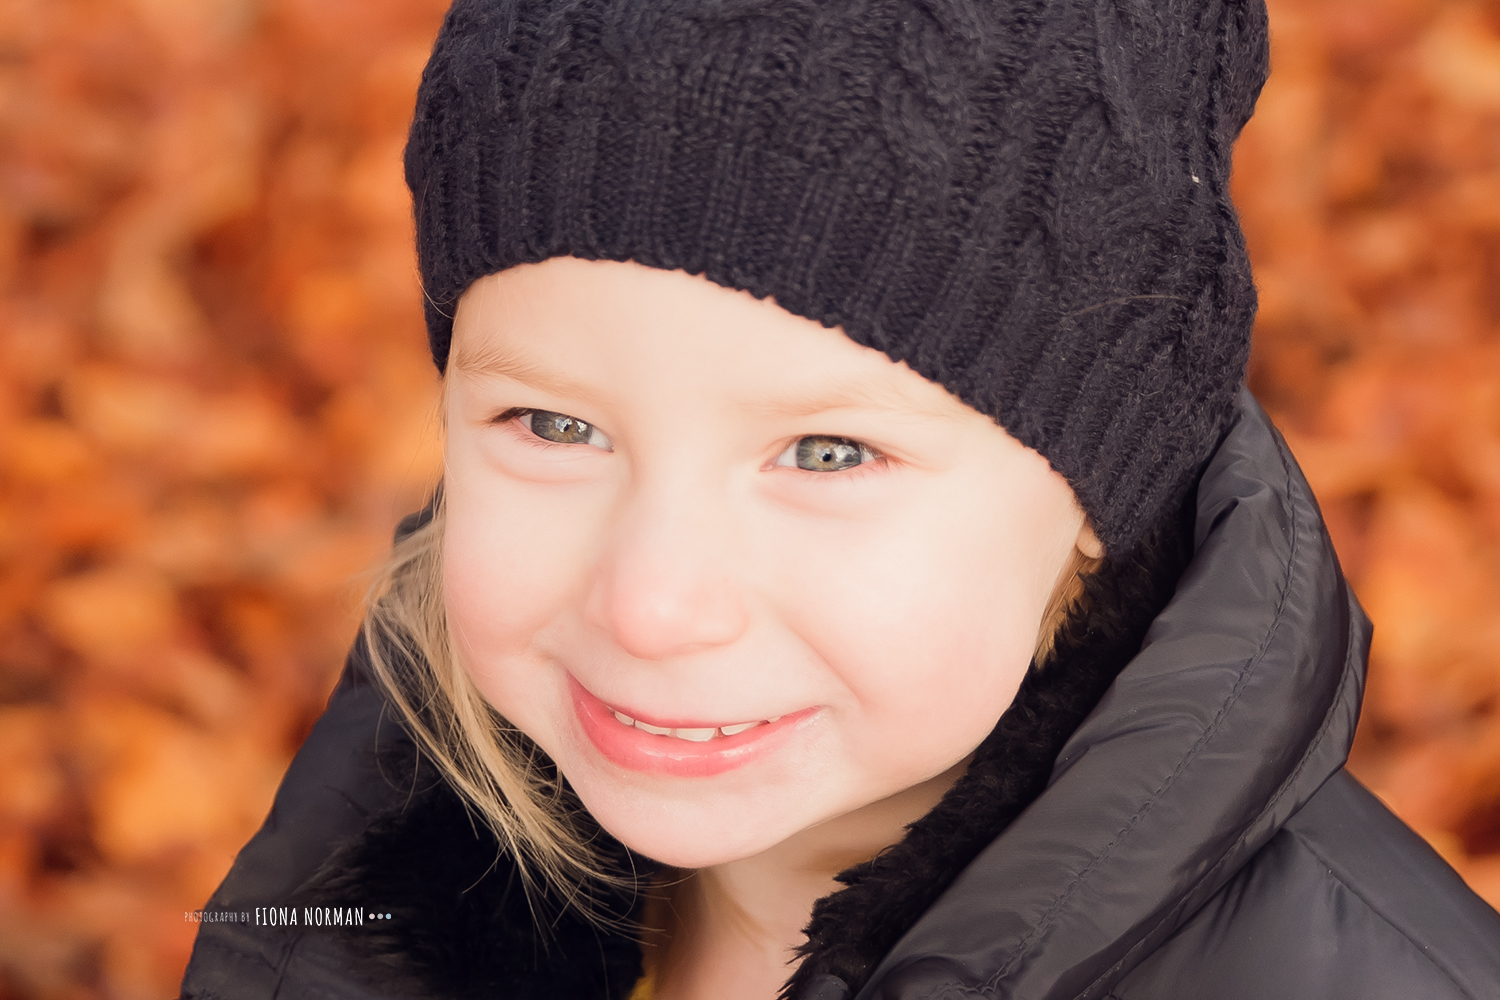
2- Accessorise
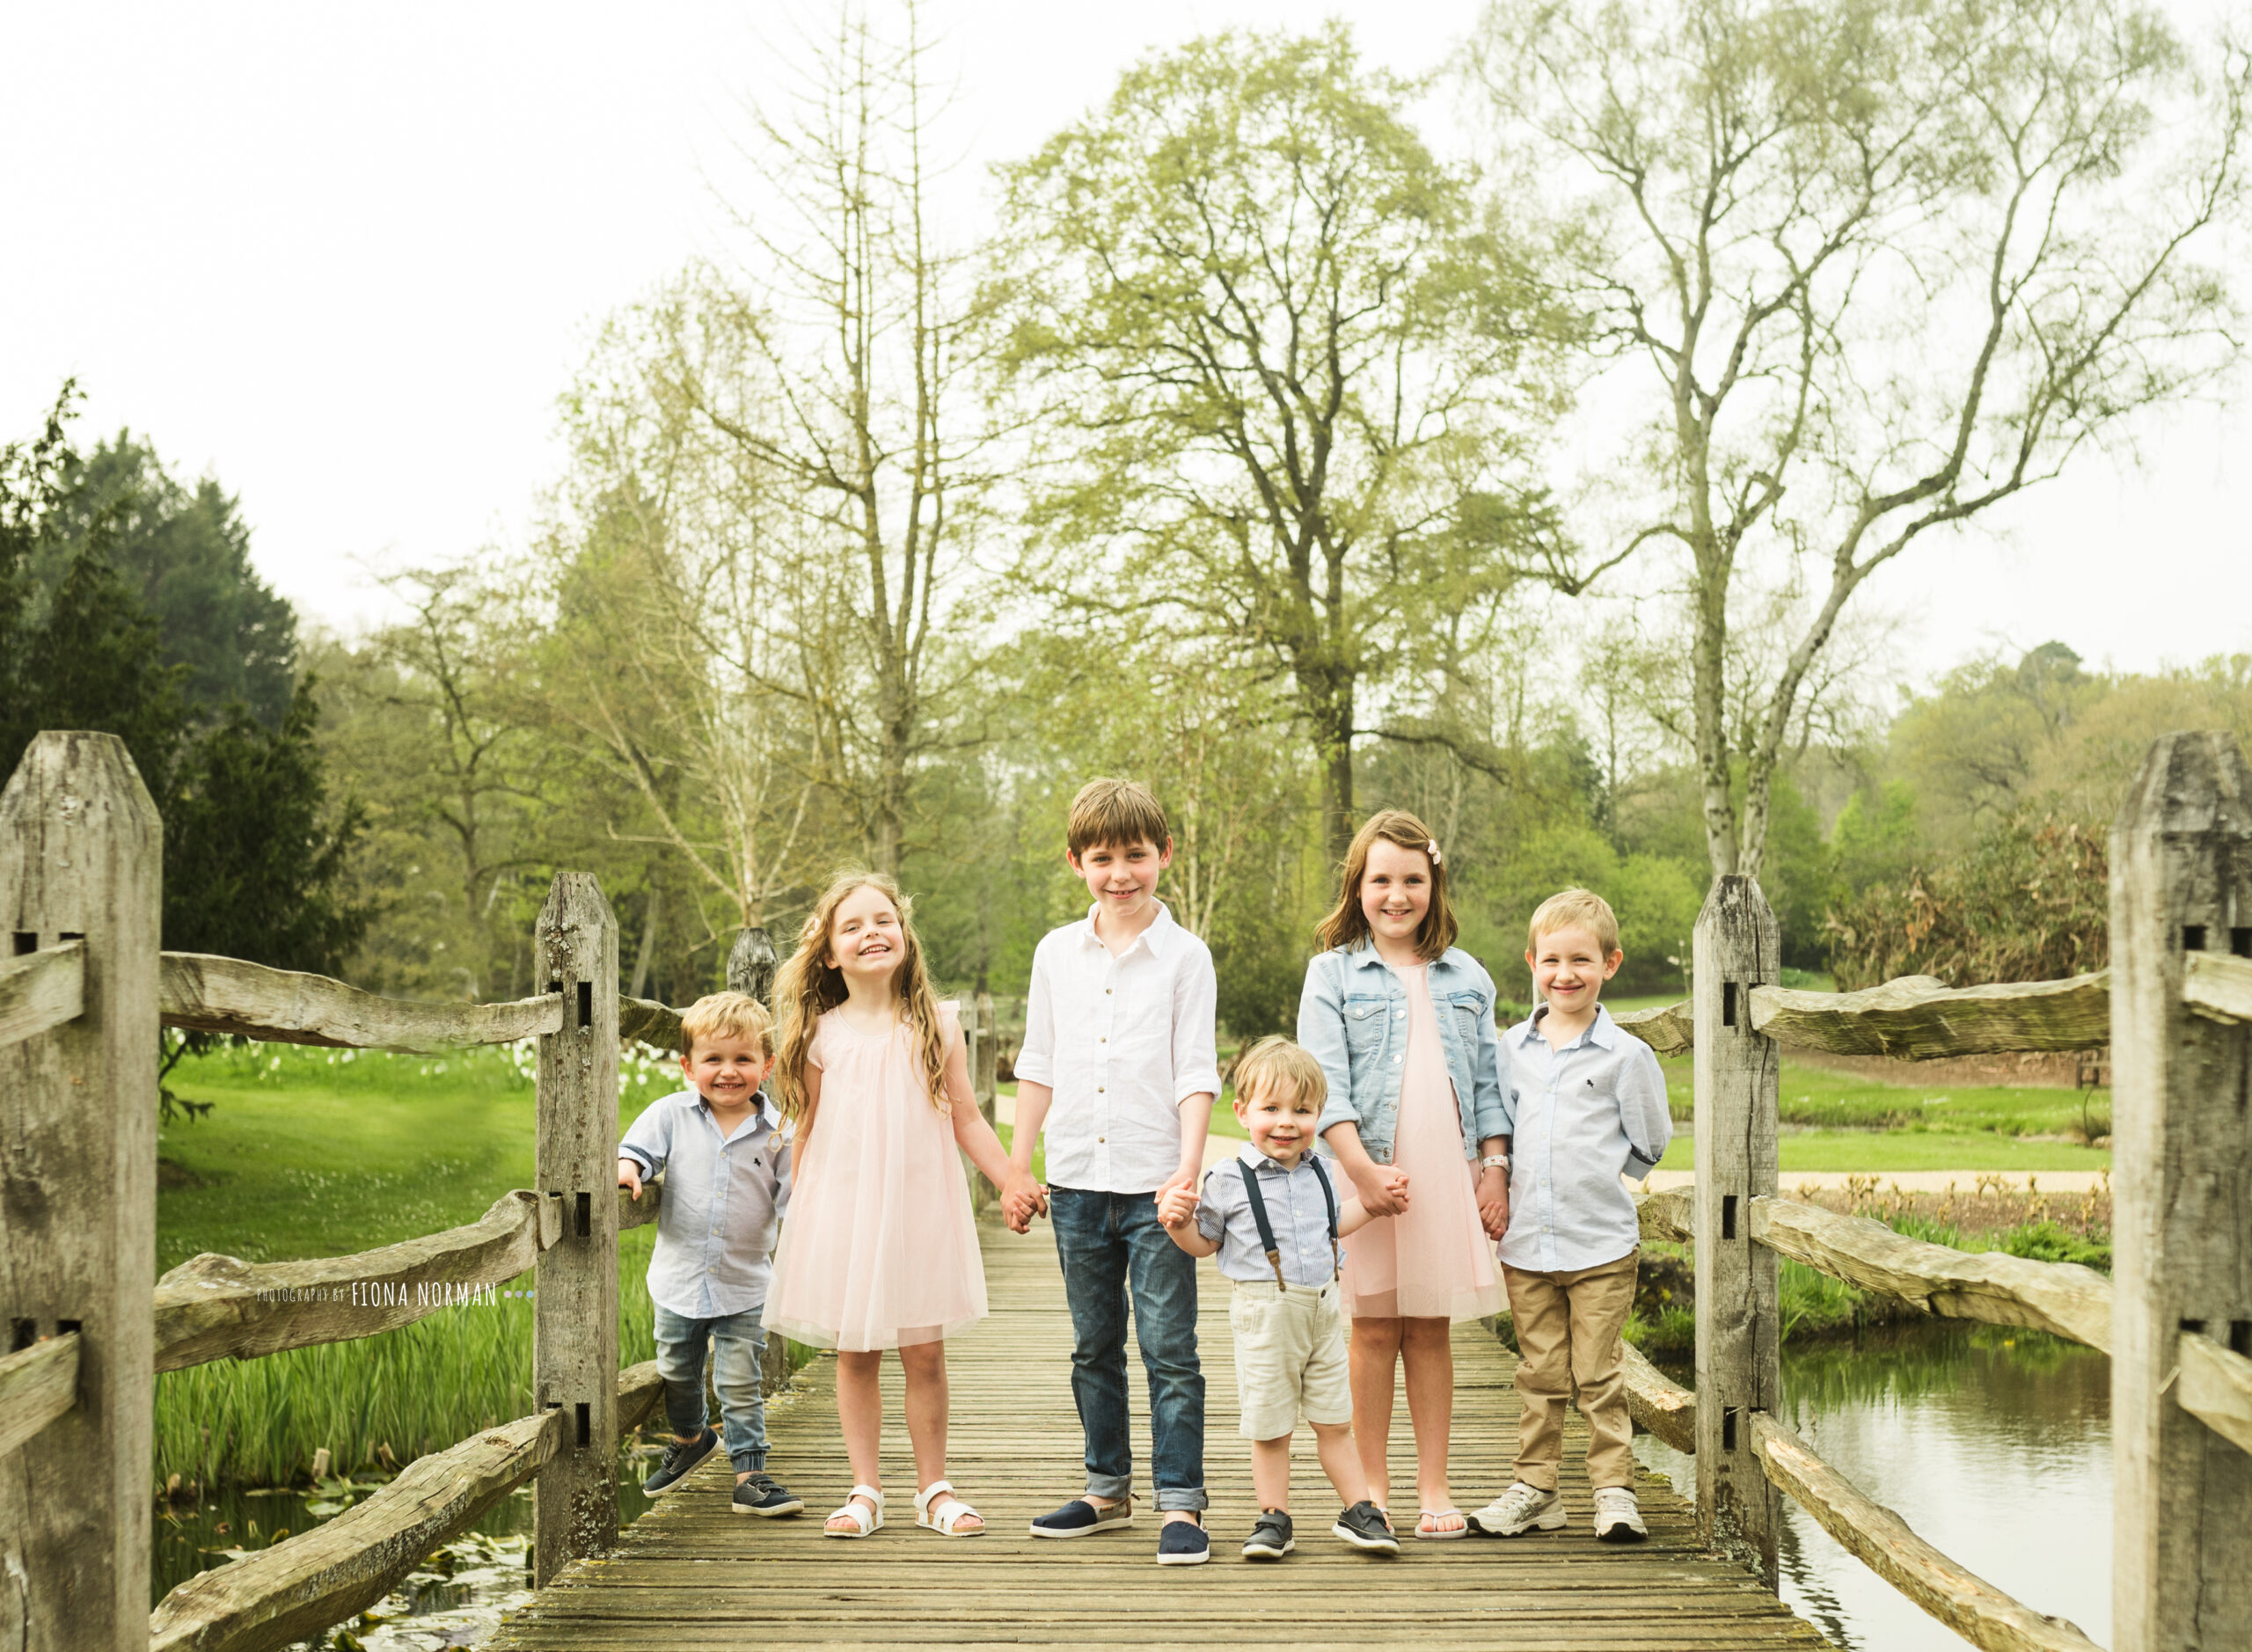
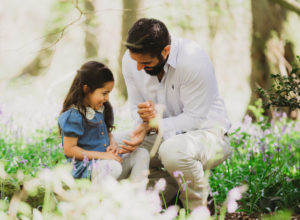
Is there anything cuter than a child wrapped up warm in a bobble hat? Some of my favourite pictures of the kids are from autumn where they are in their wellies and hats. Don’t just stop there though, fur gilets, scarfs, long knee length socks, gloves, cardigans look fab on the kids and obviously adults as well!
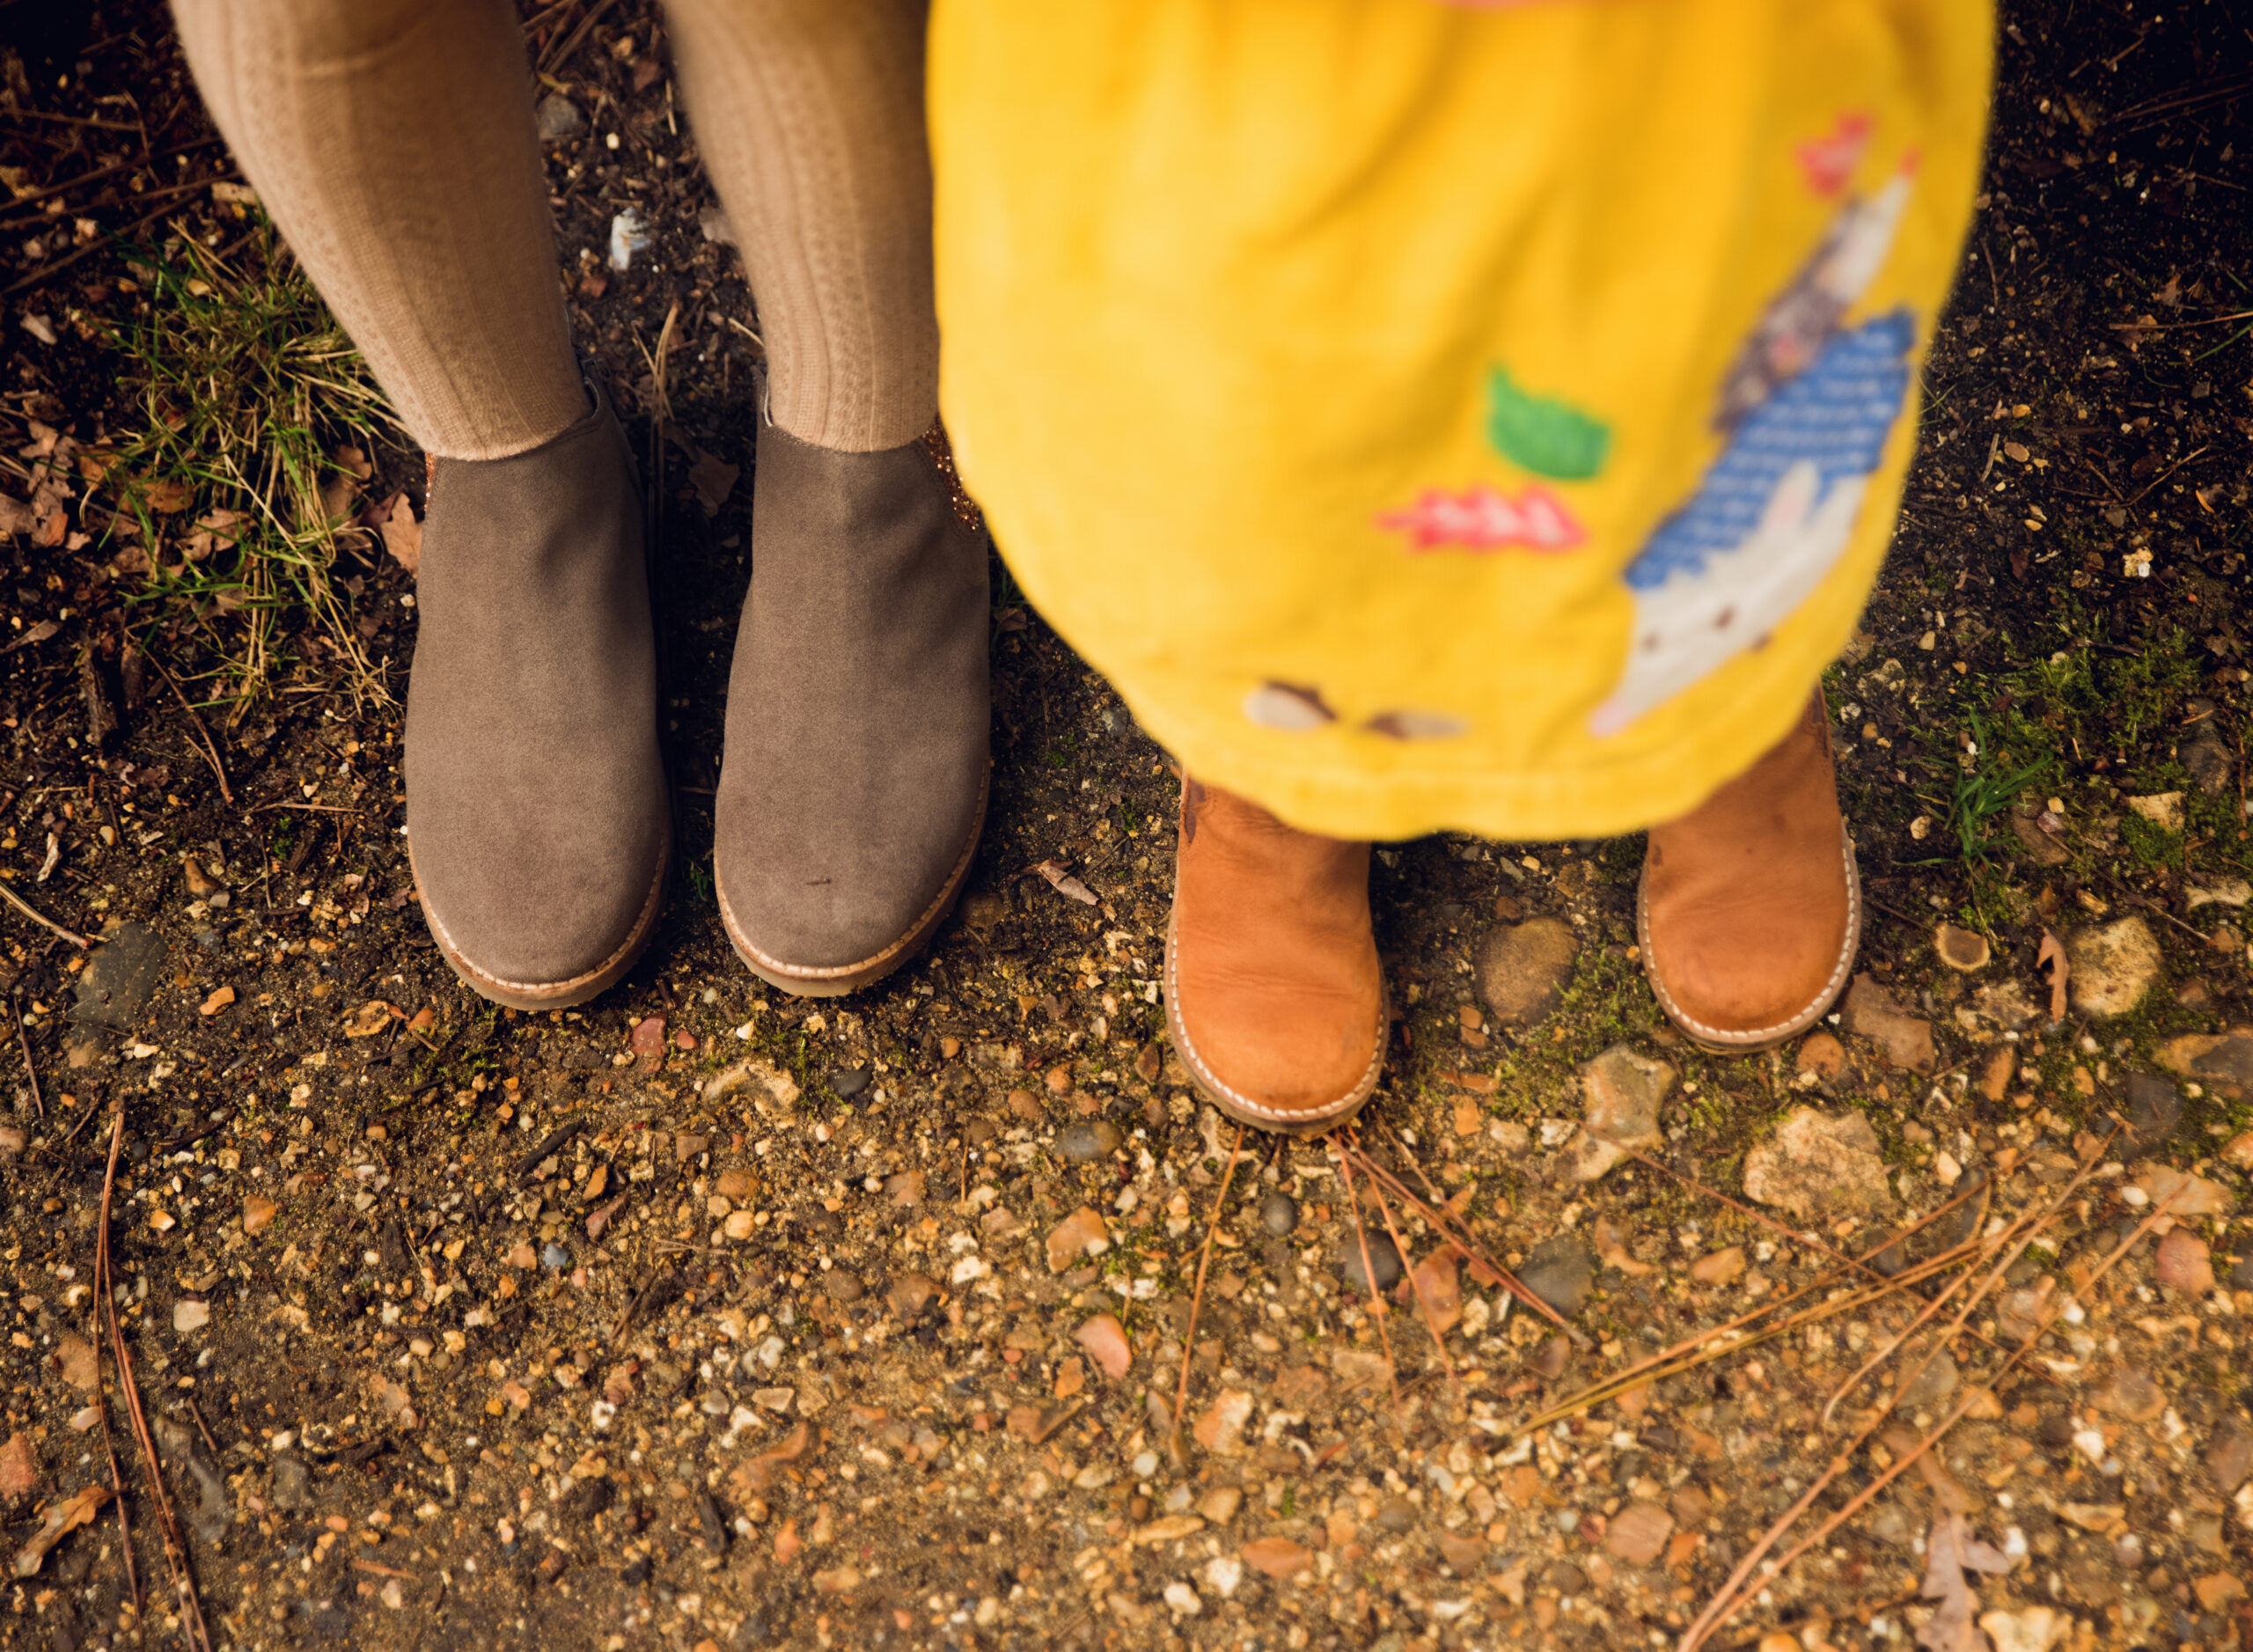
3- Don’t ignore the shoes! Shoes in autumn, more than ever can really make an outfit. Don’t dress the kiddies in lovely clothes and then put scruffy old trainers on if you can help it!
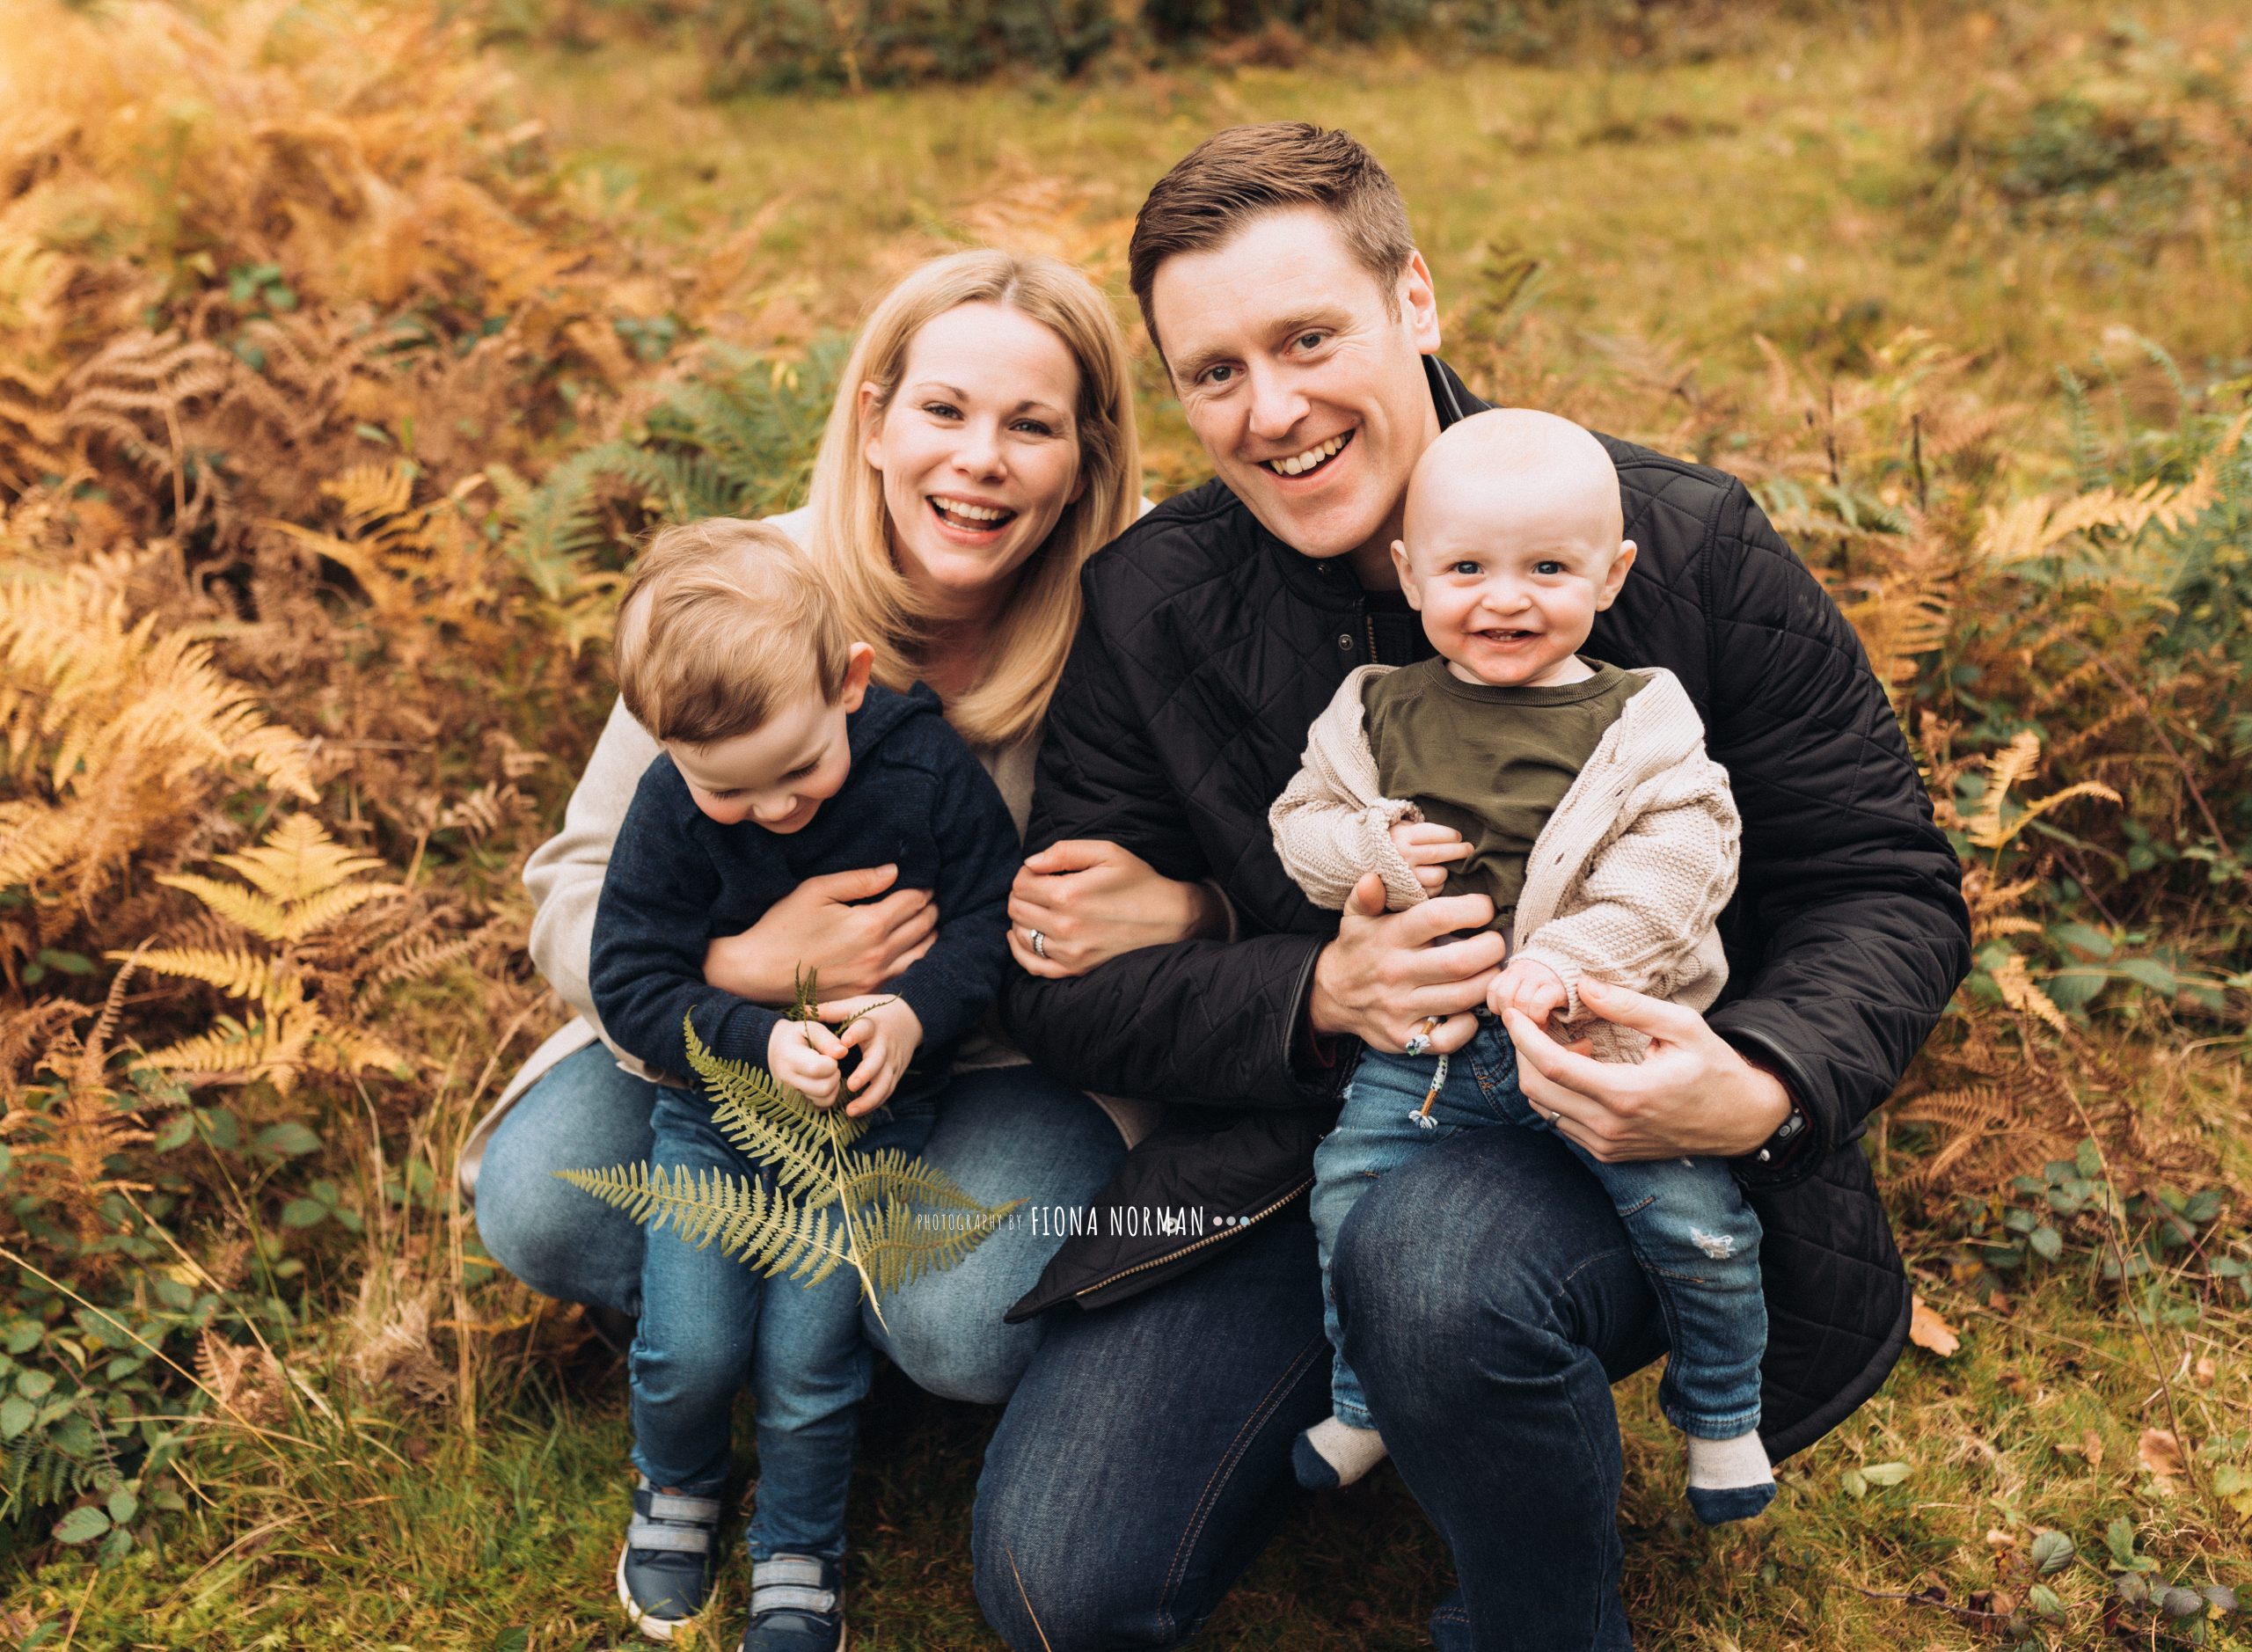

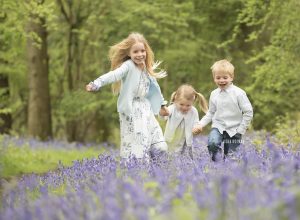
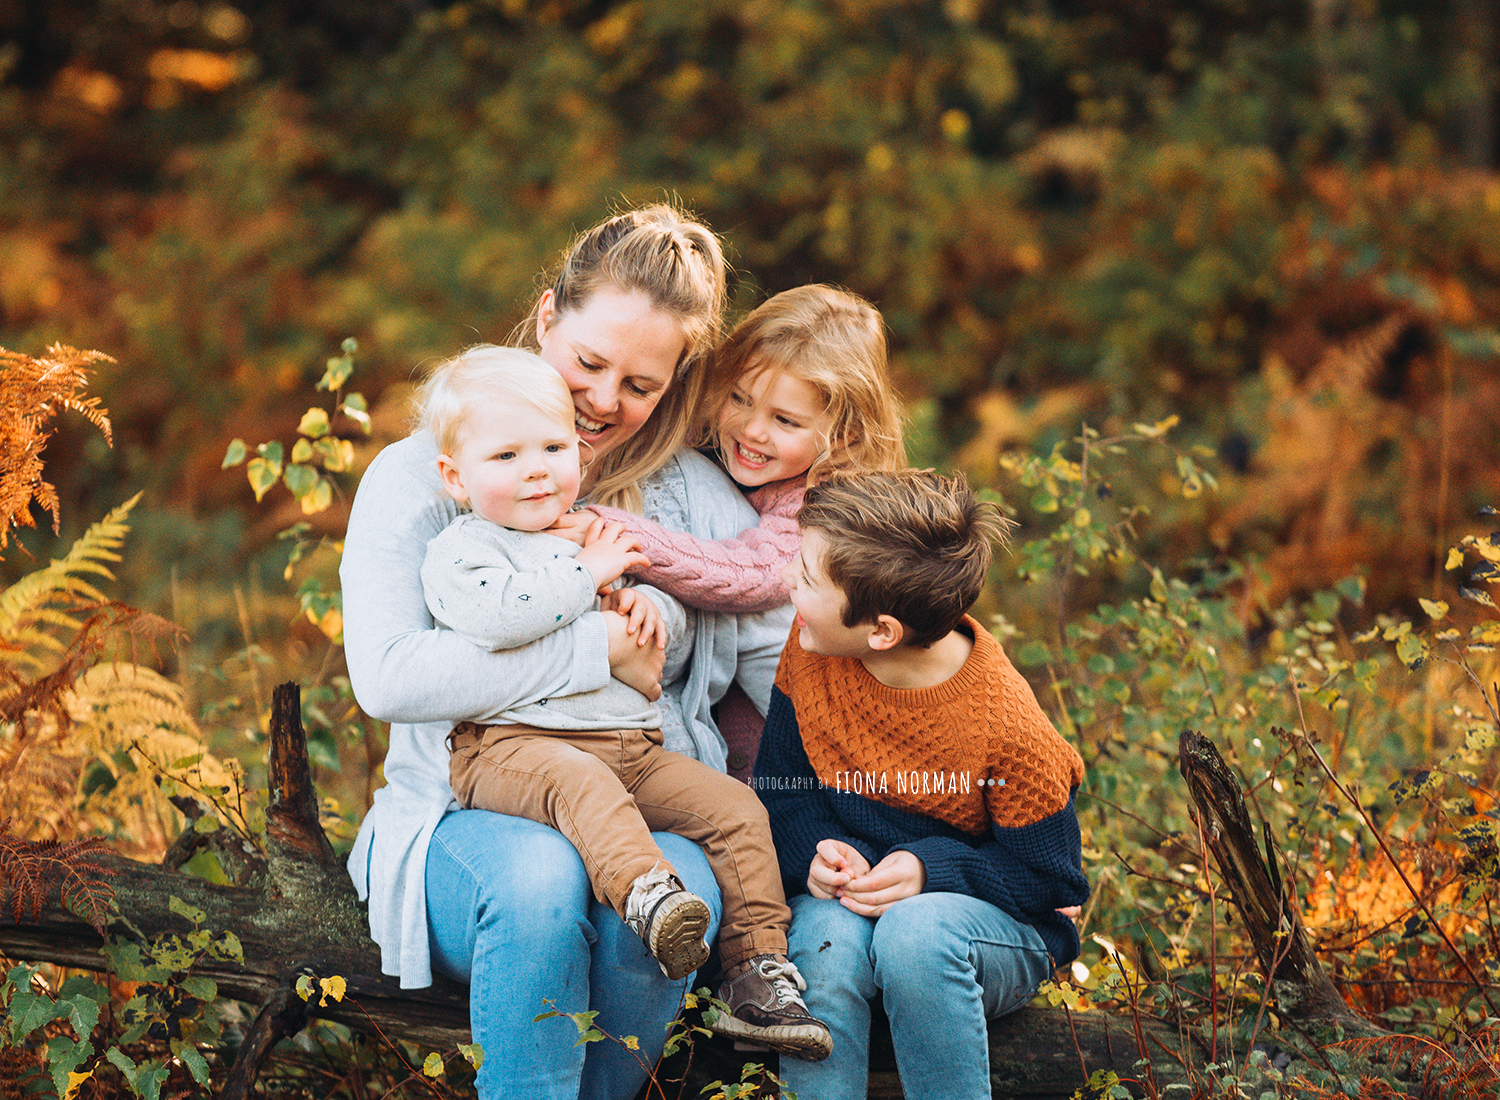
THINK ABOUT YOUR LENS CHOICE - AUTUMNAL BOKEH IS AWESOME
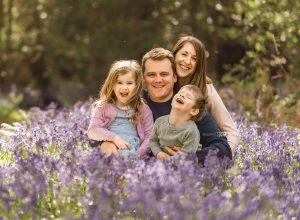
I like to use my 35mm lens for my family sessions which is a wide angle lens that picks up a lot of detail and gives a more contrasty affect to my images. I like the fact that I can be far away from my clients and also get really close up. I believe this lens allows me to capture the connection between families and focus on that and the light and not much else!
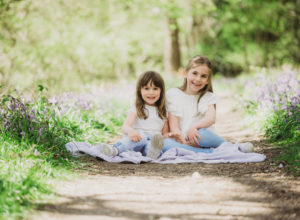
A 35mm or 50mm are also great to get shots of the kids lying in the leaves as well, you will have to stand over them.
I do use my 70-200 lens for a small portion of the session, if there is a low hanging tree, or branch that I can sit people on, to create a more classic portrait with some fabulous blur.
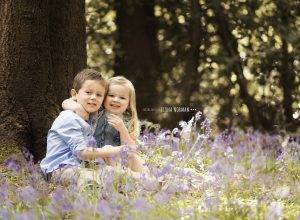
During autumn, I would definitely suggest trying different lenses to get a variety of different types of images. Play with your longer focal lengths to see where you get the best bokeh (blurry background). In autumn, the colours, mixed with the light, can create some beautiful results.
Obviously you can also do this using a 50mm or a 35mm if you are close to your subject and have them slightly forward from the tree/bush behind, as long as you choose a fairly wide aperture. The wider the aperture, the less there is in focus in the picture (because the depth of field is smaller). Both of the images below were shot at around f2.8-4. On my 70-200 the widest aperture is 4 but because I have such a long focal length (200mm) can create fantastic blur as below.
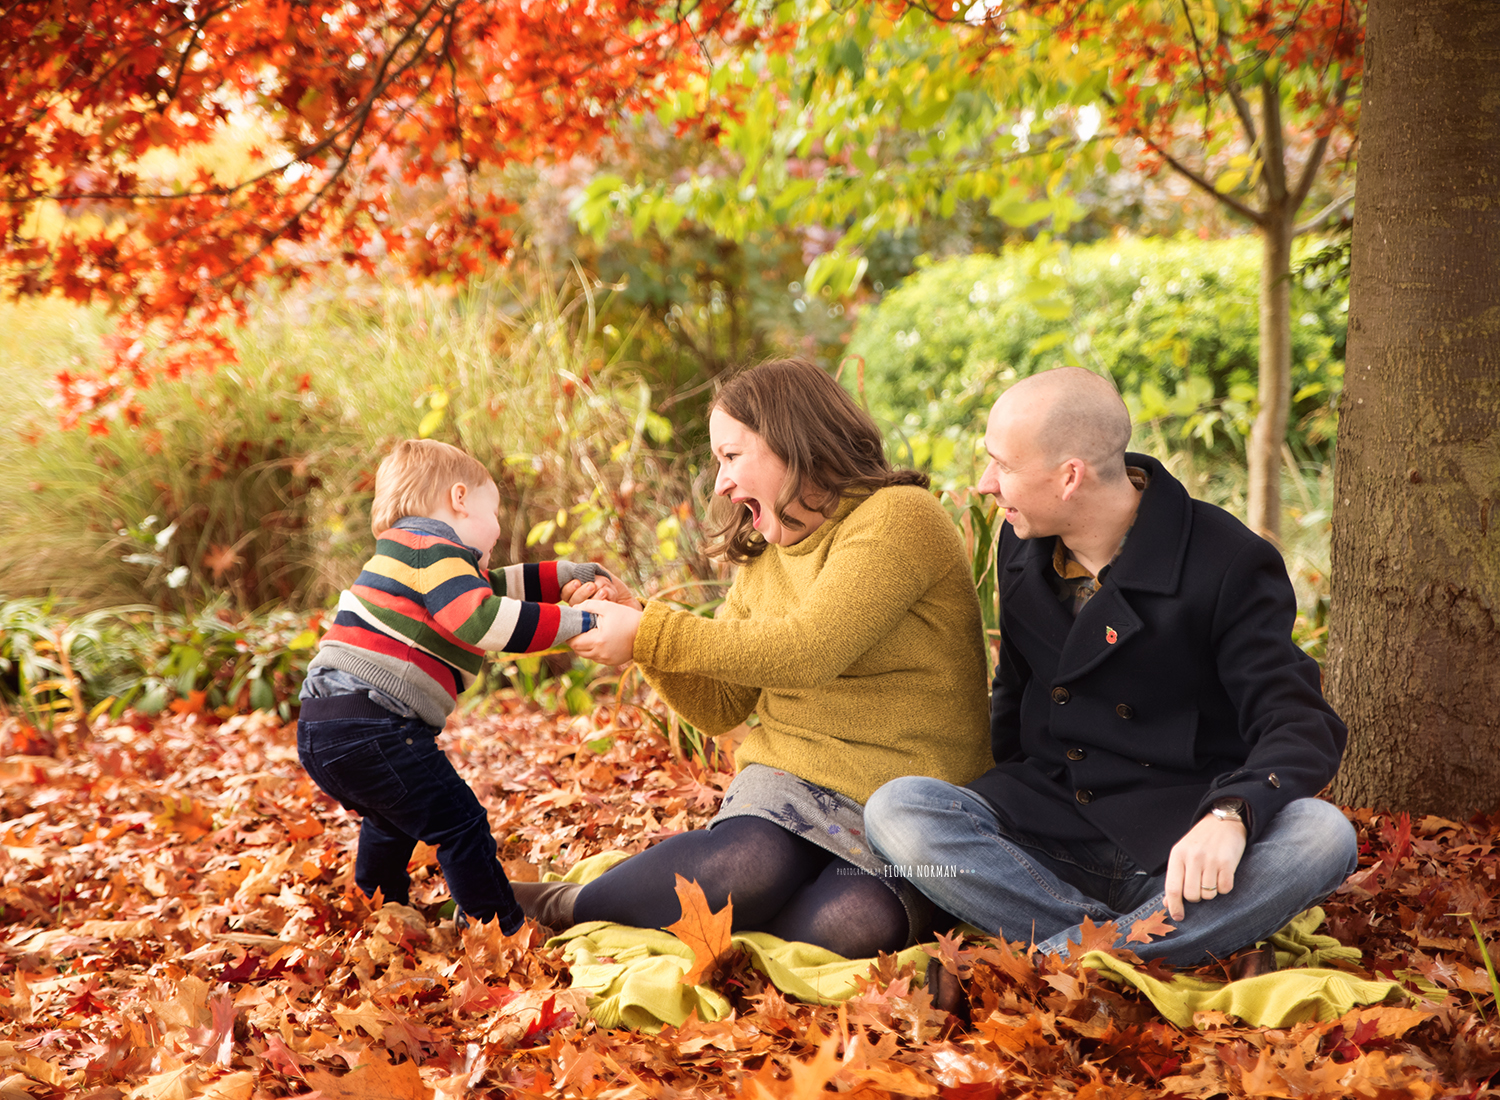
Remember, when photographing moving kids or animals, you don’t want to use a shutter speed lower than 1/250th, ideally 1/500th of a second if you can. This will ensure yo get sharp images rather than blurry, soft images.
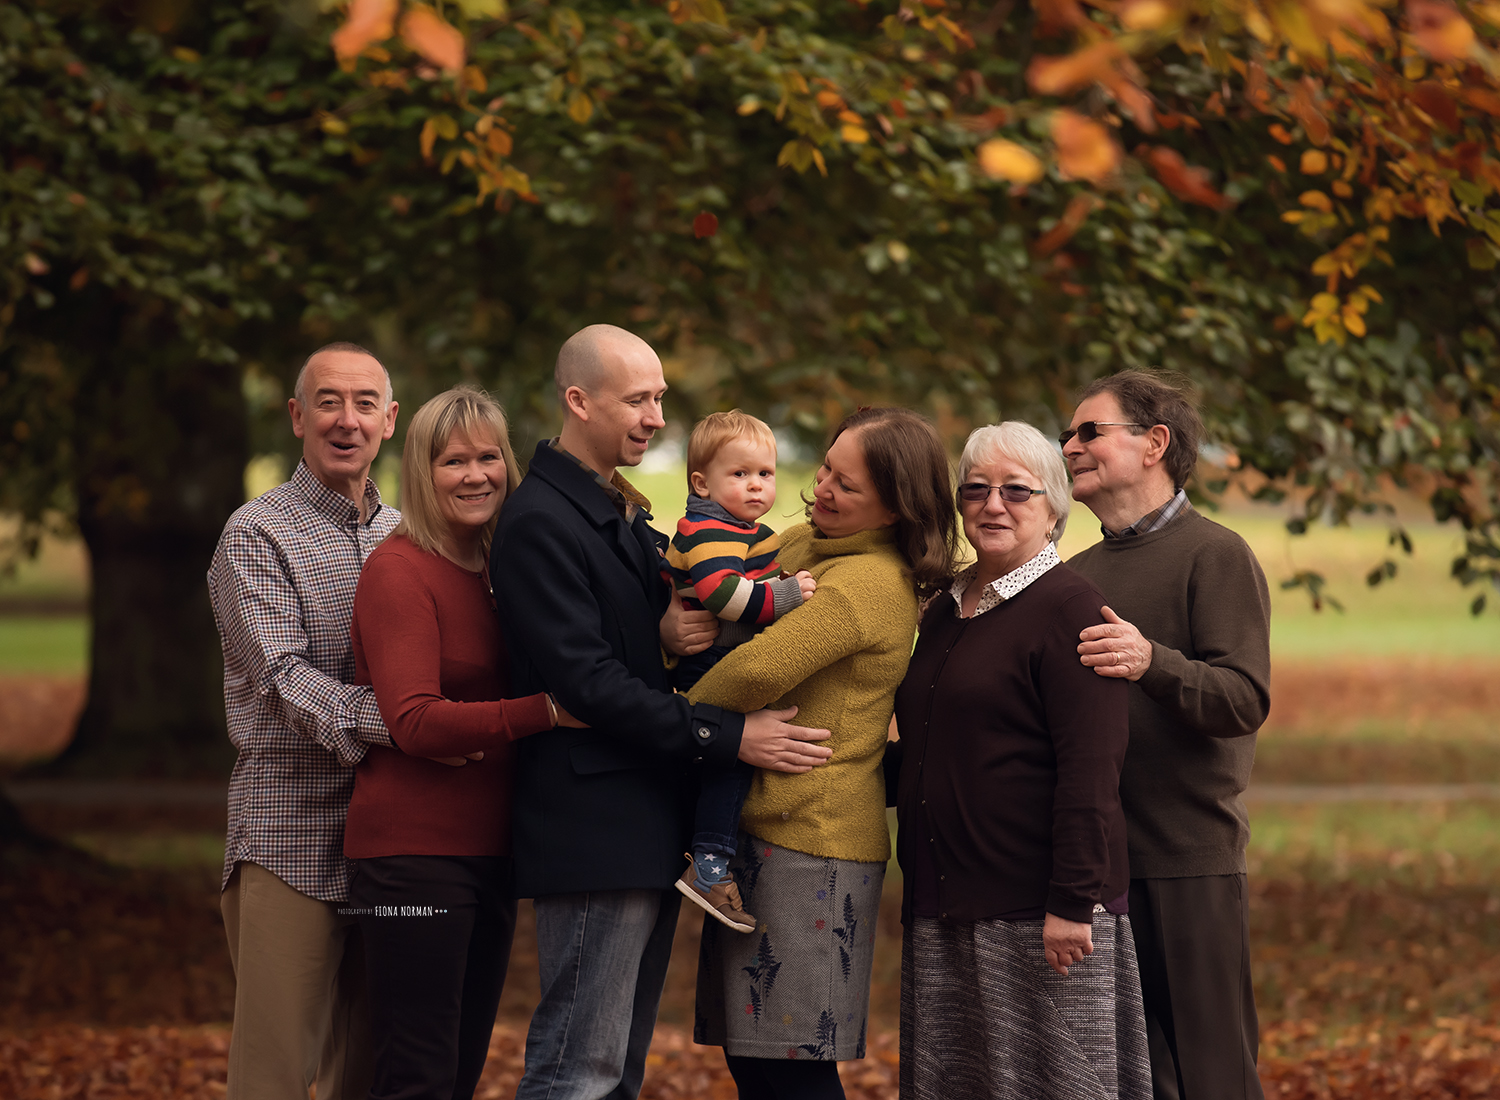
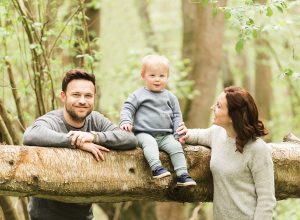
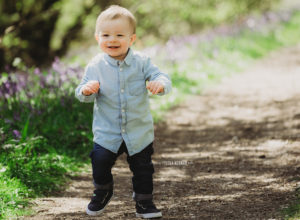
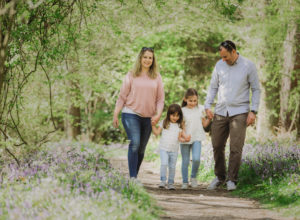
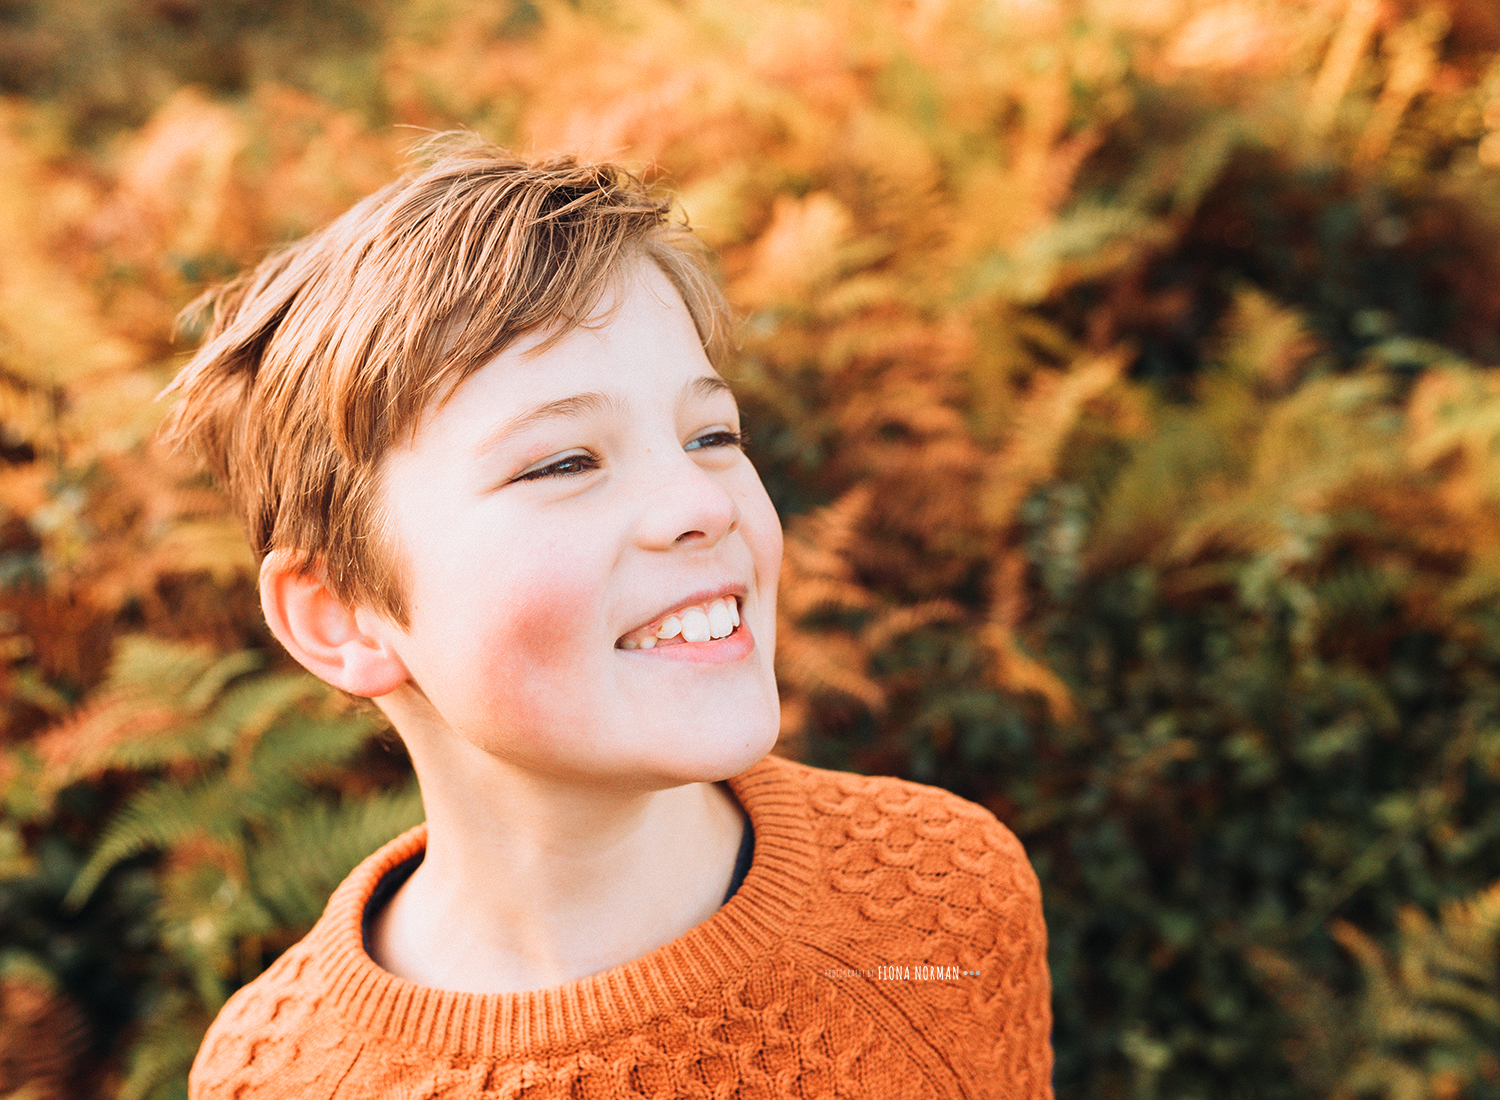
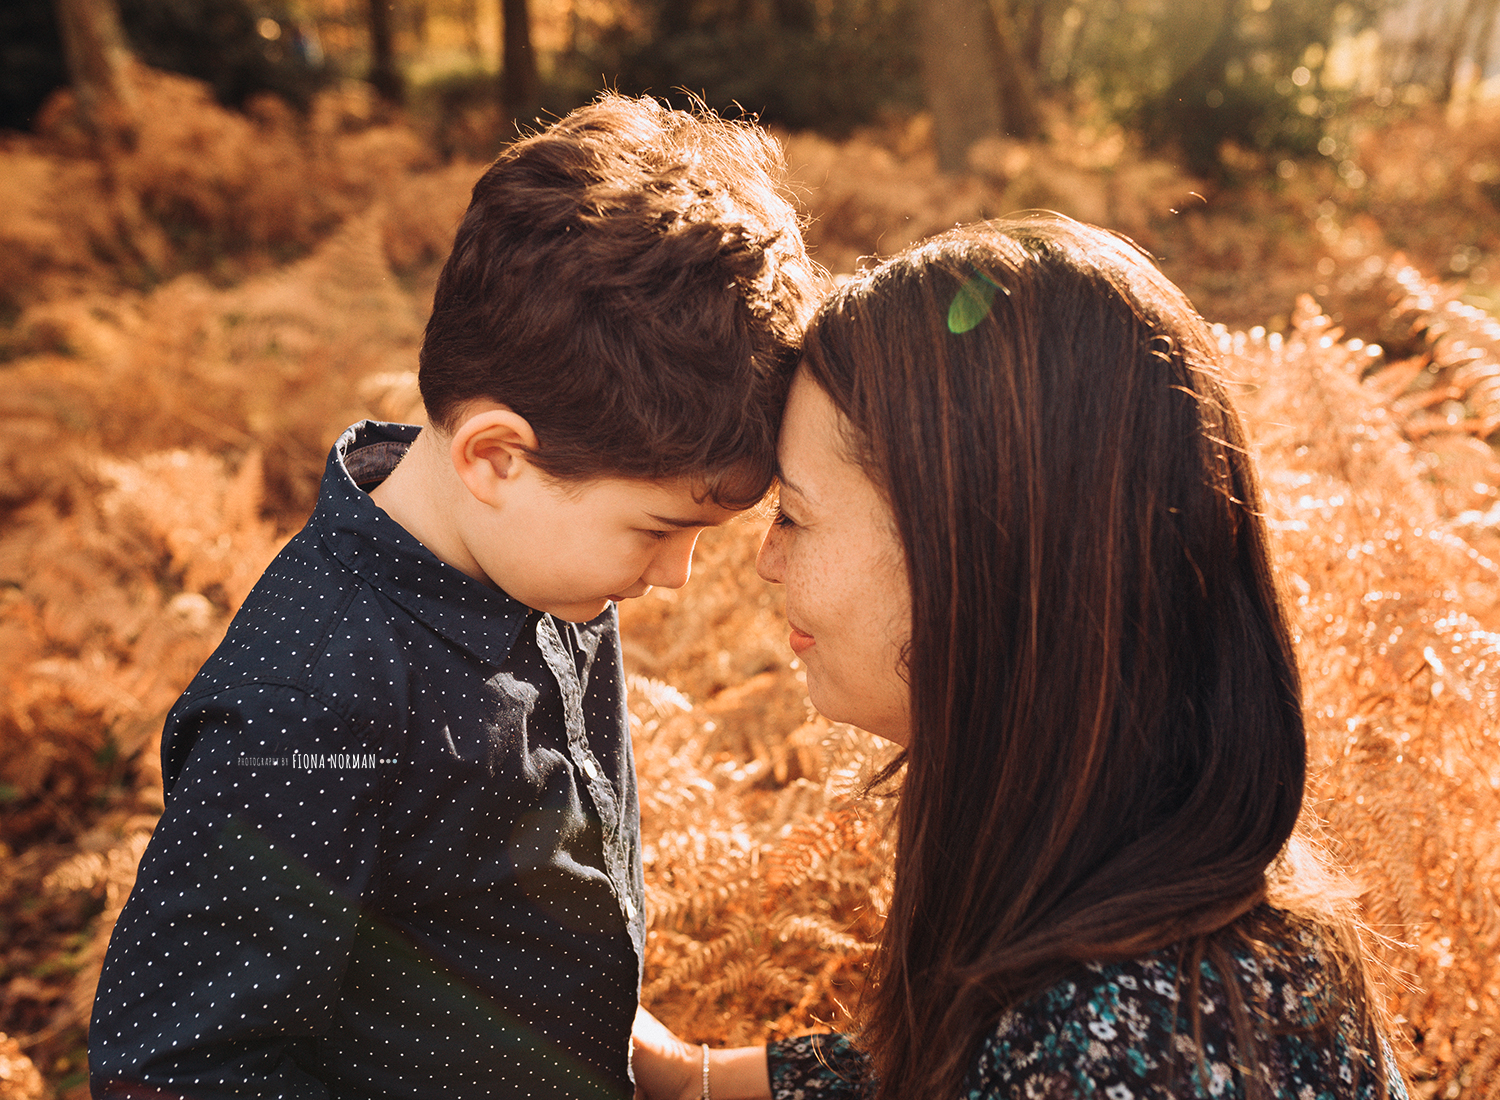
MAKE THE MOST OF THE LIGHT
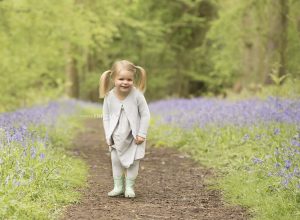
I am always banging on about golden hour and scheduling my sessions toward the end of the day when the light is lower, but I find autumn light is just that much more twinkly and special! Try to get out a couple of hours before the sun goes down which is so much easier in autumn with young children as it’s earlier. You will find that the light is softer and as long as you are not shooting directly into the light you won’t get the haze, instead you’ll see the light making the reds and yellows more saturated and golden – it’s just lovely.
Don’t be scared if there is a lot of bright sunshine, which there often is at this time of year. Make use of the low hanging trees or shaded spots and turn your subjects faces towards the open sky. Local parks are often, as mentioned, lined with tall trees, so position your subject under one (at the edge of the shade). Likewise if it’s a cloudy day, you can make the most of the natural light diffusion and pretty much photograph your subjects anywhere!


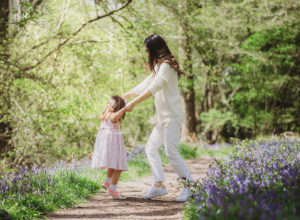
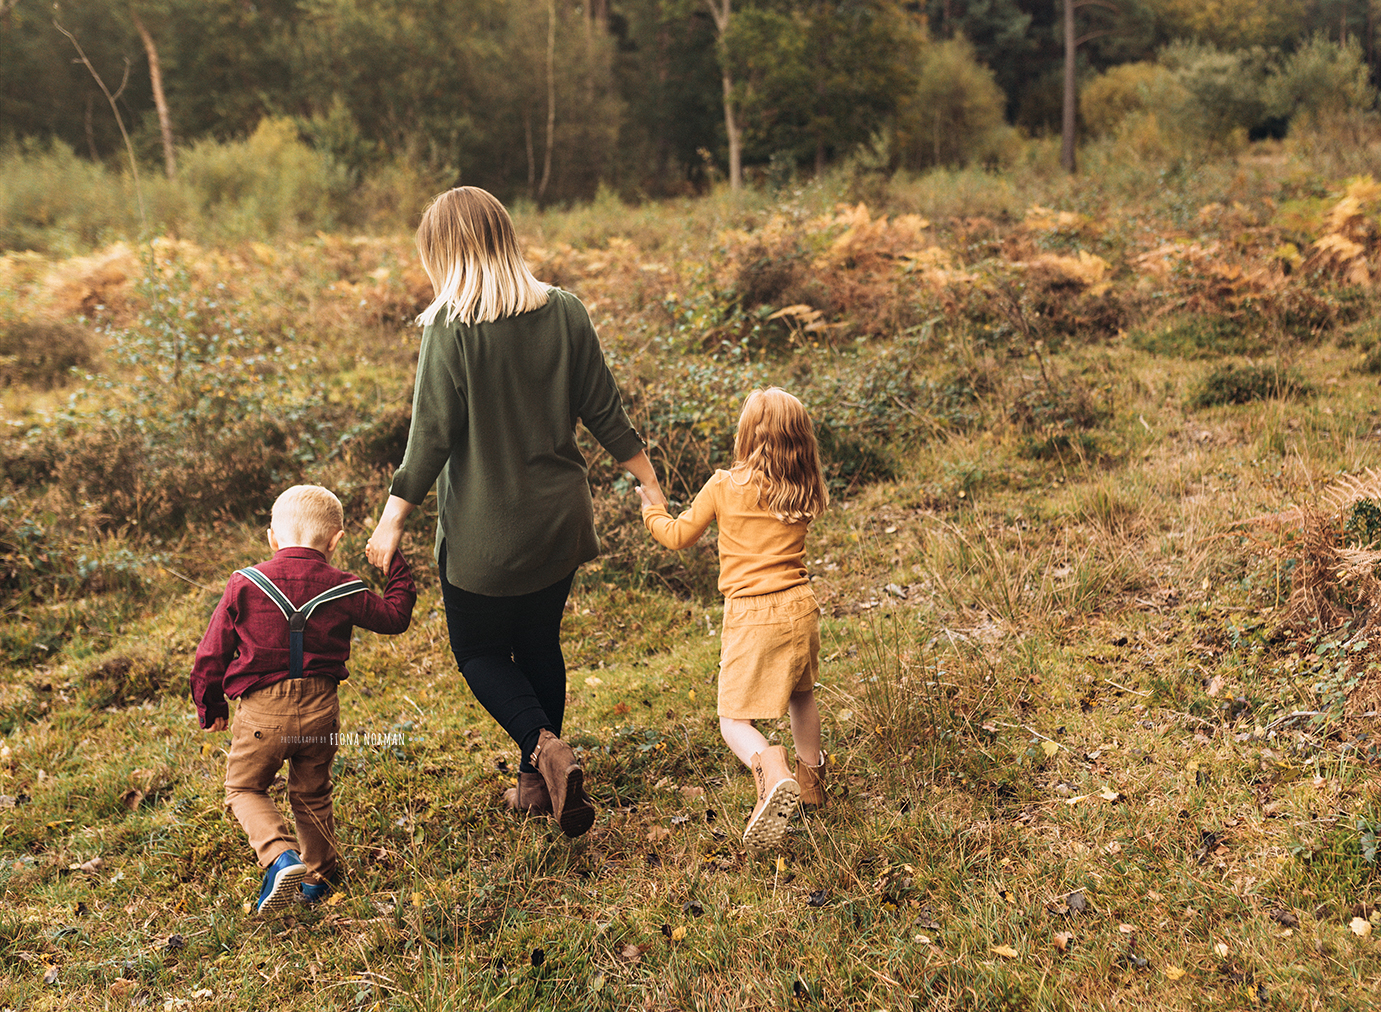
DON'T GO TOO FAR INTO THE FOREST
If you go into the woods today…
Well you won’t be in for a surprise but you will get dull, dark faces and what we call ‘colour casts’, which is where the light is reflecting the colour of your surroundings onto your face. For example if you are in the woods, you would get dark brown, yellow, green colour on your face rather than illuminating your face to show its natural colour with bright open skylight.
So always find autumnal colour within big open spaces if you can help it.
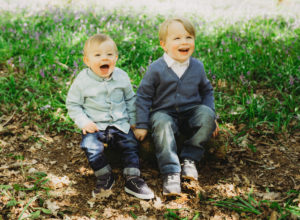
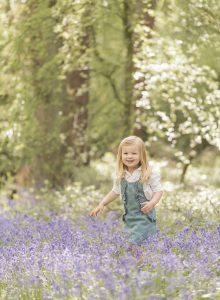
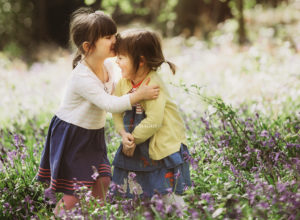
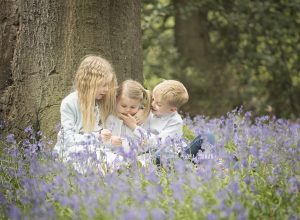
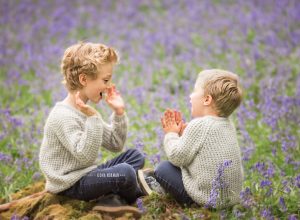
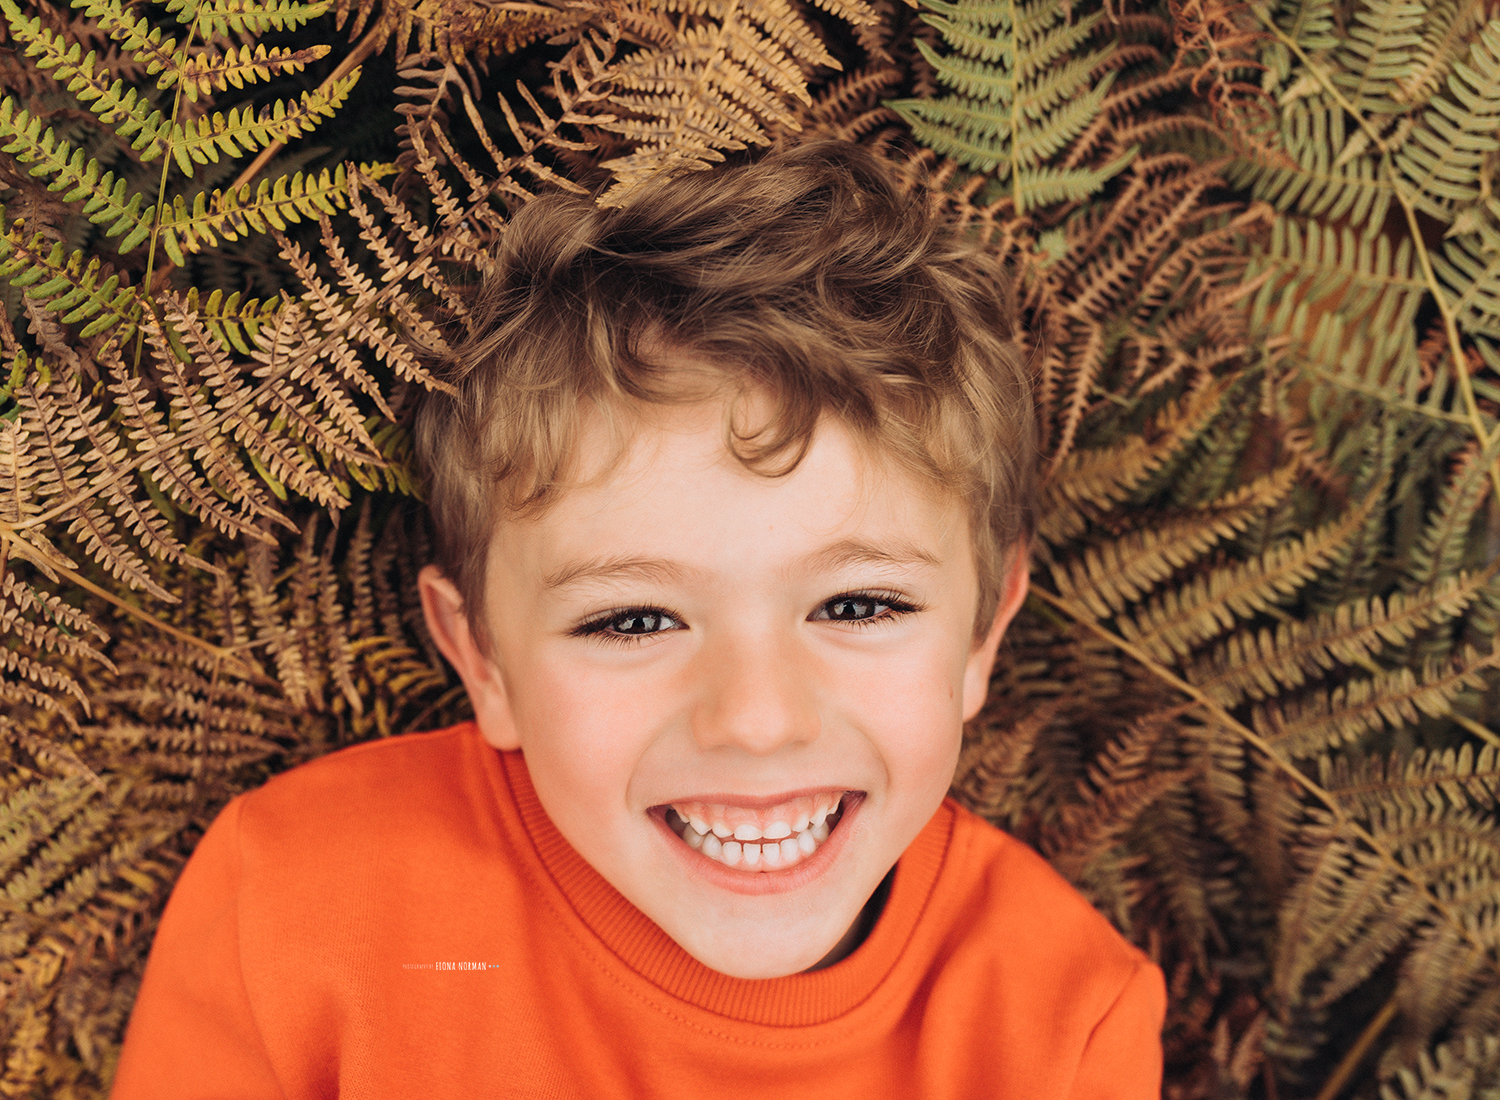
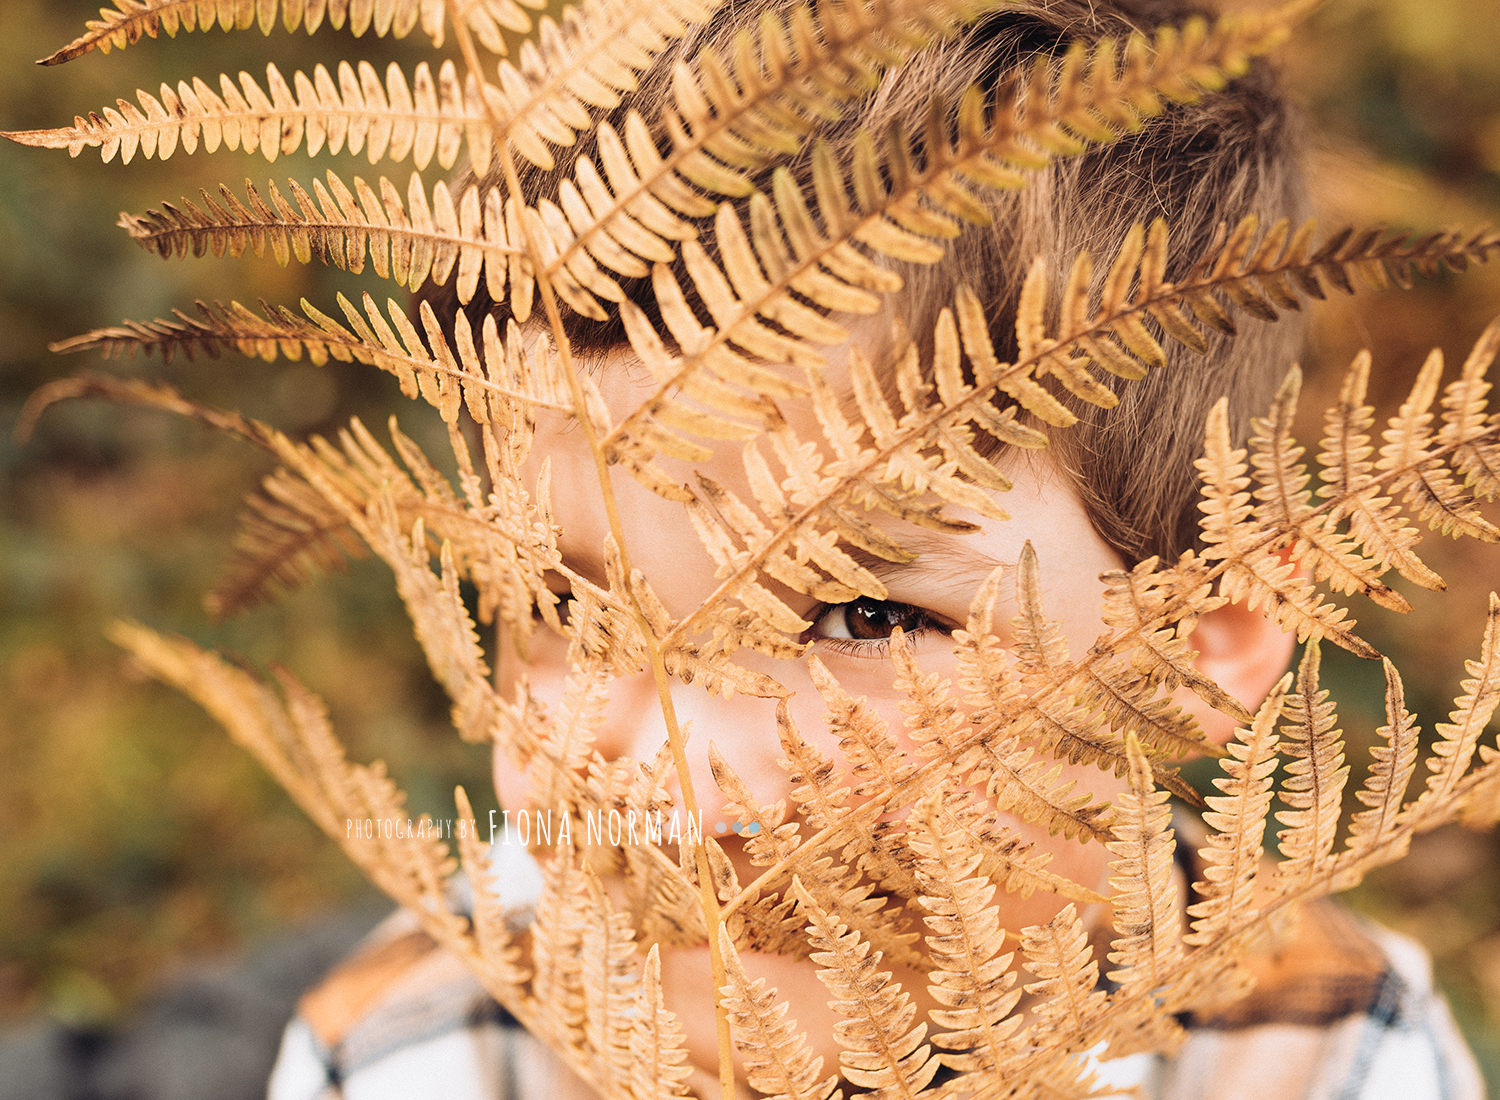
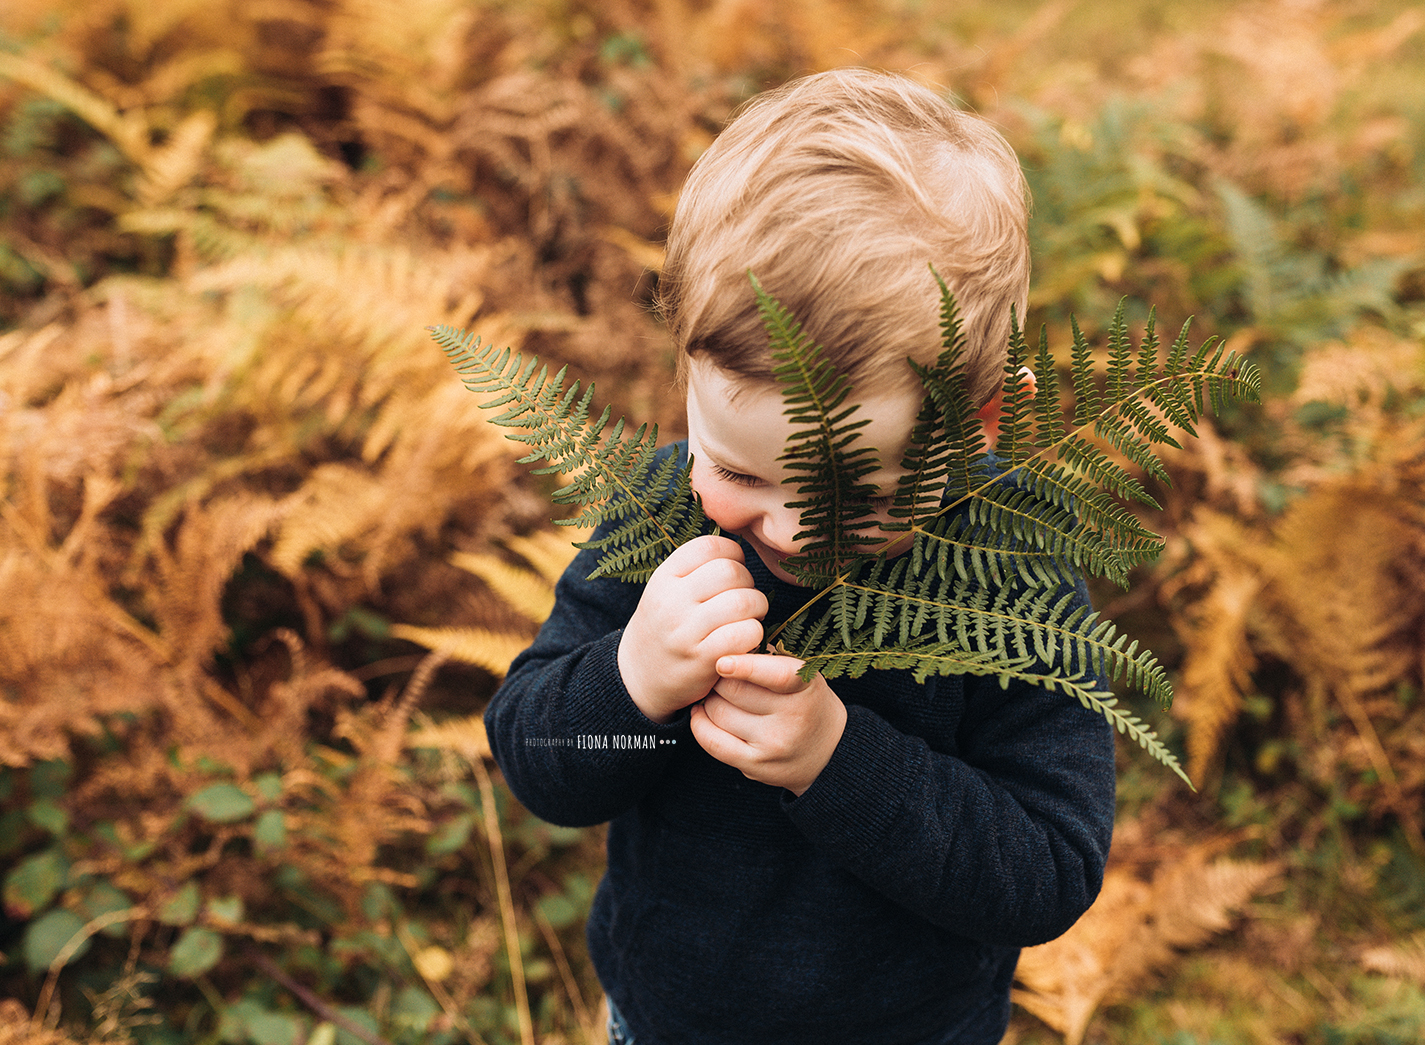
USE THE LEAVES TO CREATE INTEREST
I often to to woodland where there are ferns as they really make autumn for me. The leaves are large enough to get some playful images with children hiding so it’s great to experiment with close up shots like this.
Kids love to throw and roll around on the floor so get them playing with the leaves and see what magic you can capture!
I hope you found this helpful! If you'd like to book a professional photo shoot with me please get in contact fiona@fionanormanphotography.com or fill out the form below. I also run beginners photography courses - next one is November 16th, click here to found out more
BEGINNERS PHOTOGRAPHY - WHY WHITE BALANCE IS IMPORTANT
SETTING YOUR WHITE BALANCE
So, on my beginners photography courses, we aim to get people out of the Auto shoot setting and using one of the harder settings, either Aperture mode (AV) or Shutter Speed mode (TV/S) or Manual Mode (M).
However, before we even get to this point, we talk about the things people CAN keep on AUTO.
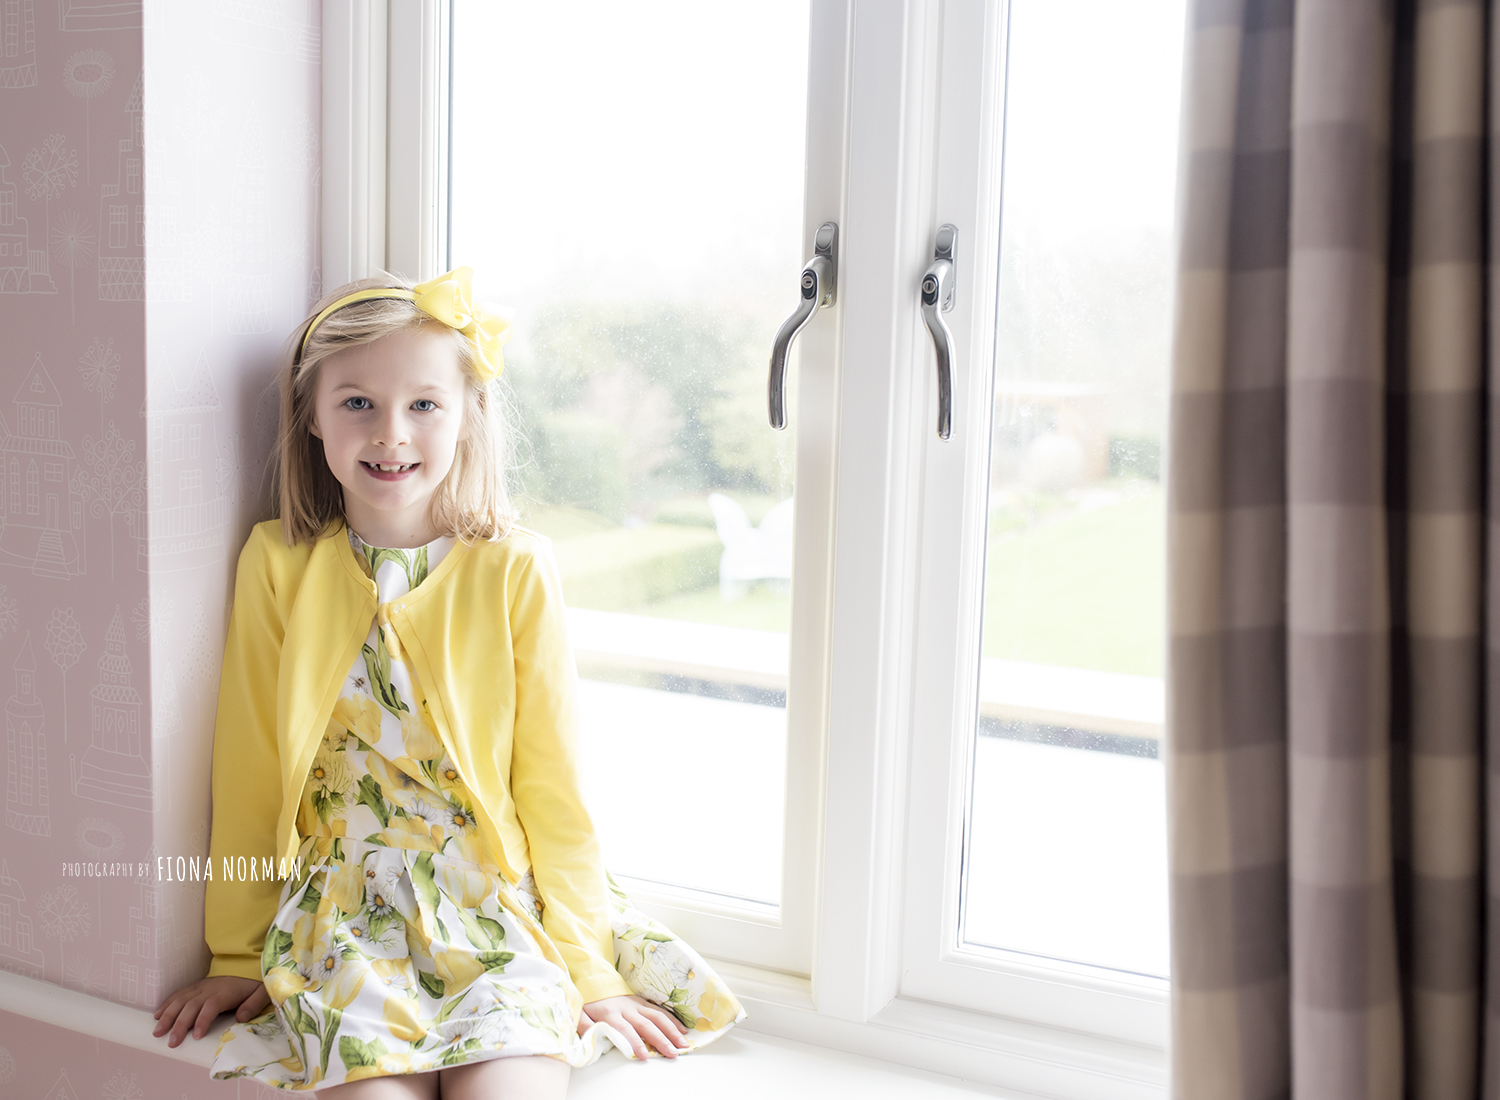
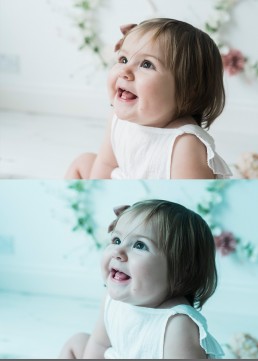
WHAT IS WHITE BALANCE?
THE IMAGE ABOVE SHOWS HOW A LOVELY WHITE IMAGE CAN BE RUINED BY THE WHITE BALANCE BEING OFF
WHY IS WHITE BALANCE IMPORTANT?

MAKES SENSE, RIGHT?
There are two spots left on my next workshop which is on the 22nd June in Windsor! BOOK HERE

Best Photographer in Berkshire!
I'm a finalist in the Muddy Stiletto awards for the Best Photographer in Berkshire!
I am absolutely over the moon to share with you that I have made the FINALS of the muddy Stiletto awards for BEST PHOTOGRAPHER IN BERKSHIRE!
Muddy stilettos is an absolutely awesome company that really value great local businesses and provide up to date info on the absolute best places to visit and best companies to use within the area. I am included amongst some amazing companies that I really value myself, pubs like the Hinds Head in Bray and the Old Bell in Hurley (love it there), places to take the kids like the Little Gym, Windsor and The Jelly Lounge, spa’s like Nirvana Spa and Clivedon (my fave place ever!) and the other photographers in the category are fabulous also!
I never really enter awards through lack of time really! but this means so much to me as I have been nominated by my clients and the votes since have got me to the finals!
Please please please, vote for me. I am not going to lie, it would mean so much! And I really want to win!! It takes two seconds and I will appreciate it more than you know!