Turning an ordinary photograph into a wow photograph

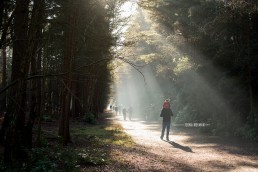
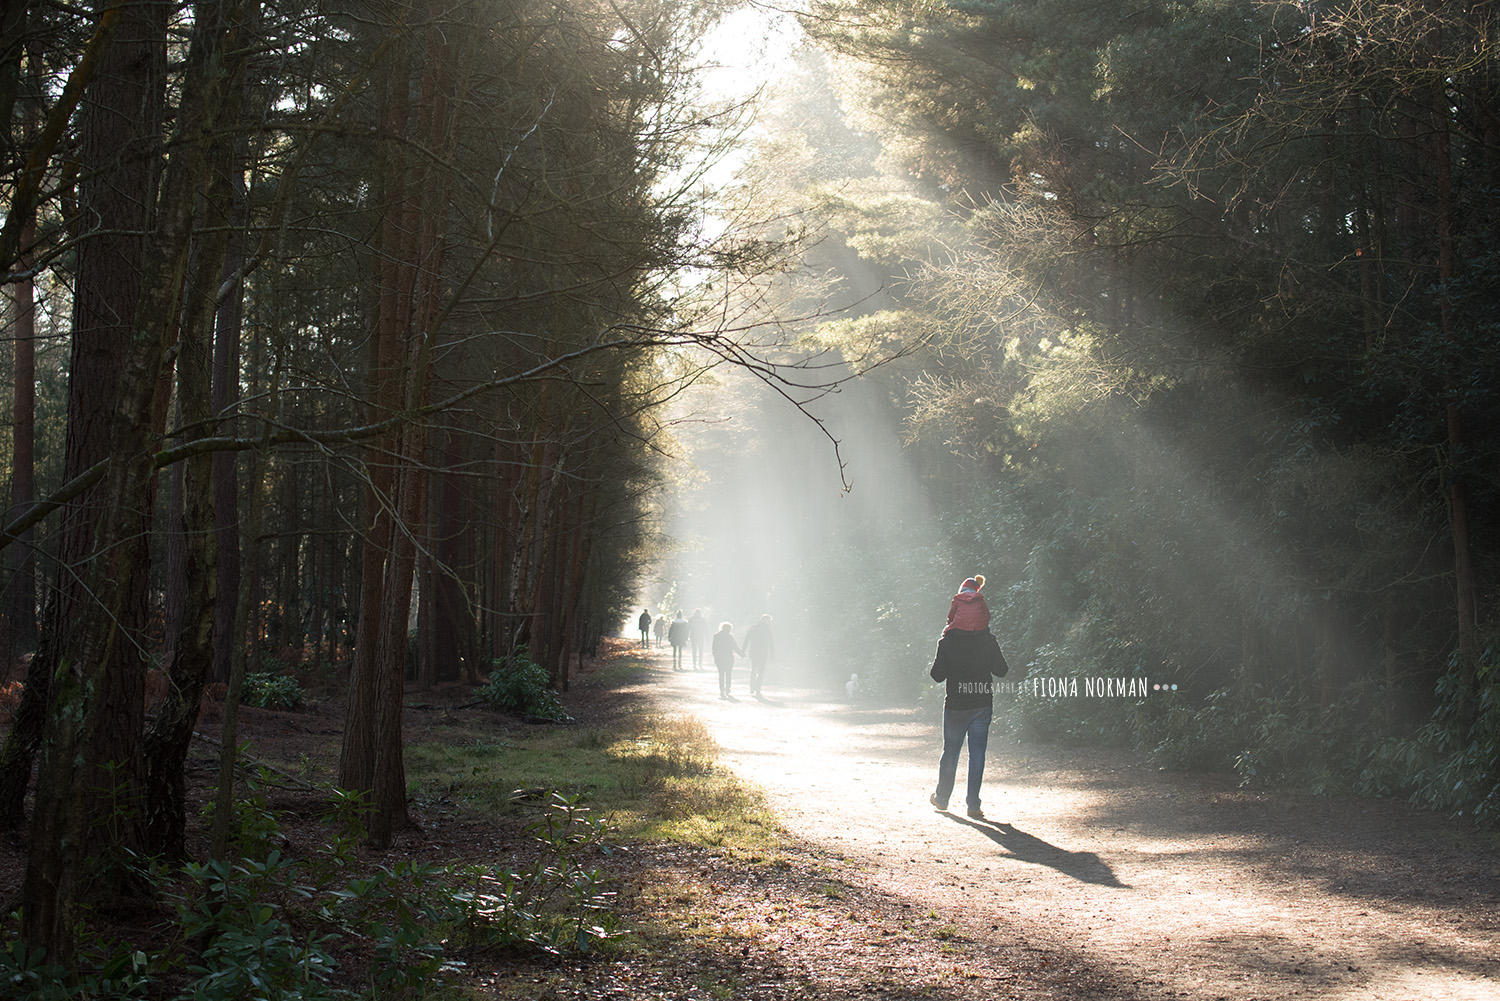
This is one of my favourite photos of my husband and my son. It is hanging on my wall on a large wooden block – as you walk into my house. I love it!
But, would you believe that it wasn’t actually that much of an amazing photo straight out of camera? I wrote a before an after blog before and people really liked to see the transformations, so I thought i’d do another!
It's a nice enough photo but it doesn't blow me away

The Editing Process
When I saw this photo, I knew I’d want to work on it to make it something special. The light, the position of them, the scale of the trees, were all really lovely.
The first thing I did was check the white balance in Camera Raw and warmed the photo up a tad. I also added contrast as I knew I wanted to really accentuate that beautiful light coming through the trees and give it a sharper feel.
I knew because of that amazing ray of light, that I wanted it to be black and white, but first of all, I had to remove all of the distracting elements. Using photo shop I cloned out the extra people, their shadows and the dogs that snuck into the frame. At this point I also thought i’d want it portrait, rather than landscape, so I cropped to see what I thought.
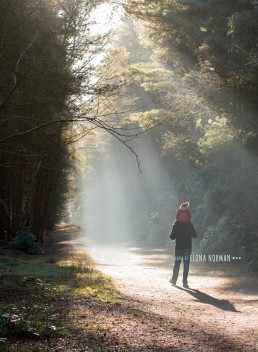
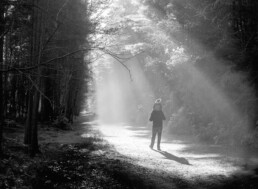
This, I liked, but for me the portrait orientation reduced the percieved scale of the forrest and how small my (6ft 4 ) husband looked in it. A quick check as a black and white edit confirmed this.
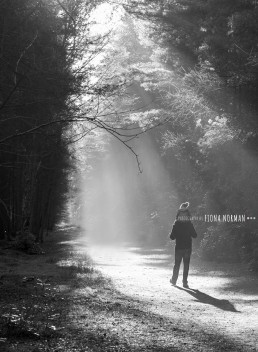
At this point, I could also see that there were lots of distracting elements to the photograph. The extra bits of light sneaking in took your focus off the subjects. As did the reflection of light on the foliage and the large lighter space on the floor. I removed these by cloning over with darker spots or reducing the tone of the light using a curves layer in photoshop.
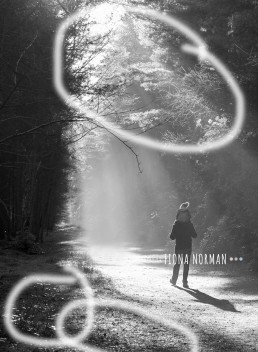
I really liked this now but It still didn’t have the wow factor to me. I decided at this point to manipulate the light slightly, to create more of a frame around them and make it much more dramatic (I also sharpened in places too)….
The circular framing of the light at the bottom right of the image really keeps your eye focused on them and is much more pleasing to the eye. A little bit more contrast and I knew i’d be happy. So I pulled down the blacks using curves in photoshop and I was done. The light elements appear brighter now and the focus is purely on the subject, with the light rays taking you to them.
Original/ original converted to B+W/ final B+W.
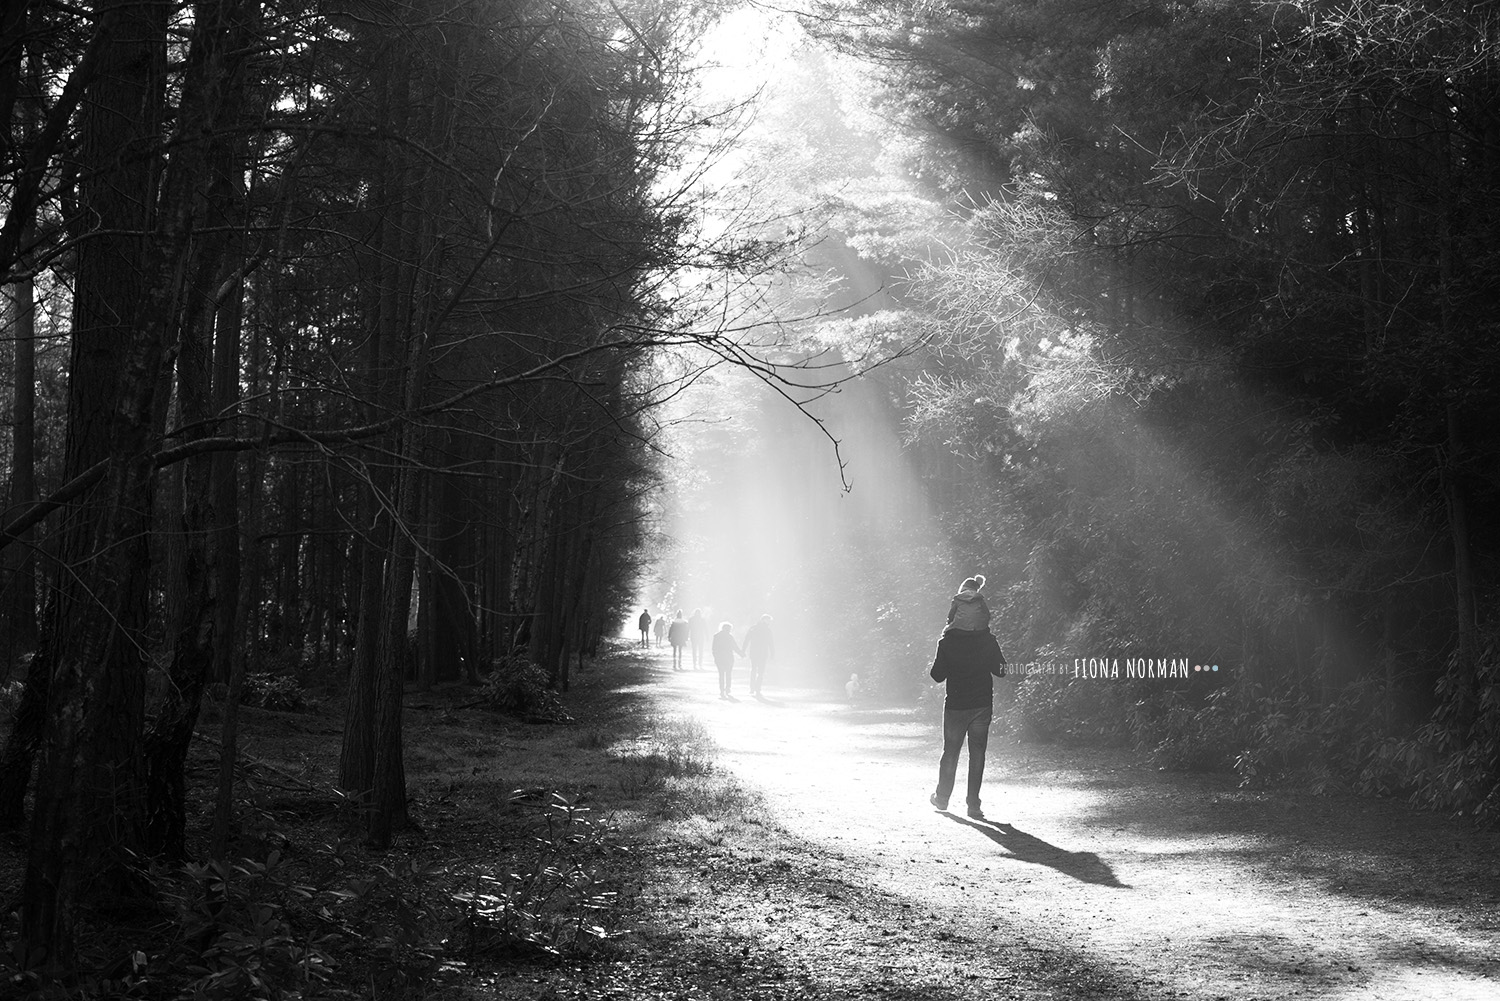

And there you are, wasn’t super hard but those small changes turned it into a beautiful image that everyone comments on when they walk in the house.
What do you think? Hopefully better!
A few more before and after’s below…
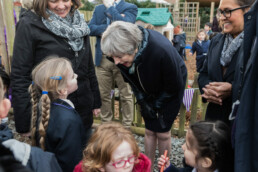
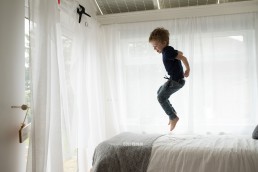
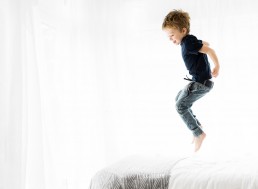
Here I Increased exposure, added contrast, fixed white balance slightly, removed distractions.
I must say, this was a little sloppy of me as I was photographing my son relatively unplanned. Usually I would have planned it better so there was more light and my settings were spot on. But it was easily rescued.
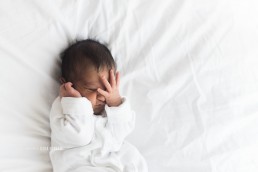
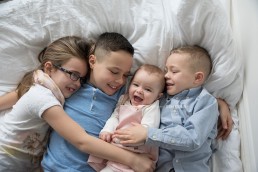
Merged two photos together to get the best expressions. Increased exposure, shadows, adjusted white balance, added contrast, brightened whites.
Getting 4 siblings (including a wriggly 8 month old) is always a challenge so it was inevitable that i’d be swapping faces!
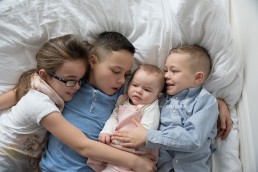

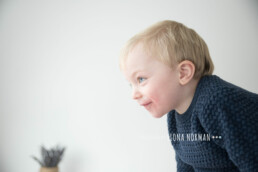
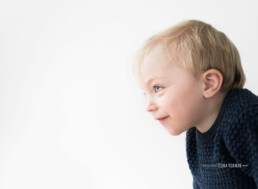
Olivers skin was a bit red here as with a lot of 1 or 2 year olds. So I had to remove the redness using a colour balance layer in photo shop, remove the dried skin around his lips, warm up his skin by increasing the yellows and reducing the magenta tones slightly, sharpened his eyes and used a colour boost action to make them pop. Followed this with a slightly better crop that made the photo more interesting.