Green colour casts, dark shaded areas with little light, or bright hotspots of light with little shade. The Bluebell season really challenges photographers when it comes to the photo shoot itself but especially the editing process!
This year, I thought it would be fun to show you what goes into making my bluebell photos really stand out and explain why it takes a while to edit them!
The first thing and most important thing in running bluebell photoshoots, is the choice of location and then the spots I use within that location. I am looking for somewhere with limited logs and branches that are a huge distraction in the background, let alone a pain for the kids to manage when running around. I also chose to use a spot with a clear path so that the kids aren’t trampling over bluebells too.
Where possible, I tried to find spaces for the subjects to sit so that they were facing outwards towards open sky so that they have some natural light on their faces (and not facing more trees that are blocking the sky) but often this isn’t possible. Bluebells typically grown in the woodland where they are fairly covered by tree branches and shaded, this causes a problem for photographers as it doesn’t provide a lot of light on faces and skin ends up looking dull and often tinted a dark green colour.
On the flip side to this, there are also many hot pockets of light that can reflect the acidic green colour from the plants and the trees onto peoples faces. On bright days the pockets of light also mean that bright spots can appear on peoples faces and blow out the highlights (overexpose the bright spots) and ruin a photograph.
On this day pictured below, the sun was constantly going in and out, so I’d find a spot I liked, adjust my settings so that the subjects faces were lit just right, then the sun would either come out and blow the highlights or it would go in and they’d be underexposed.
However, the main problem with the bluebell photo shoots, is really just the green colour casts you get.
In the photo below, you can really see what I mean by the acid green colour taking over the photo. The kids have a green colour cast all over them, especially their faces.

Yukky Green
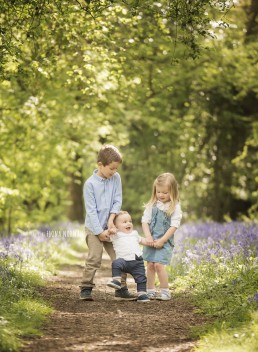
In this picture, the green is so overpowering that the kids and the bluebells are lost. So I work to increase the exposure slightly, reduce the green from their faces and clothes, especially in the shadows, reduce the green from the background and also from the grass, increase the warmth of the whole photo, add a few more bluebells and clone out the dead leaves, and create a bit more light around them whilst darkening the tree somewhat (to help them stand out).
Did you also notice that I removed those distracting leaves from behind them?
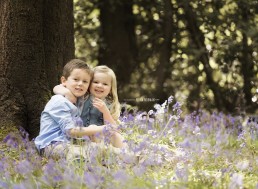
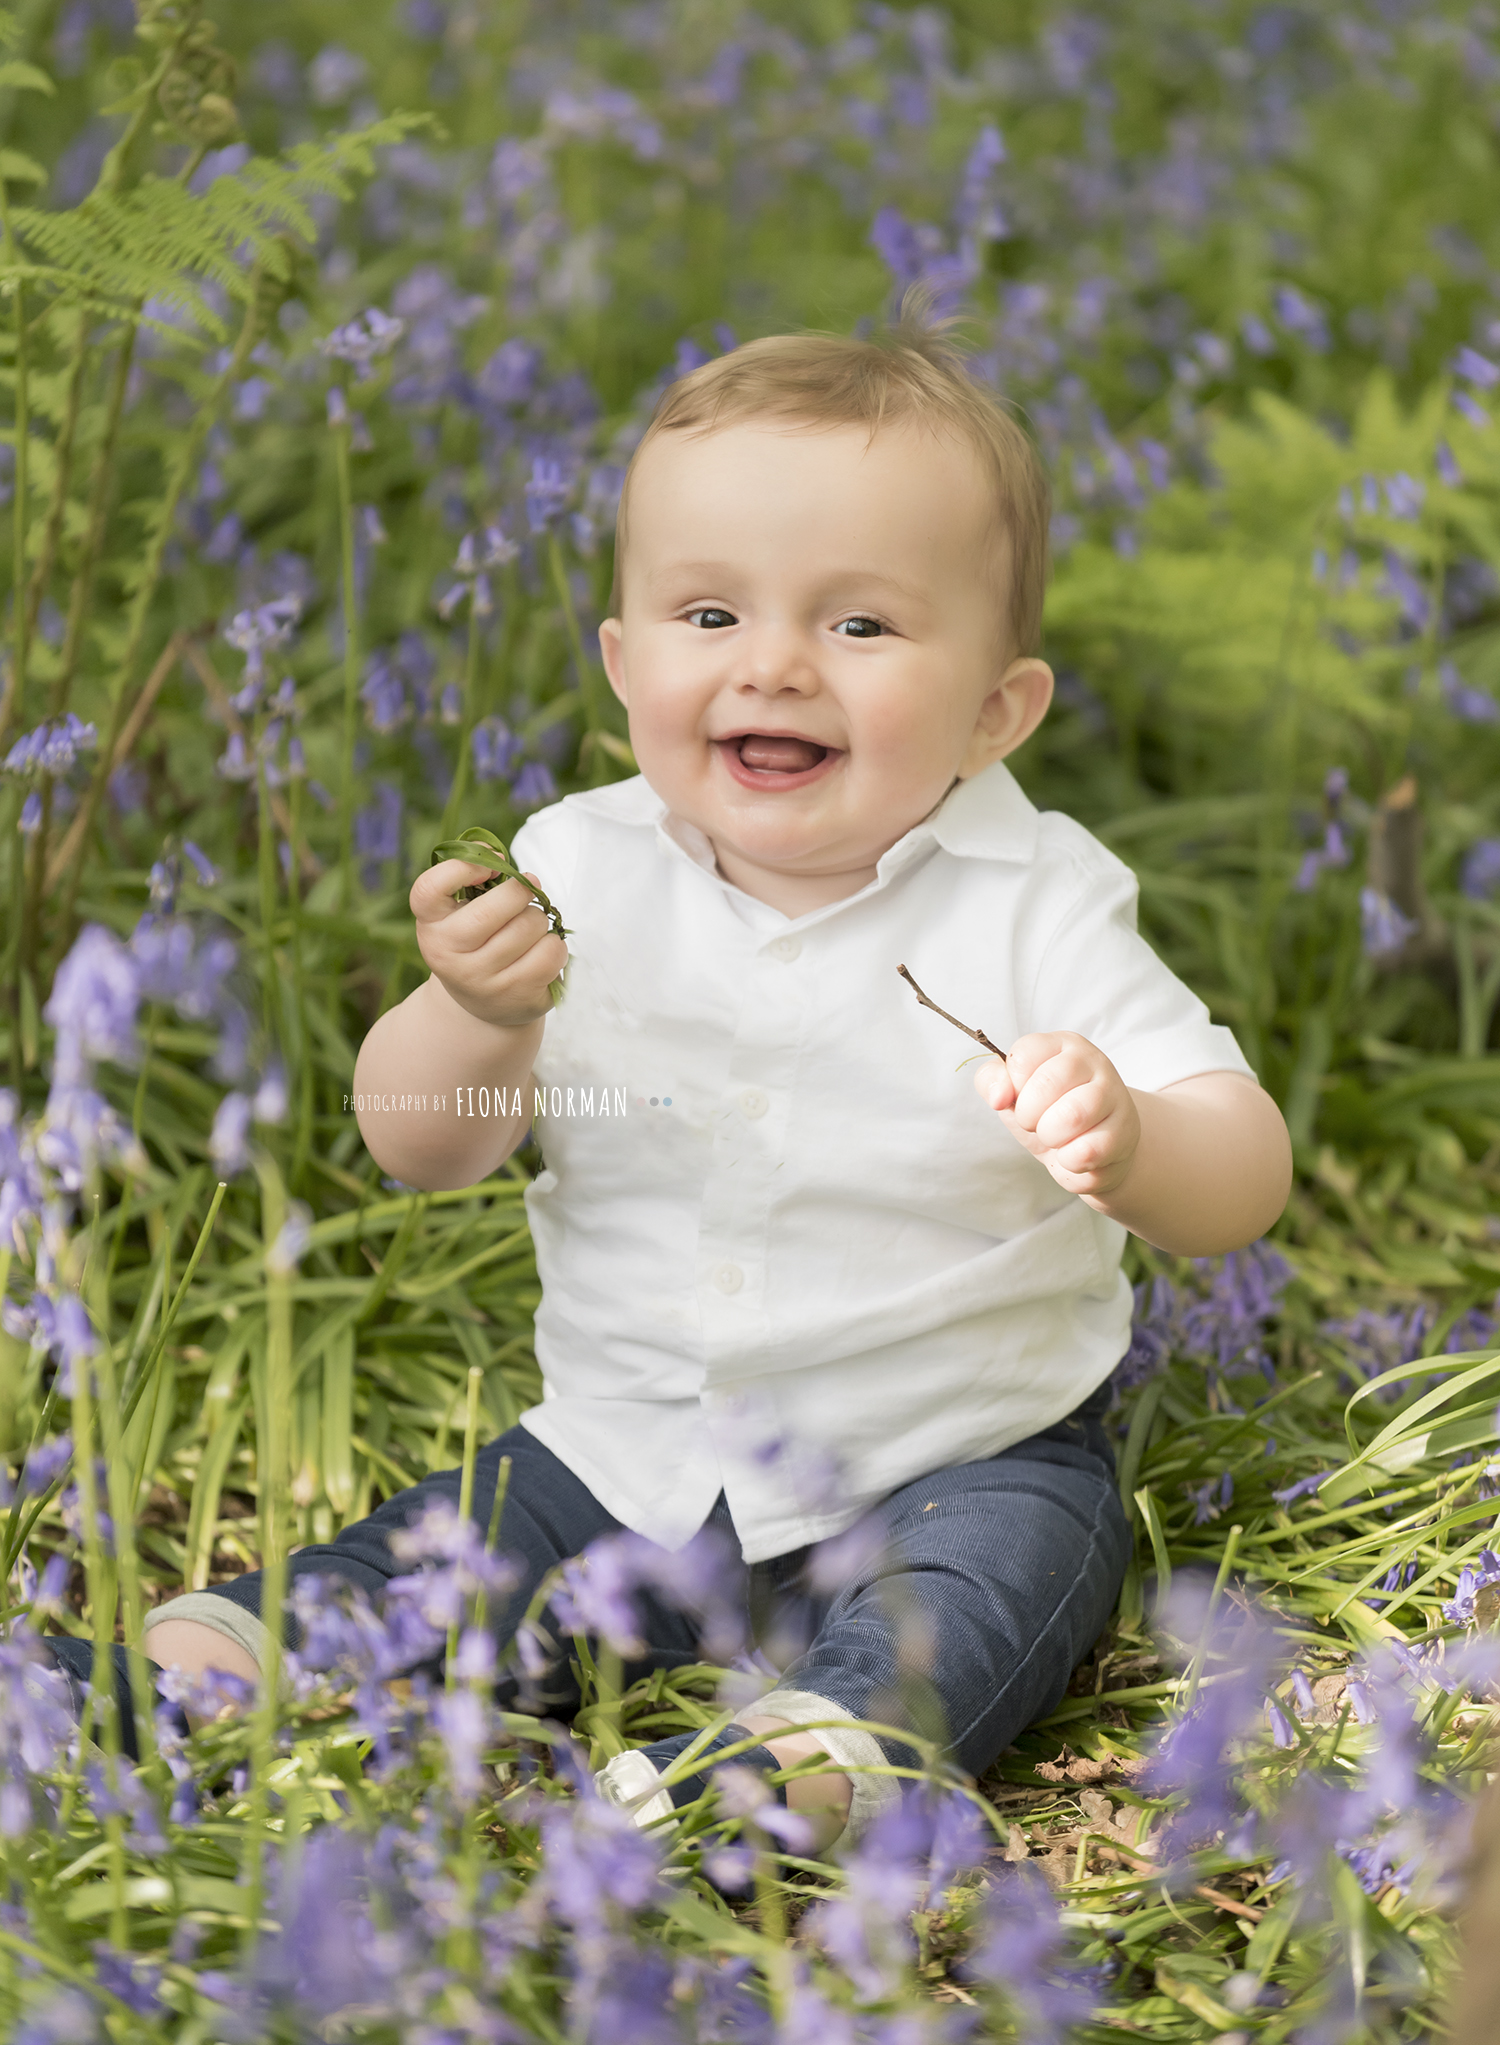
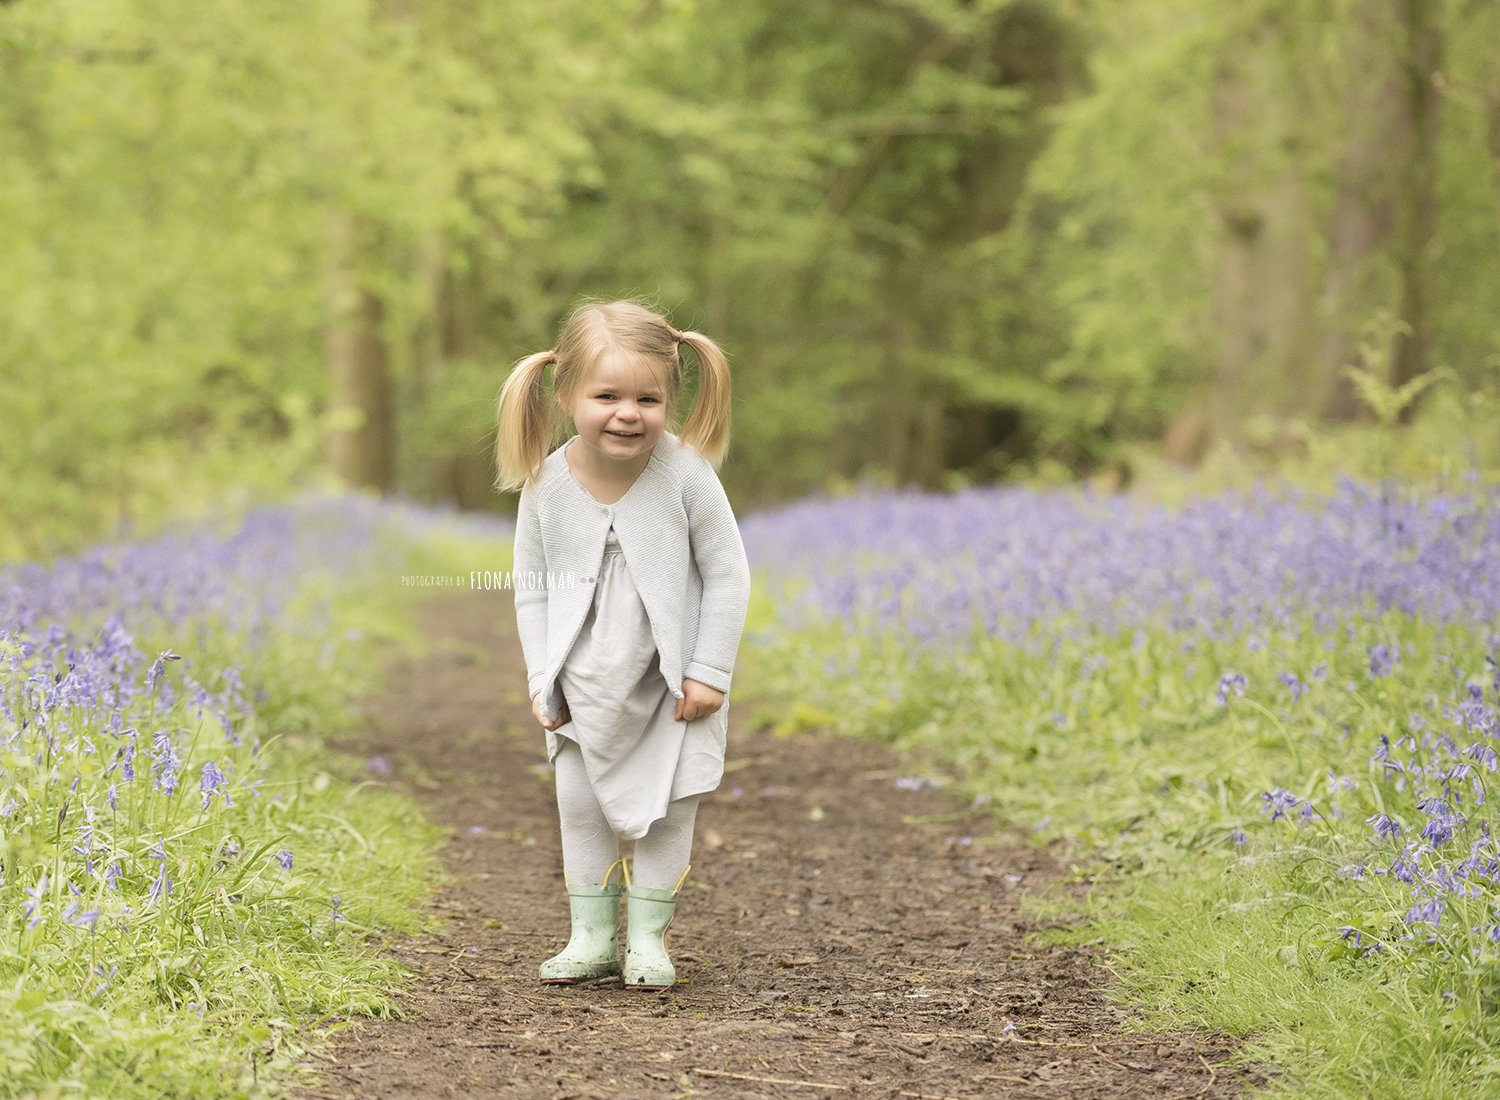
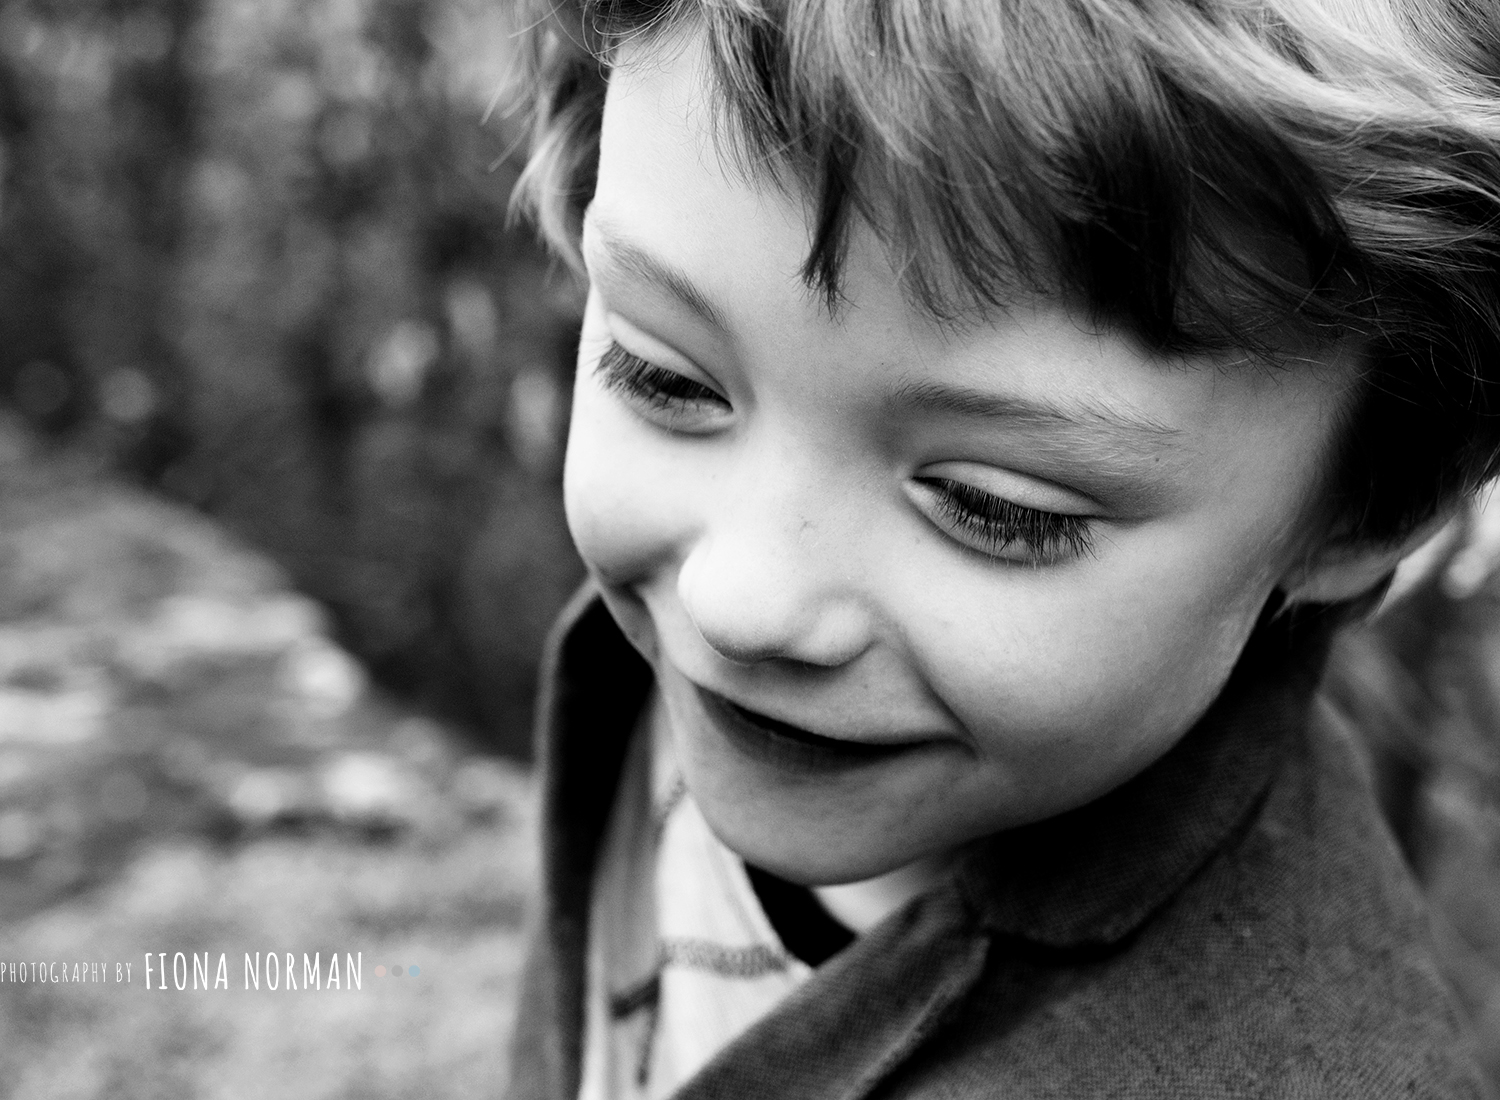
Another example below. I love this next image, so sweet. it took us a while to get the little one standing too, so I wanted to get it right!
It doesn’t need a huge amount doing to it but just a few steps to really make it pop a bit more.
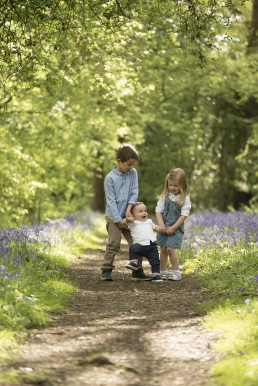
The first image you will see is slightly under exposed, this is because it was a bright day and there were pockets of light coming through the trees that I couldn’t control with them moving so much. As discussed above, had this hit their faces, It would have blow the highlights which means a loss of detail. So as I know my camera well and also shoot in manual and raw, I could allow for a small bit of underexposure as I can fix it in photoshop without doing damage to the quality.
Editing
Here’s what I did, in a bit more detail (for anyone that is familiar with photoshop). I increased the exposure, as mentioned, as well as lifted the shadows and reduced the highlights which in turn reduced the contrast. I like my bluebell photos to be softer than my usual edits. I played with curves layers in Photo shop to make the kids stand out, I did this by brightening them up and darkening the background slightly to create some subject / background contrast.
I warmed up their skin, ( I added more yellow and reduced the magenta and blue tones) and I also reduced the green that was being slightly reflected onto their skin. I reduced the yellow saturation from the acidic green plantation and increased the vibrancy of the blue in their clothing somewhat to make it stand out a bit more.
I thought at this point they needed a bit more framing, so I brightened them up a tad more and created a slight vignette.
Lastly, I brightened up the older boys face a tad and then added a soft layer of lilac to give it more of a dreamy look. I then noticed the log at the front so I remove that!
The key to avoiding these types of problems, is really to step your subjects out of the shaded green areas, so that they are facing natural, open light, rather than being enclosed and the light bouncing off green leaves and blue flowers and then reflecting on to their hair and skin.
It’s so tough when you’re in the zone though! Sometimes you just got to get the image and worry about it later!
If you’re photographing kids in woodland or a similar environment, here are a few top tips on how to have them stand:
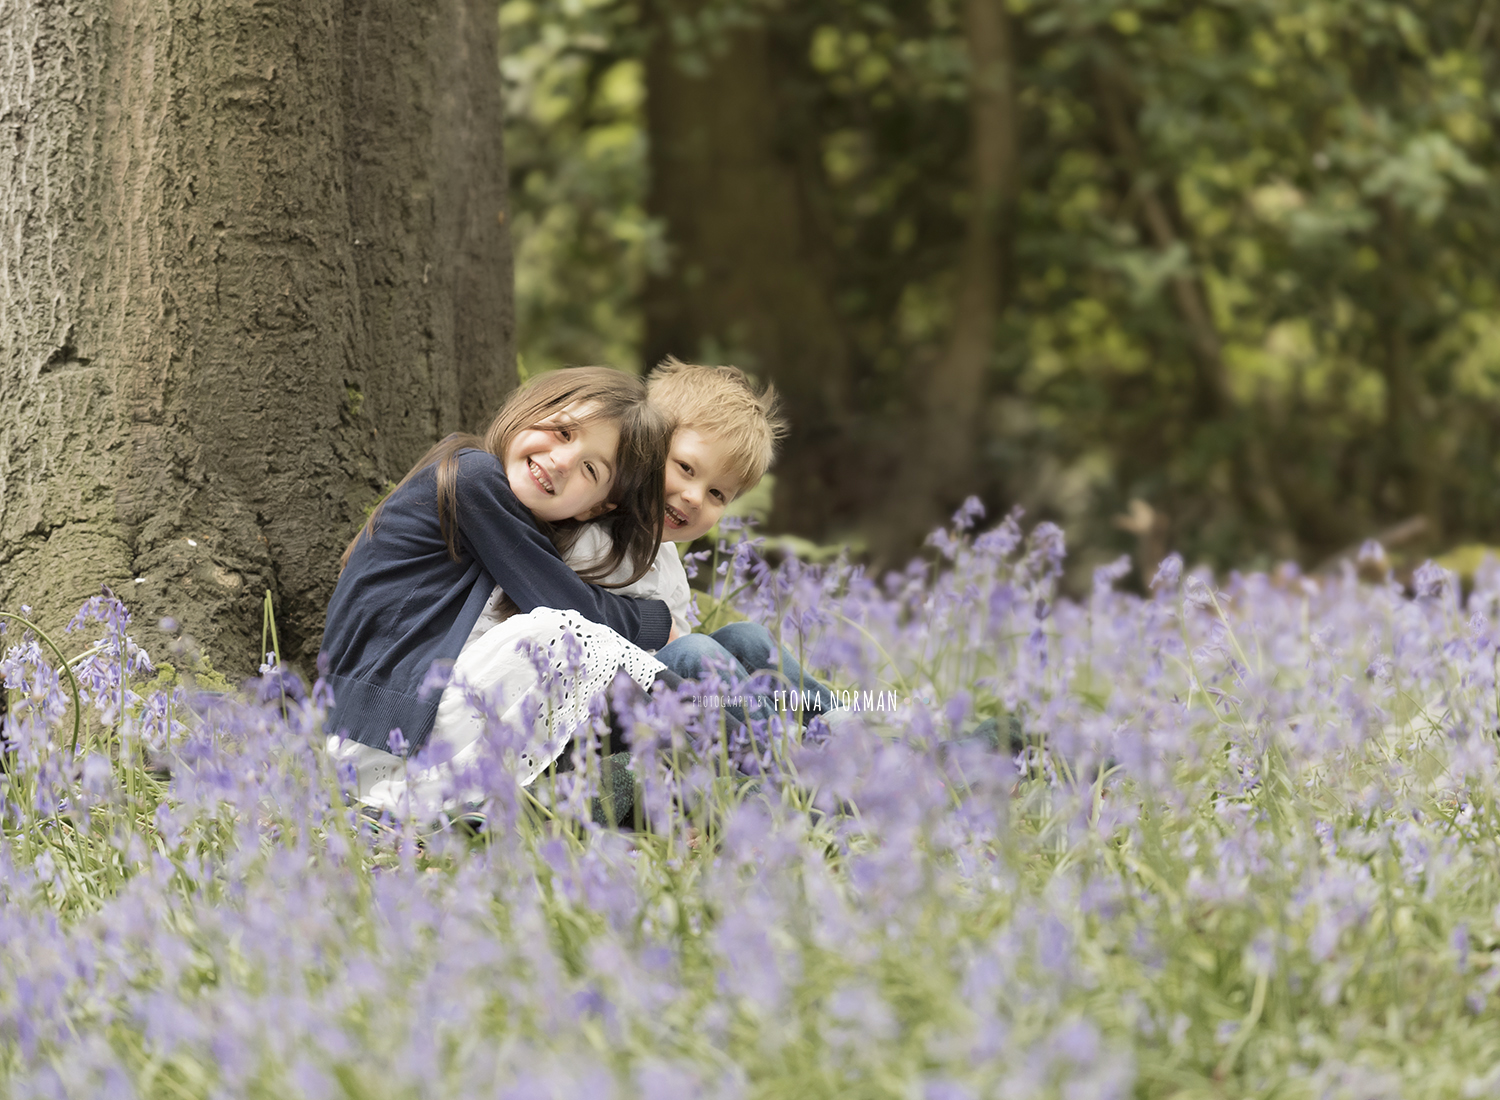
Get down low– this creates the illusion that they are surrounded by flowers or grass when they may not be. In the example of the kids sitting down above there was just a small patch of bluebells infront of them and they weren’t actually that tall, but getting down low made them look more surrounded than they were. It also helps to hide things like paths if you get down low enough when there are flowers in-between you and the subject. Getting down low also gives the feeling that you are in the childs world, not an adult looking down upon it, which I personally like.
Face the children/ subject towards open sky – this is going to illuminate their skin much more than if they were facing large trees or surrounded by woodland. It also helps to prevent colour casts which give your photograph and undesirable feel.
Don’t position them facing the sun in daylight – this will create harsh shadows (especially in midday sunshine) and it will also cause squinting and unflattering faces. Instead, position the subject either with the sunshine behind them (you can tell when this looks really nice as the back of the hairline lights up and create a slight golden halo) or at 45 degrees. Just don’t have it behind you unless they are in a shaded area or until it’s much later in the day and therefore lower, softer and more flattering. If you are shooting very late in the afternoon it will be darker so you will need them facing the light at times to get their faces bright enough.
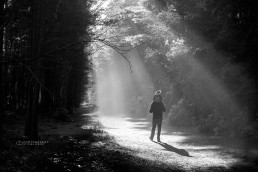
Look out for hotspots – Have you ever taken a really nice photo only to have a part of their face really bright that you can’t see much detail? When taking a pictures outside, try to get them to move around so that there is no isolated light shining on their face and move them so that they are more evenly lit (all in the shade or all out of the shade). One bright spot distracts your eyes from looking at the subject and draws them to that light part of the photo.
An example of what I mean below:
Don’t ask them to say ‘Cheese’- this applies to all photo shoots really! It’s such a common thing for parents to do but you just get staged/false smiles with no real connection. Instead, get them to tell you a joke, tell you something that makes them laugh, tell them a joke or a story about yourself, ask them to look at the flowers or guess what they smell like. Anything other than look at me and say cheese – trust me!
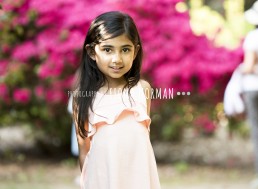
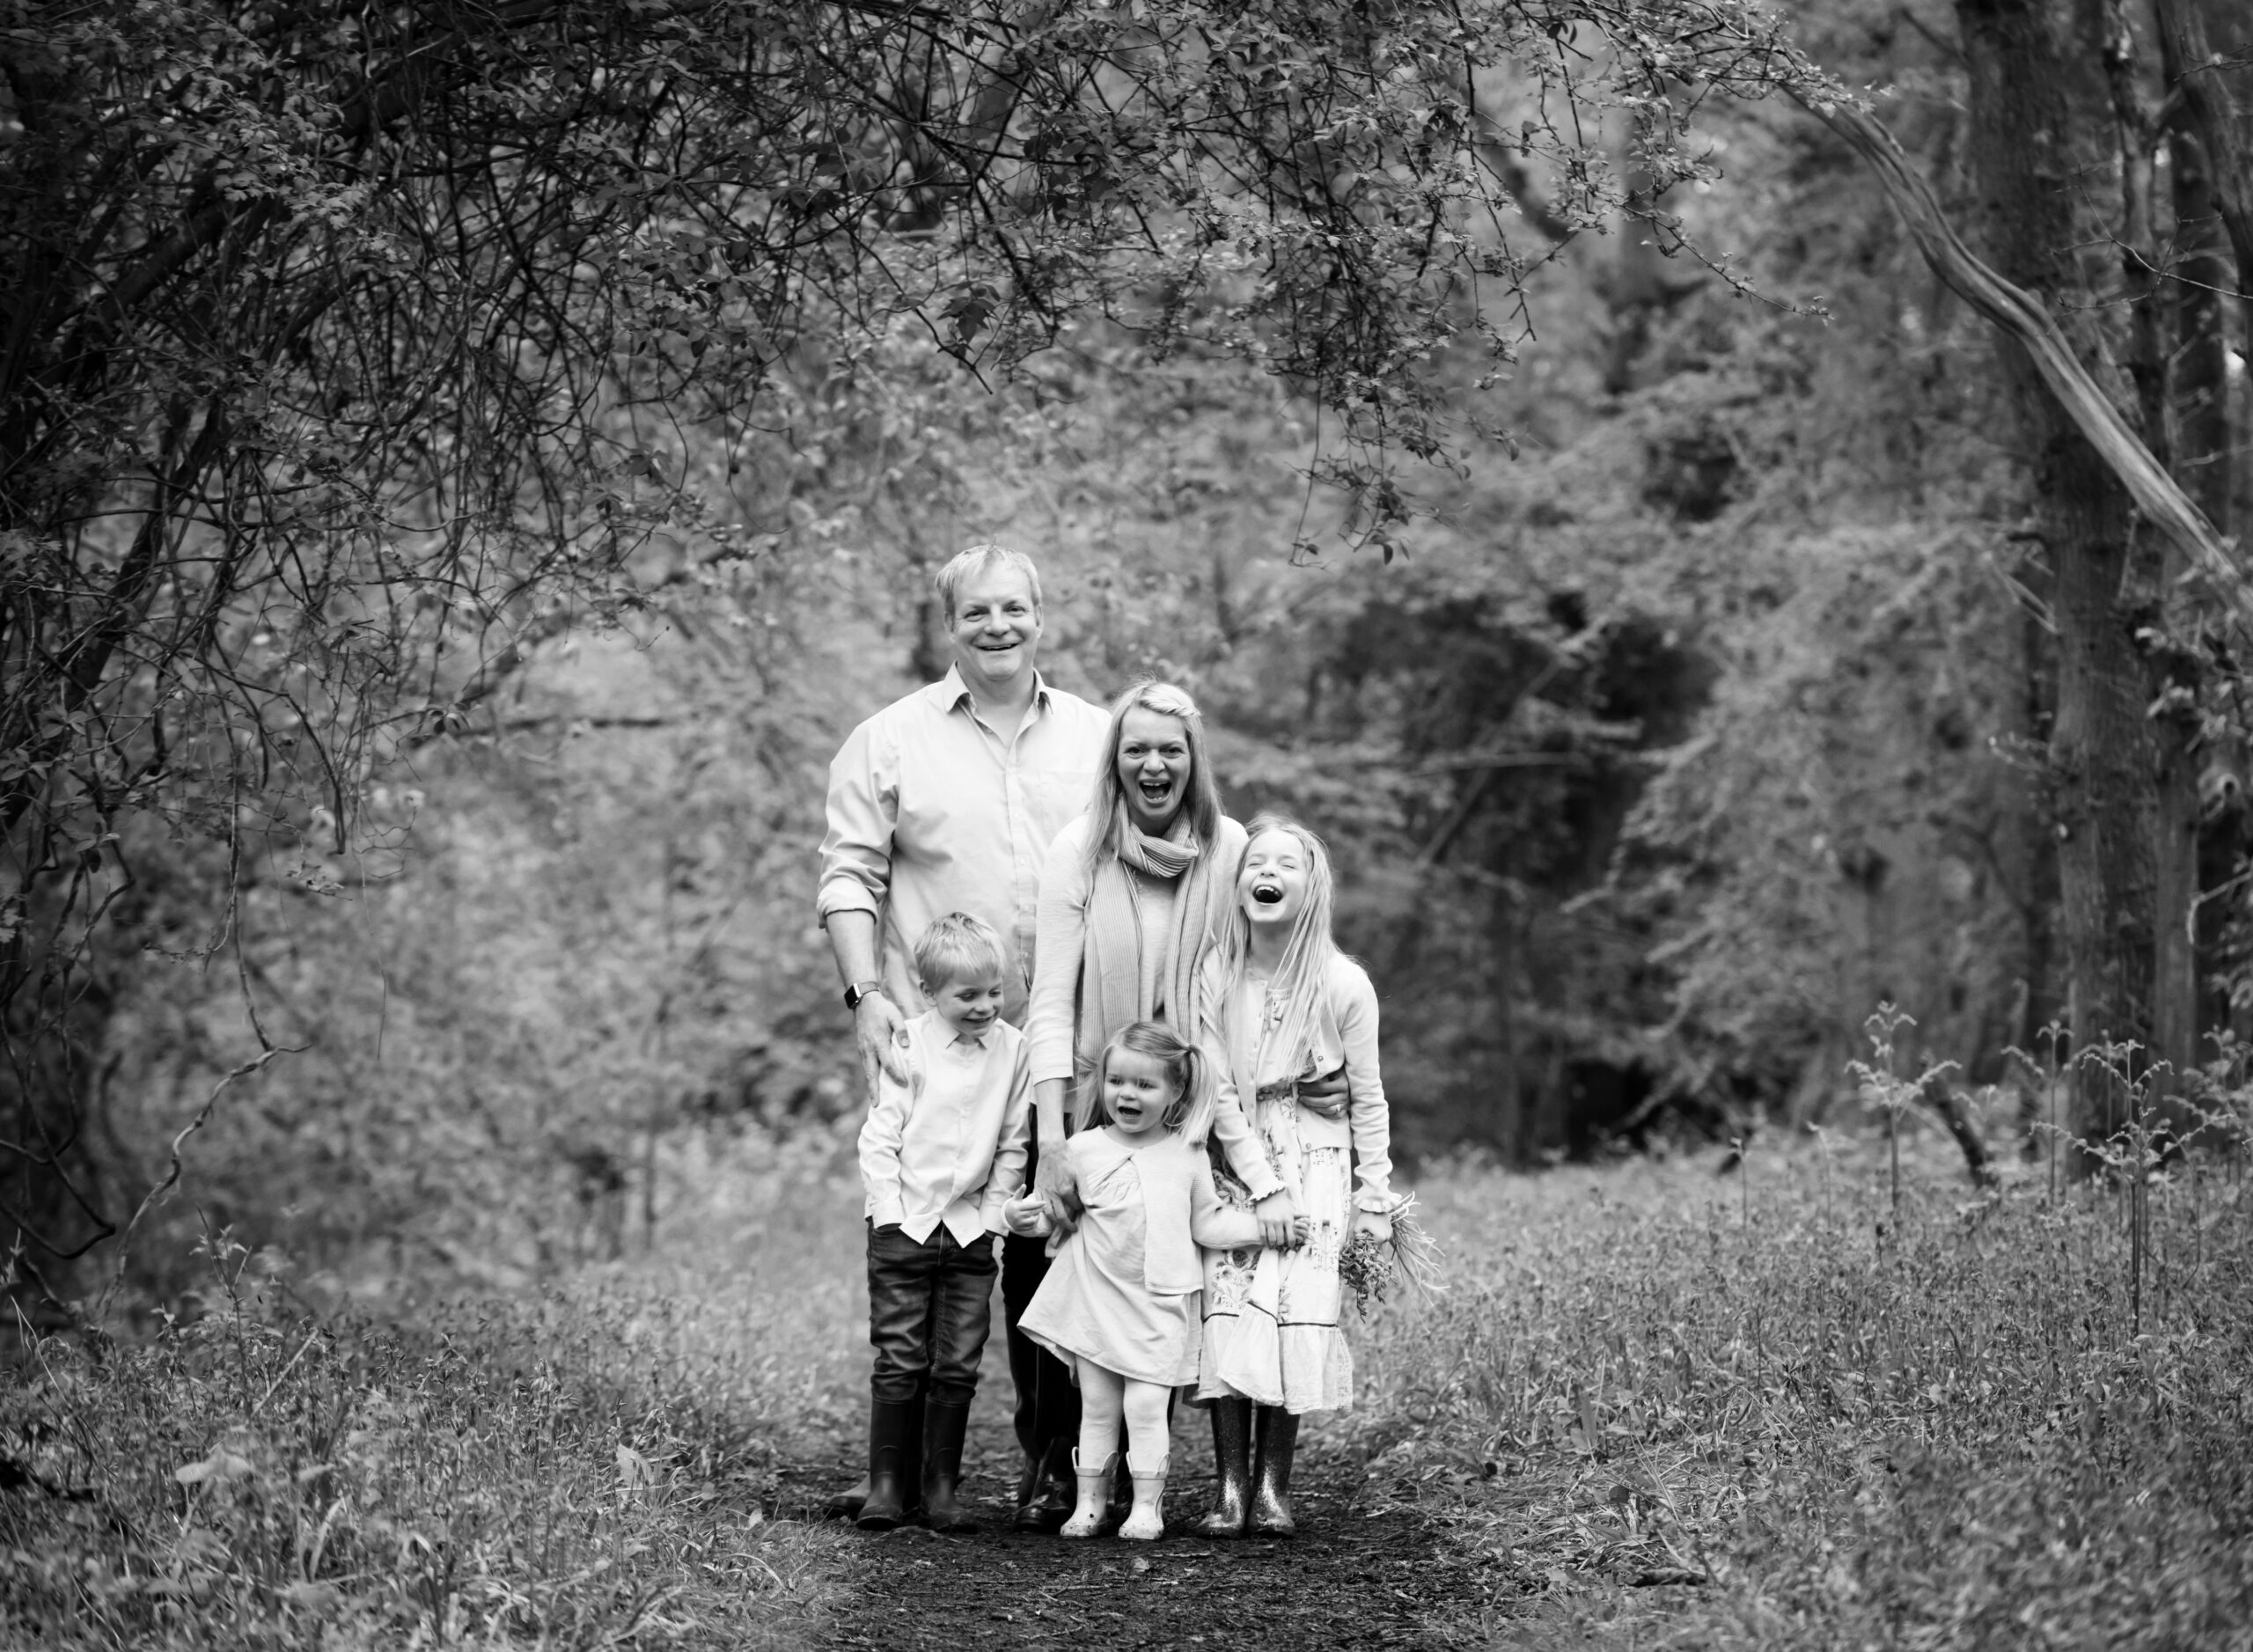
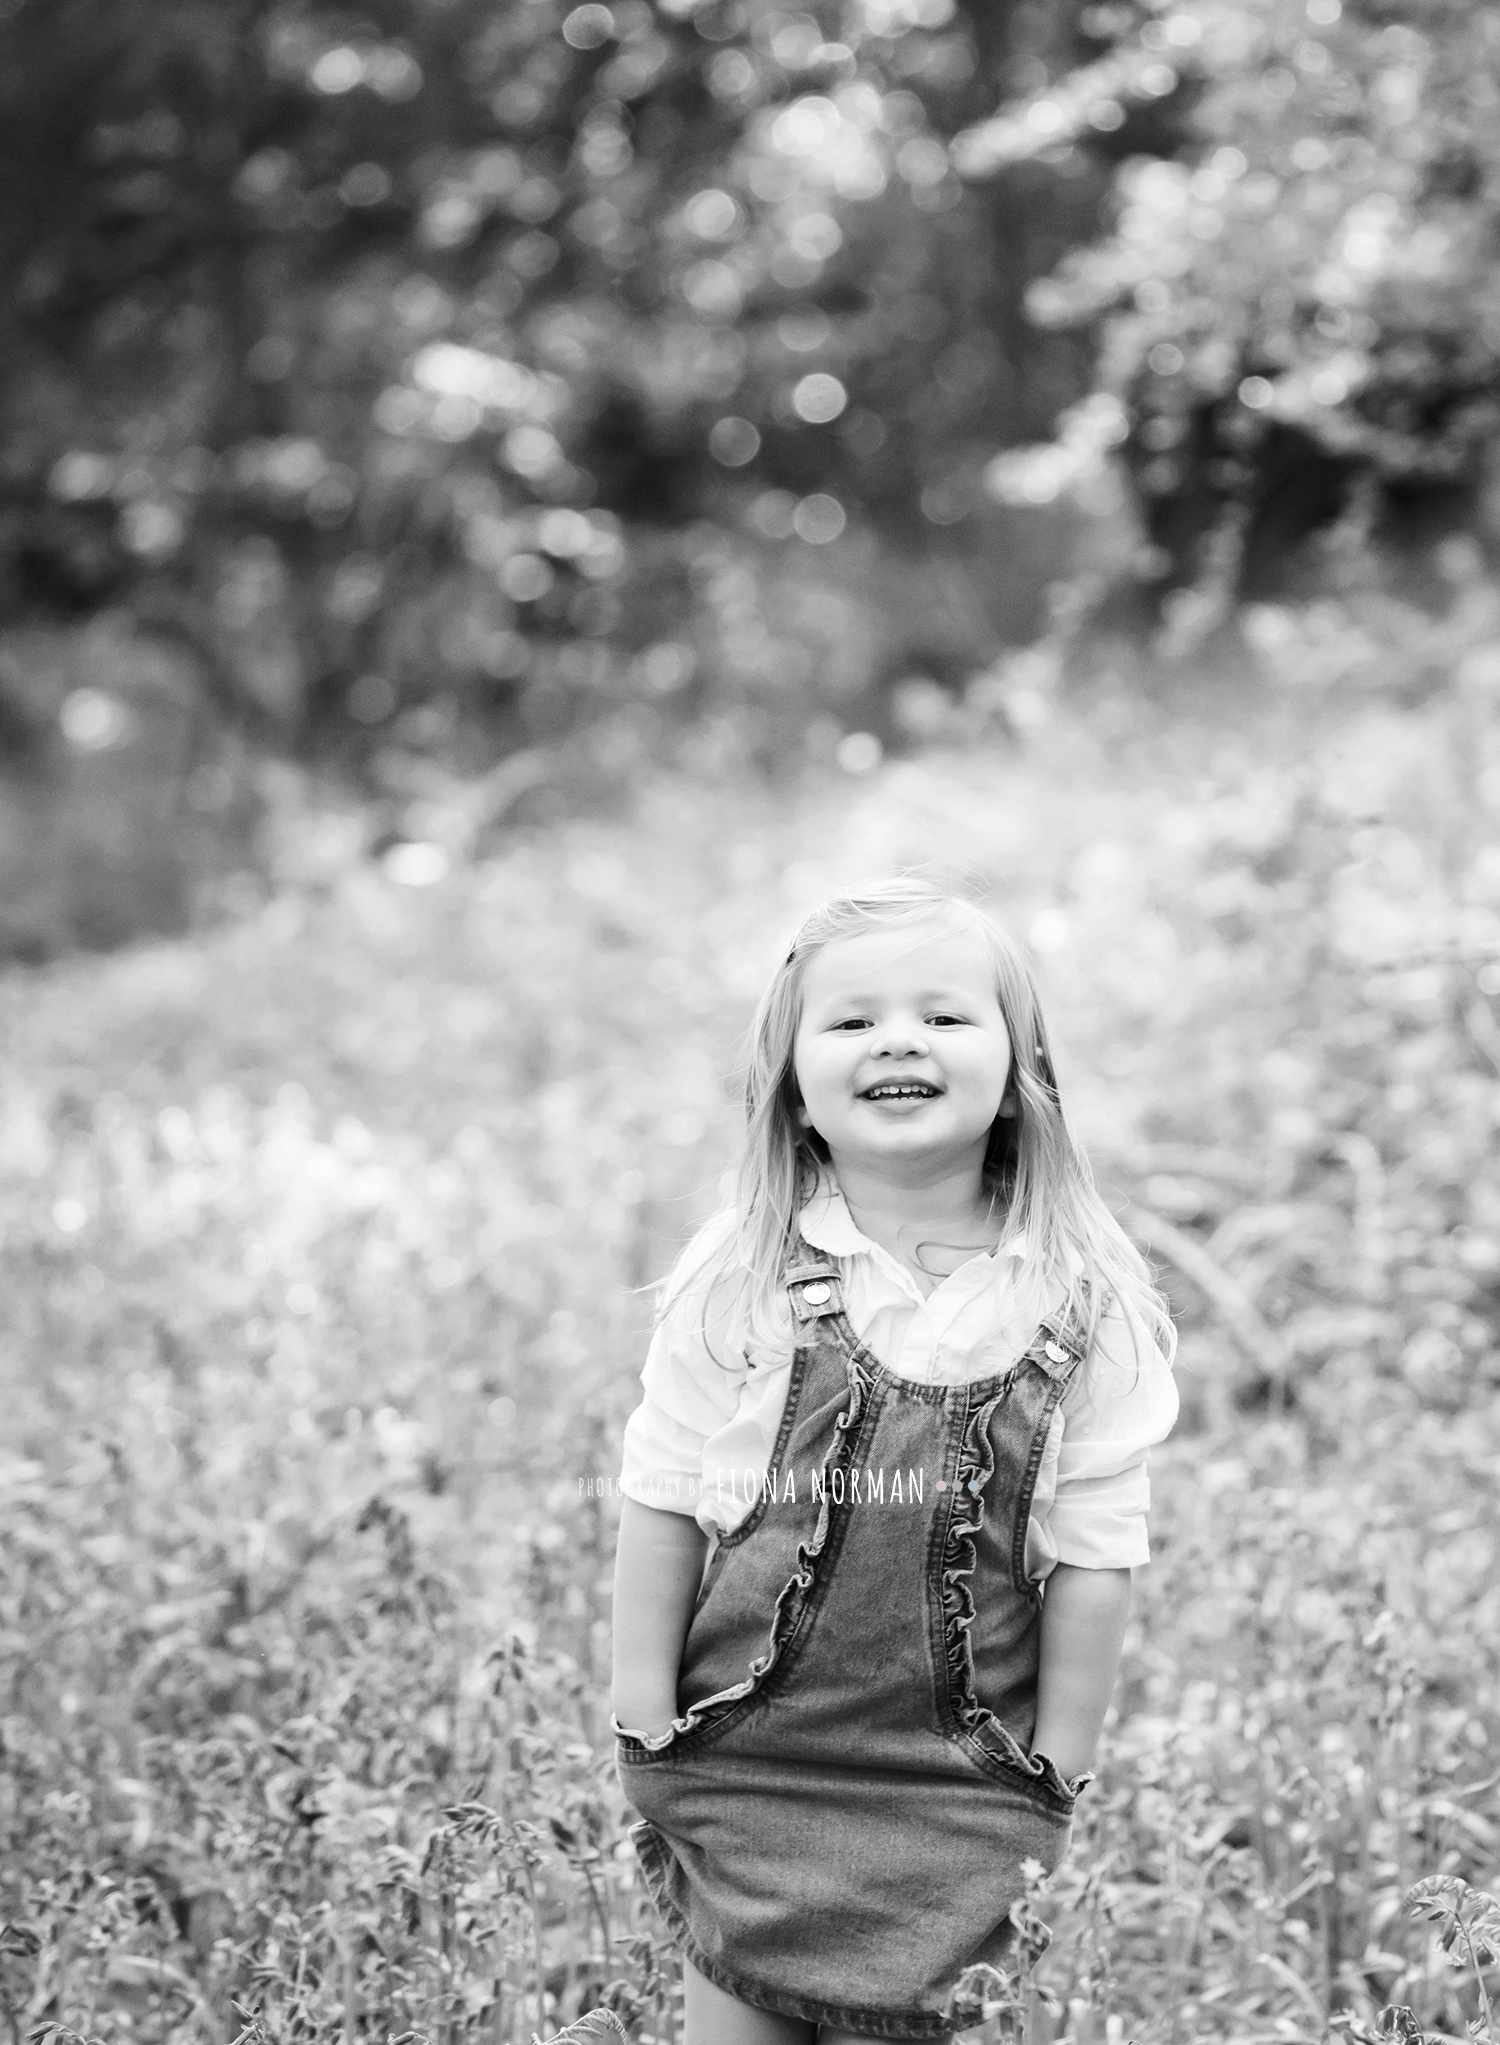
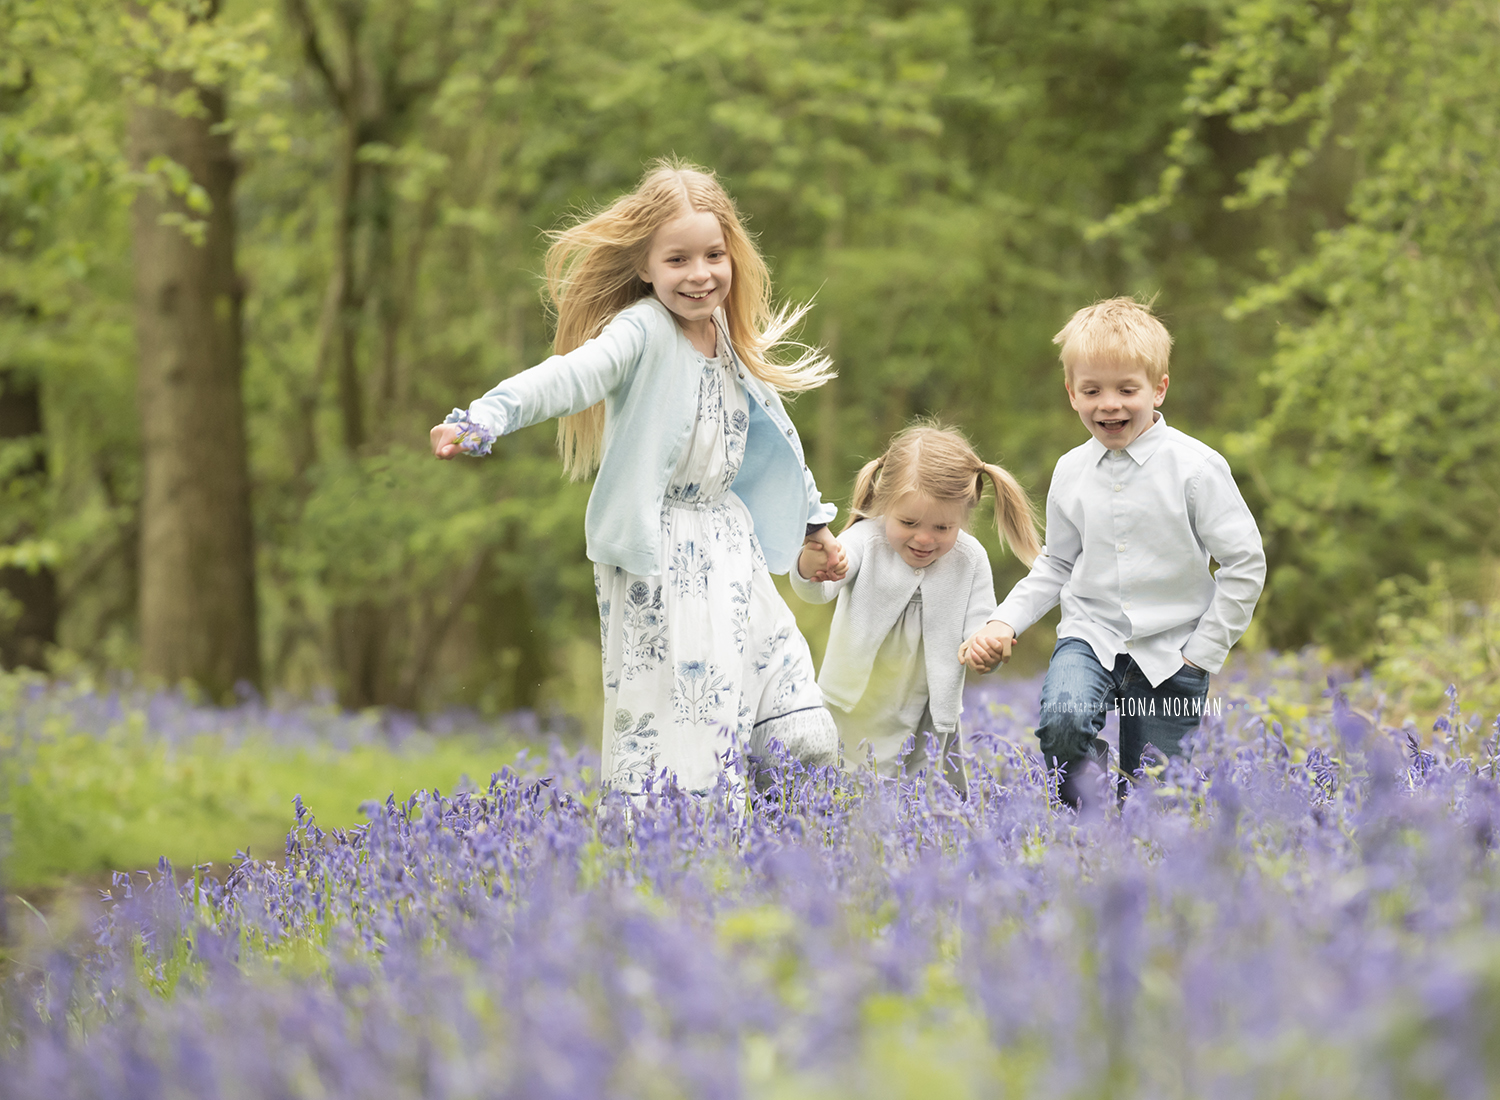
Some more of my 2018 bluebell sessions are below, hope you enjoy them! I can’t wait to share the other two sessions that are currently being kept a surprise for a birthday and and anniversary present!

See more of my family sessions here
Or enquire by completing this form